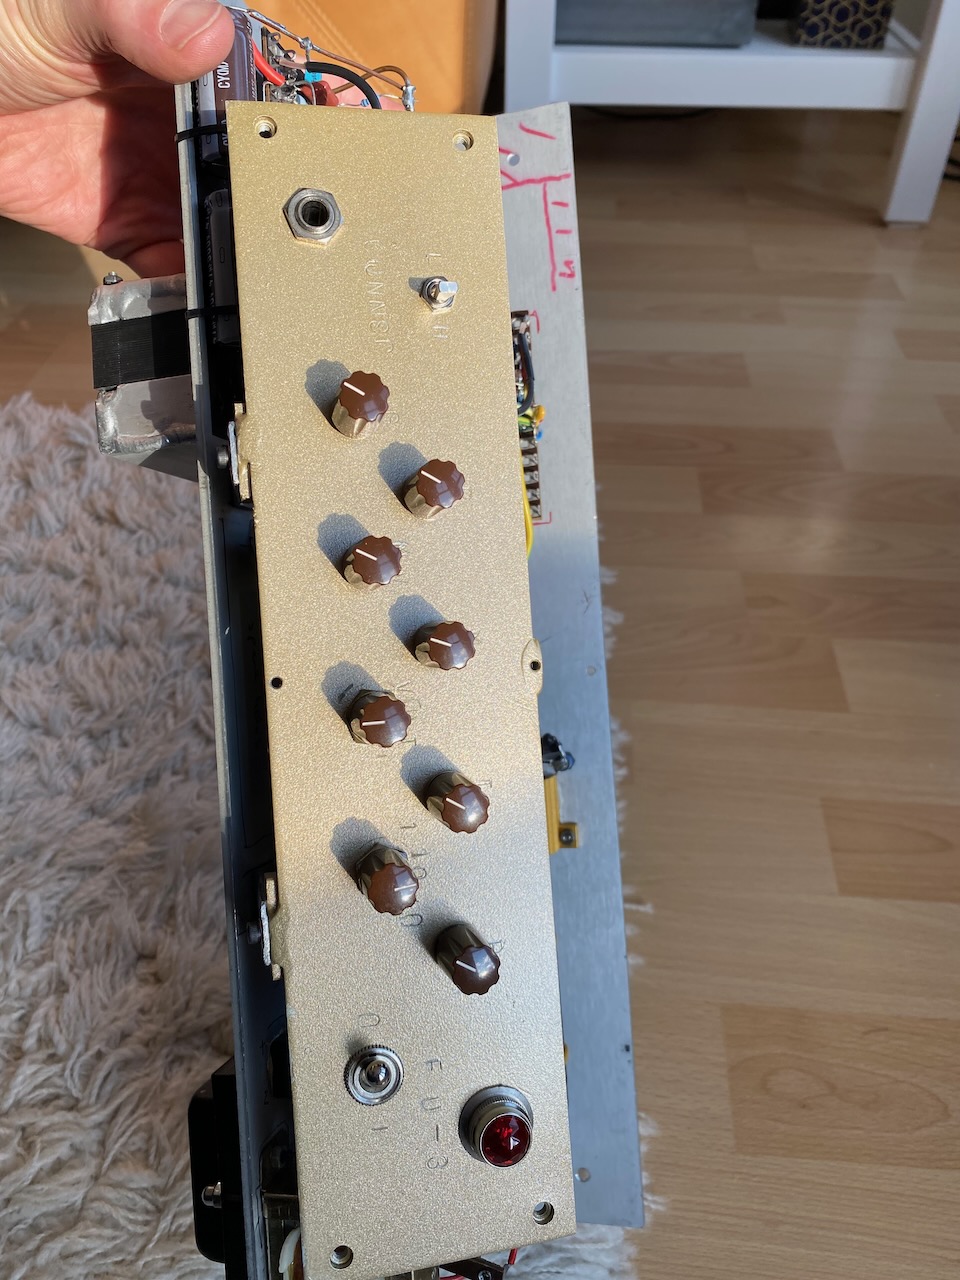
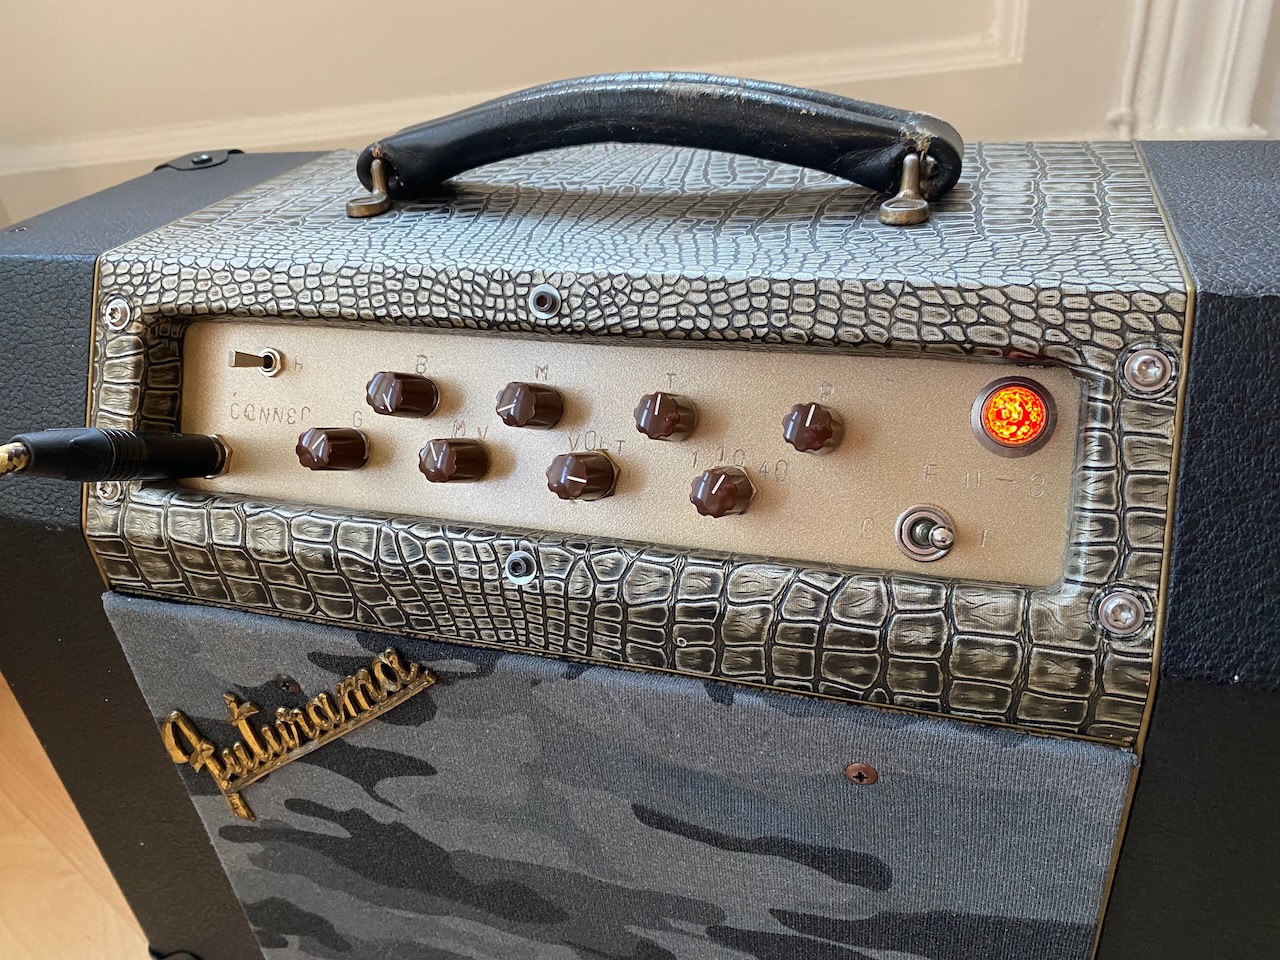
In this part the FU-3 gets its final faceplate…
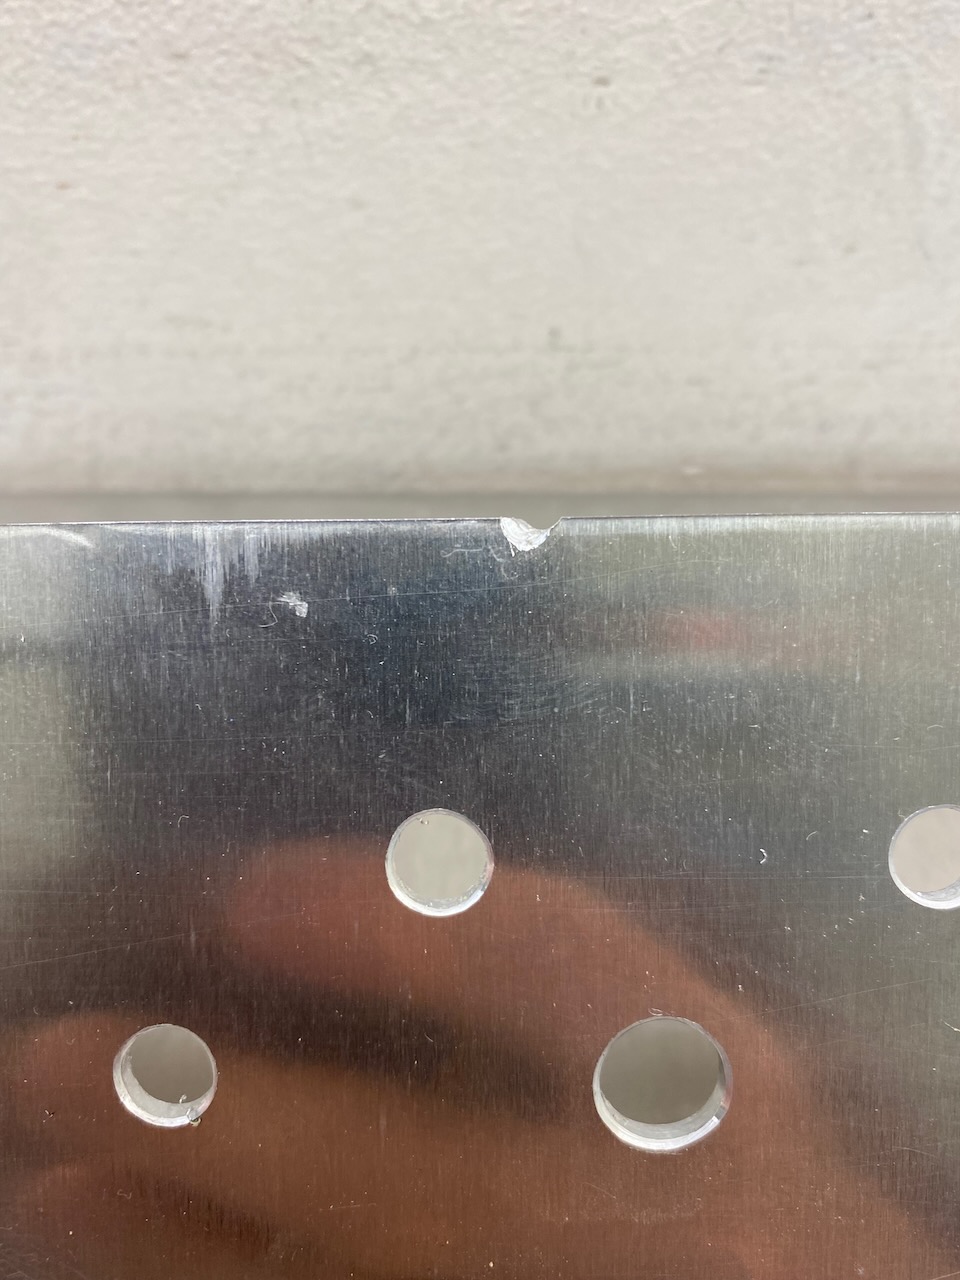
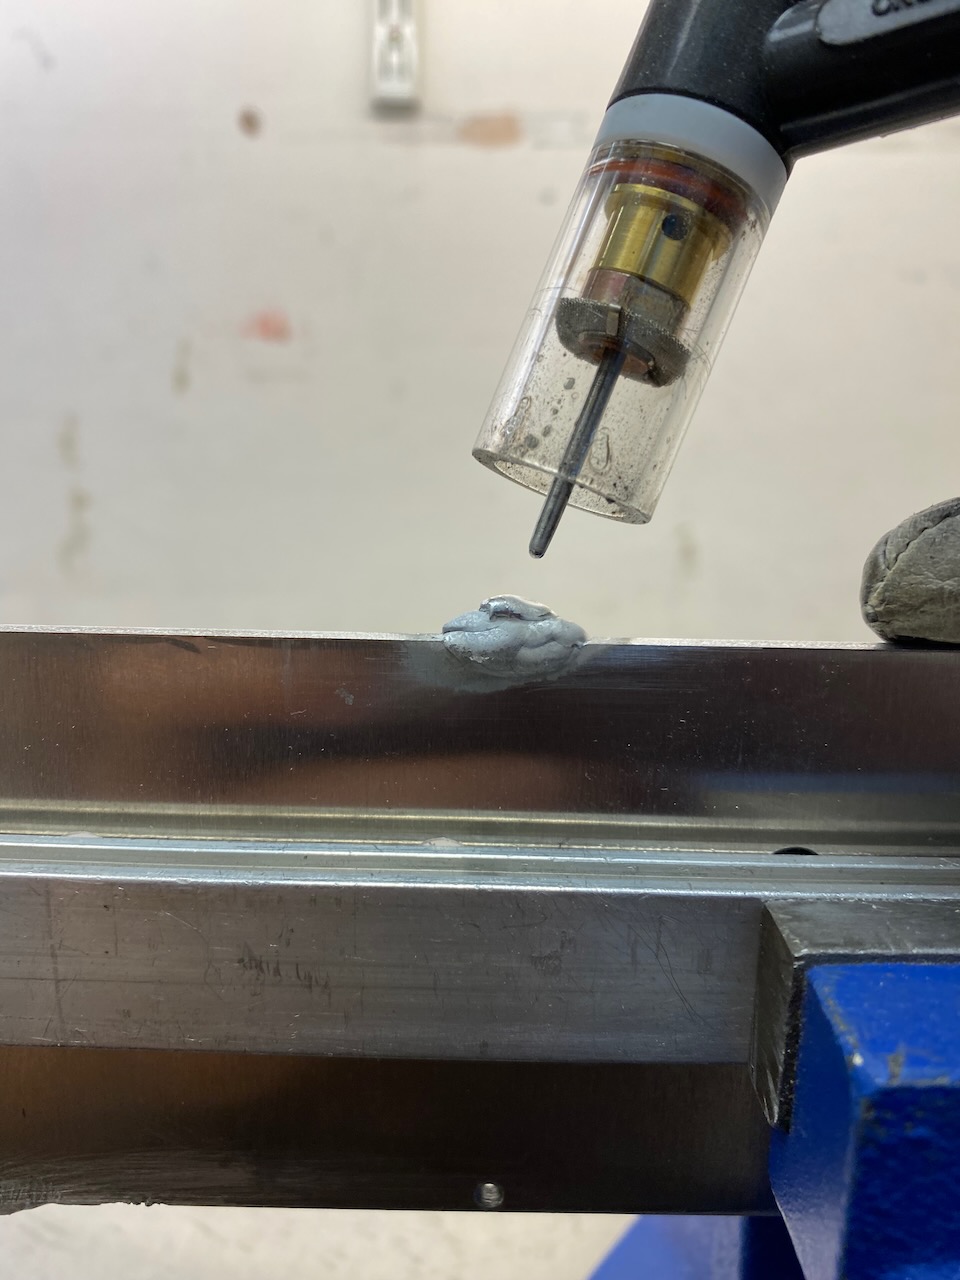
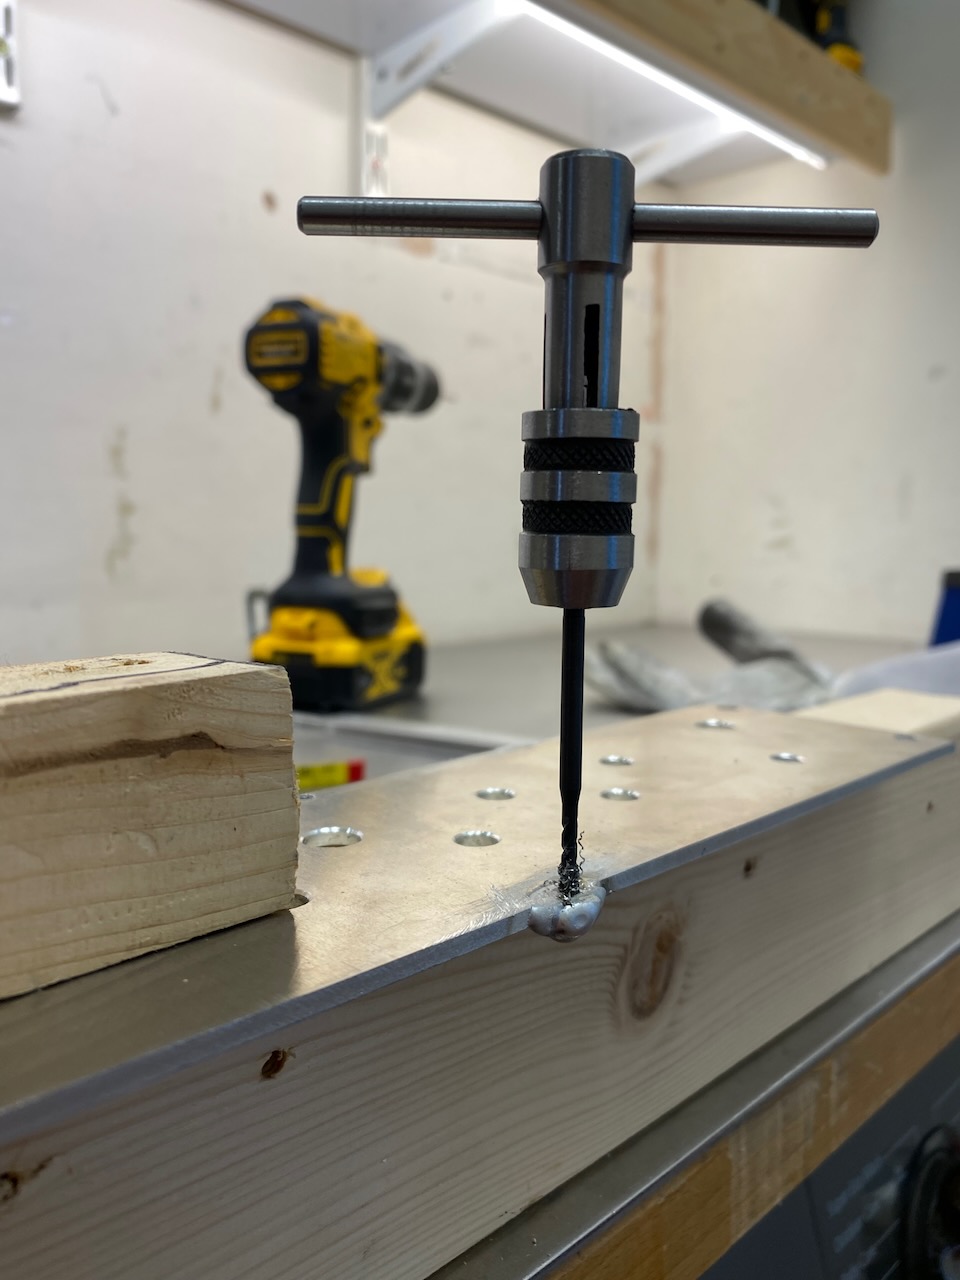
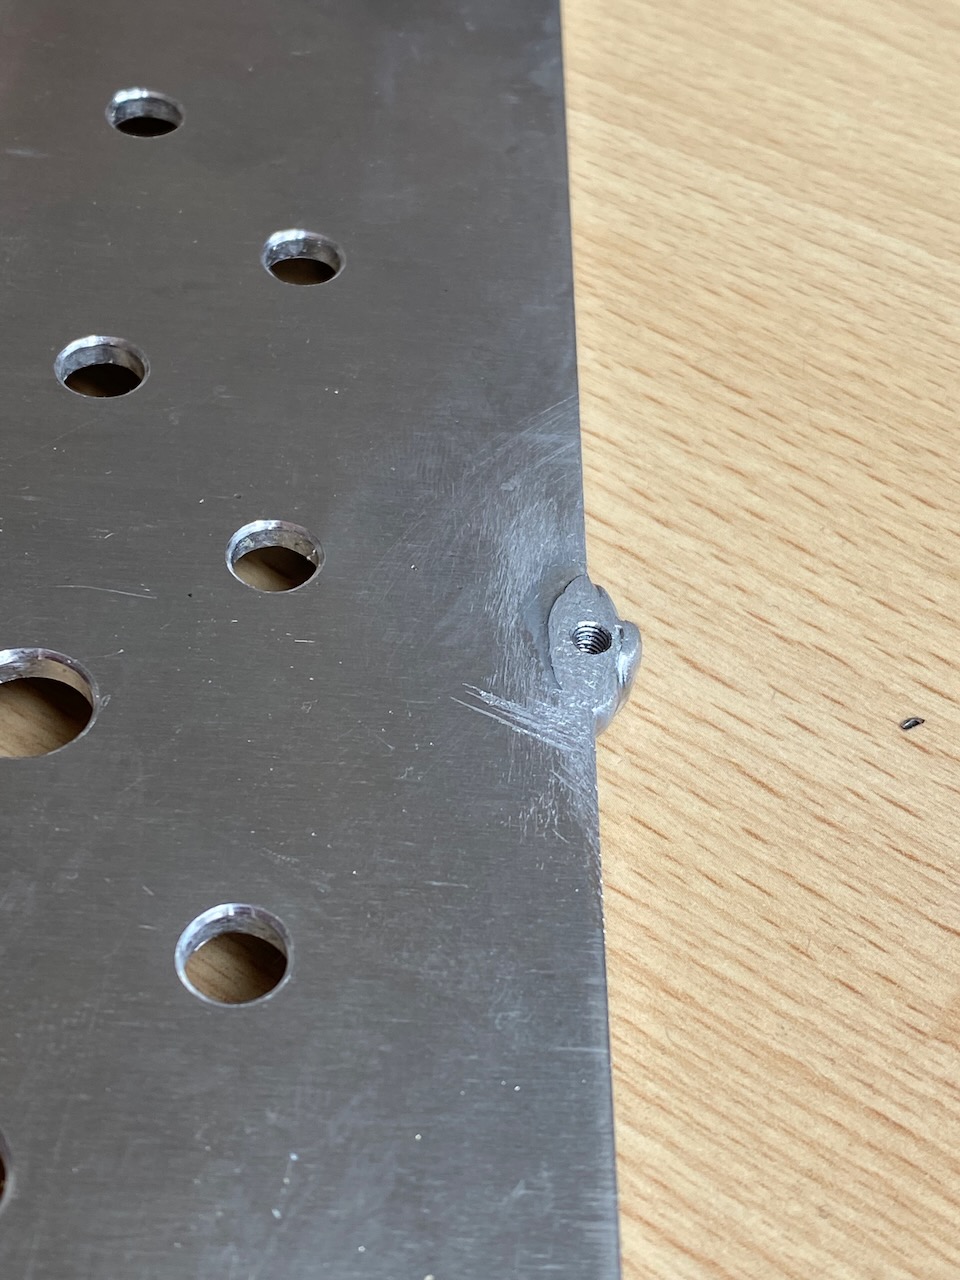
I started with a 3mm piece of aluminium pre-cut to size by Metal Supermarkets. The existing screw holes were easily replicated with PEM nuts, but the old faceplate vibrated horribly, so I wanted to add 2 more mounting bolts, and oh dear, the drilling for the top one just missed the panel.
This was a perfect excuse to zap something with the TIG welder.
With this done, a coat of gold paint and a pasting with letter punches…
Leave a Reply