Fixing EMF carnage part 1

During Odin’s final performance at EMF there was a loud bang and everything stopped working. I decided it wasn’t worth attempting a field repair as there were basically only 20 minutes of the festival left and most of the potential spectators were heading home.

Reviewing some video of the fatal performance, I could see a blue light shining out of the PFC after which Odin’s spark output rapidly declined to nothing. This implied that the coil was still working after the PFC died, and might actually be undamaged, apart from the melted tank capacitor that I later replaced with Dawncaps.

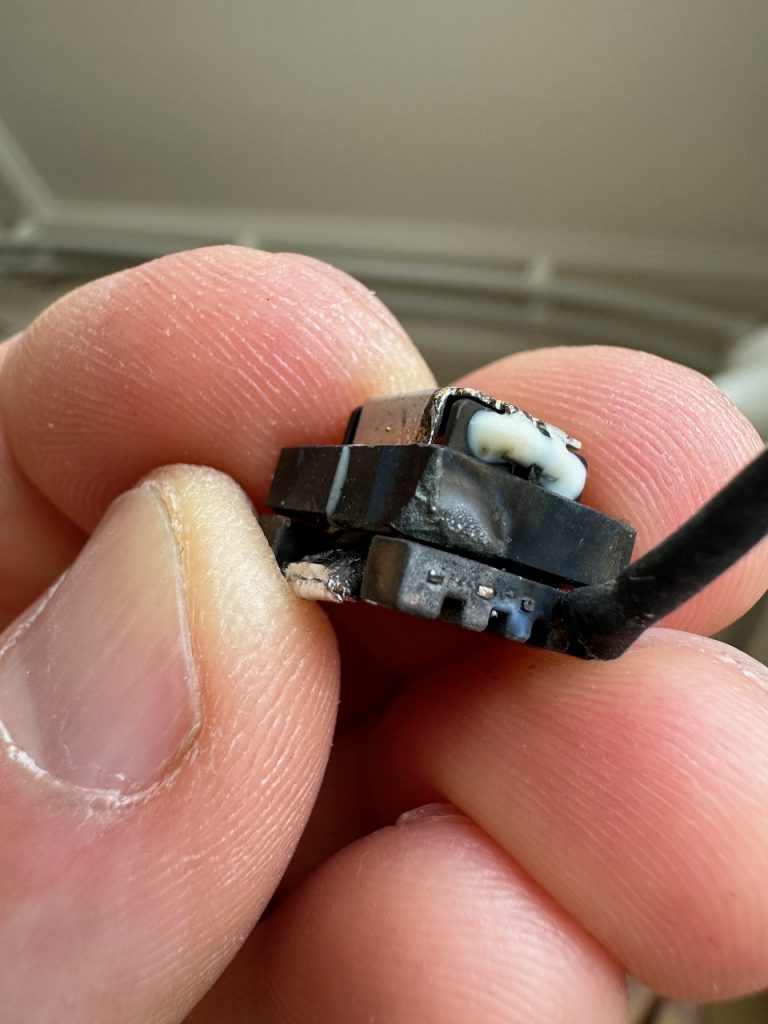
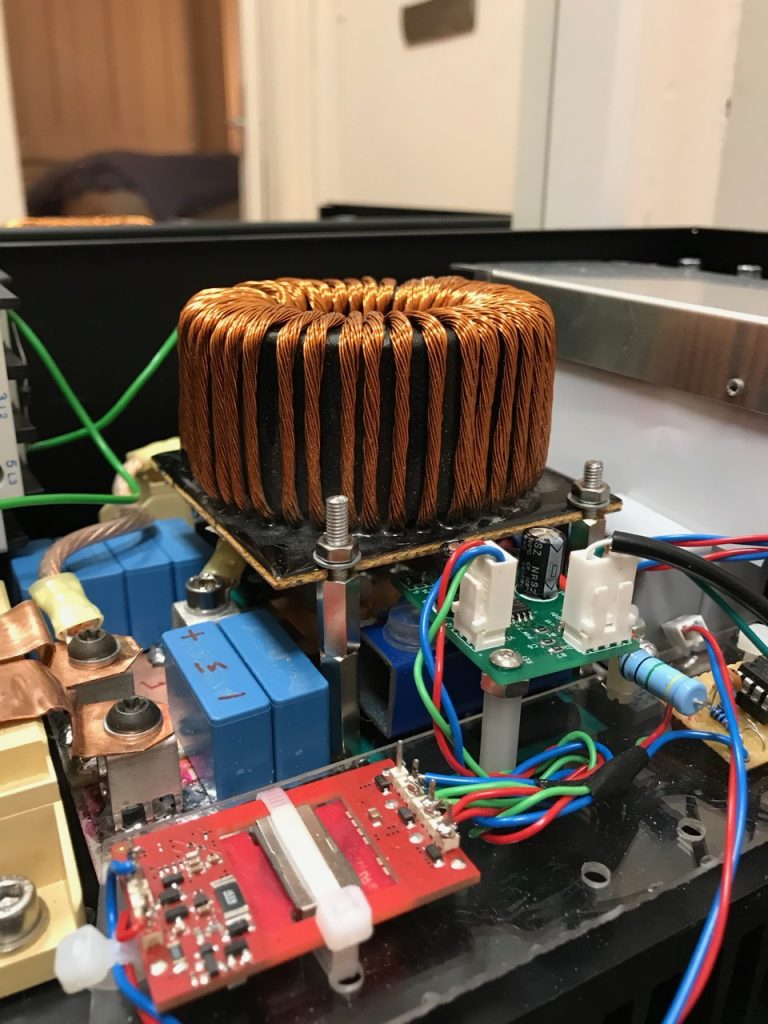
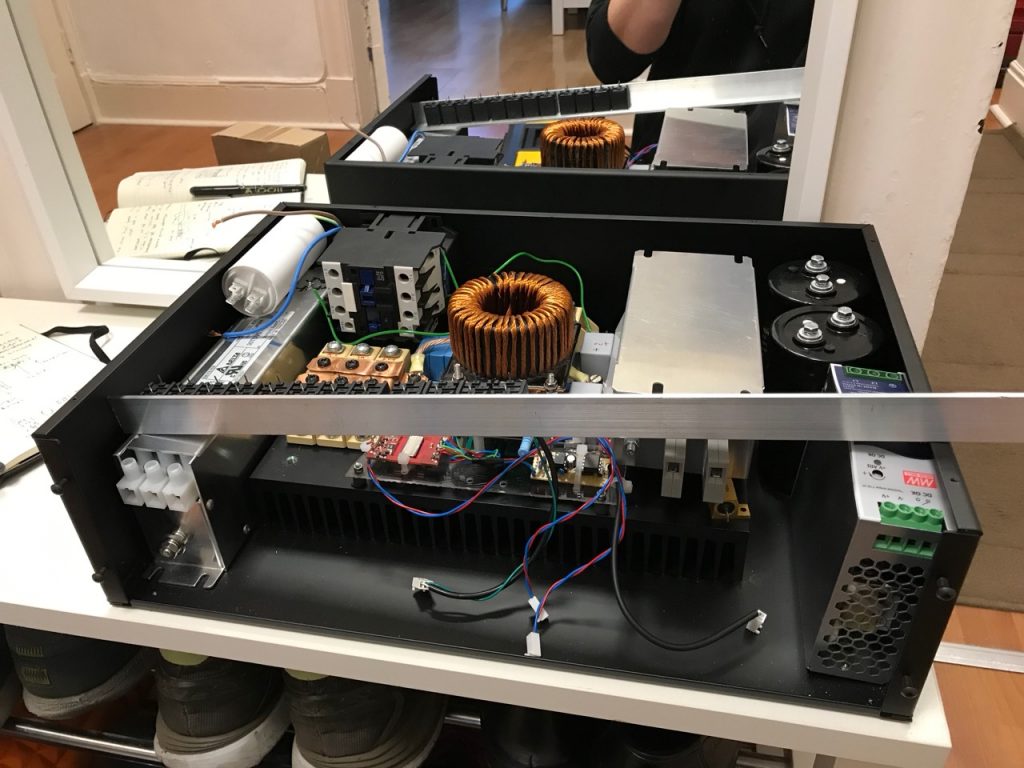
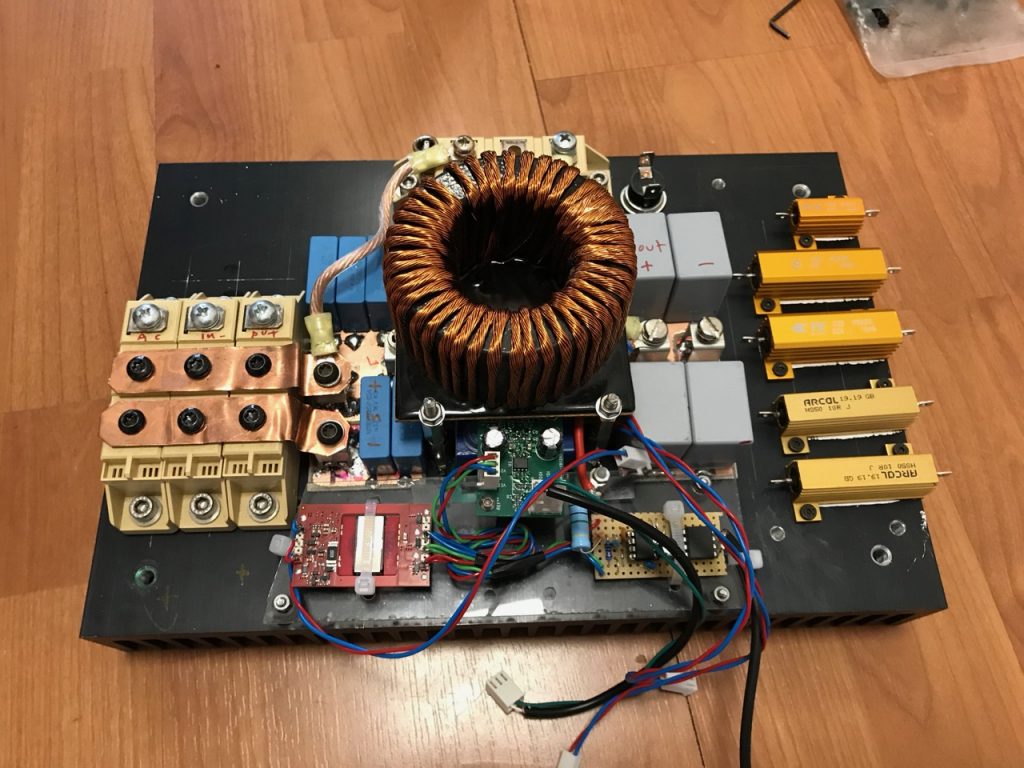
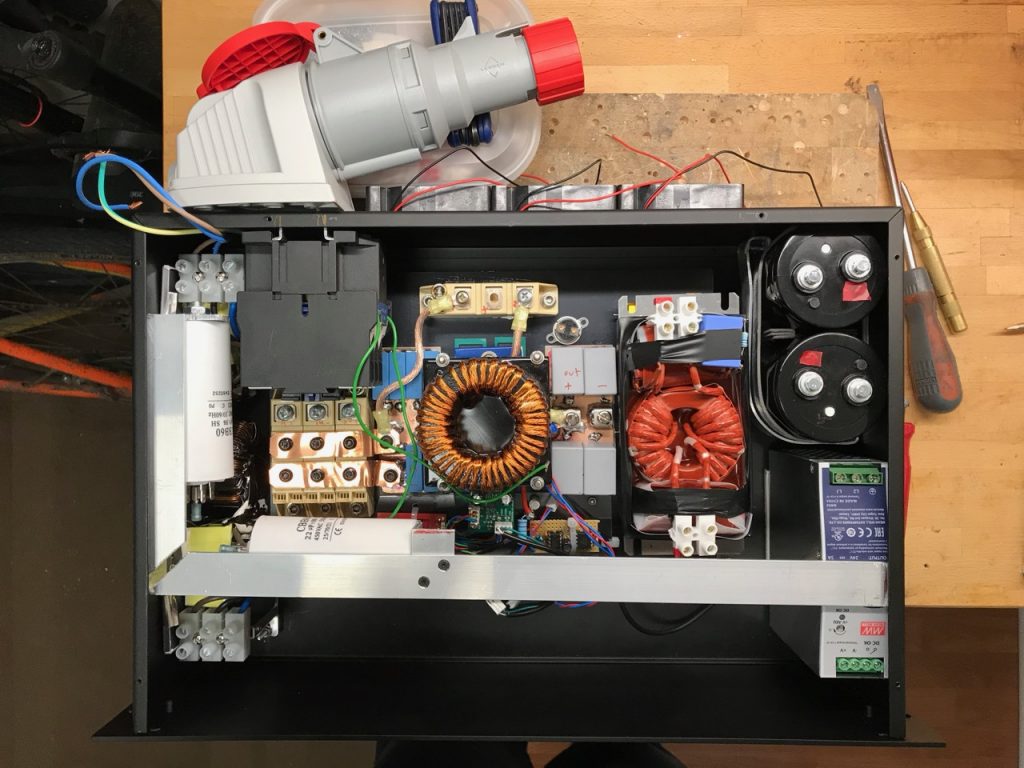
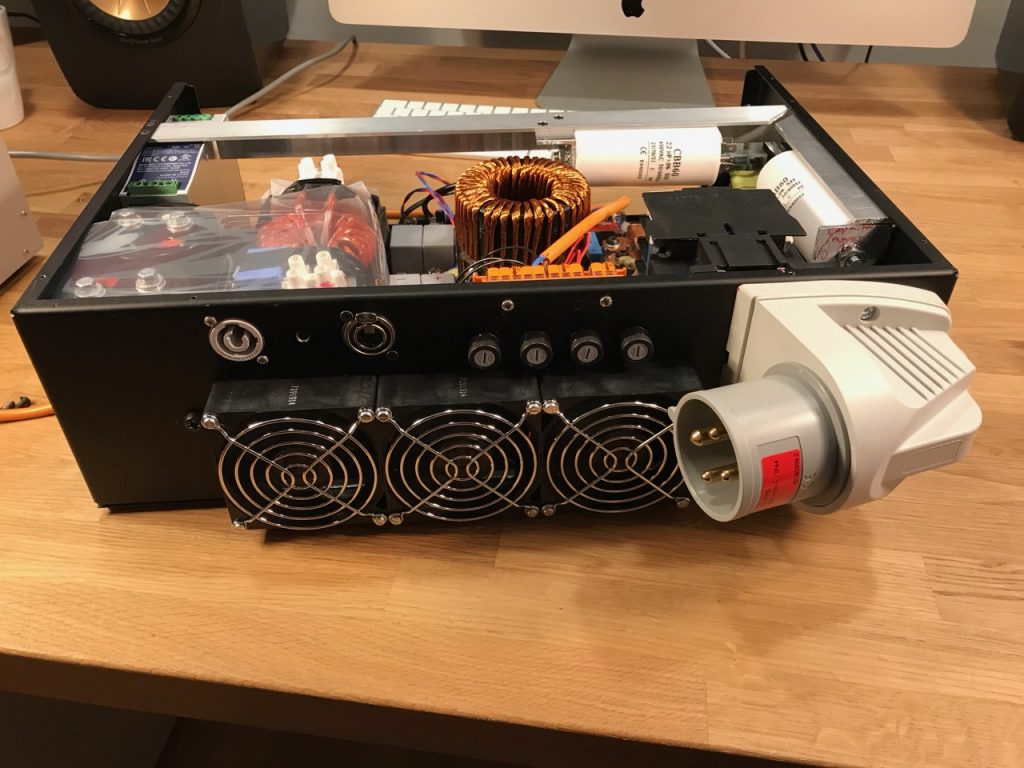
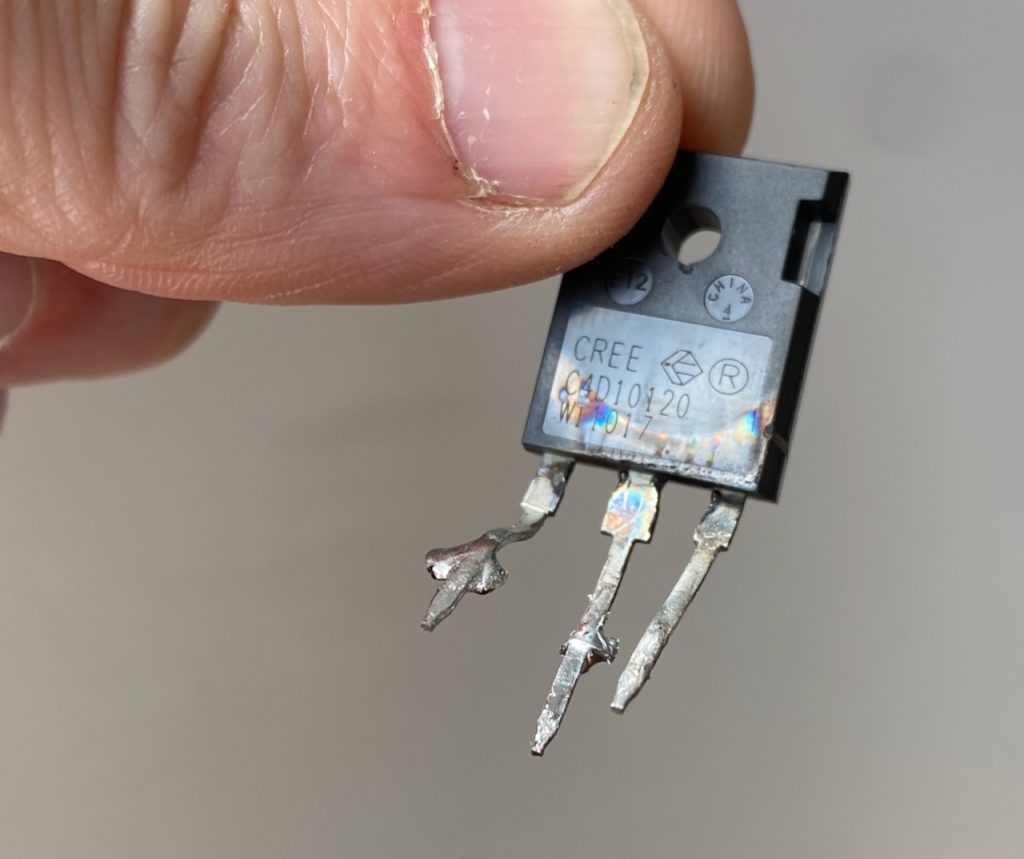
I started by investigating the PFC. The innards were well and truly splattered. Both SiC MOSFETs had cratered, the legs of one boost diode were partly eaten away, and a thin layer of vaporised copper covered everything. Even the ferrite core of one of the current transformers had partly melted.
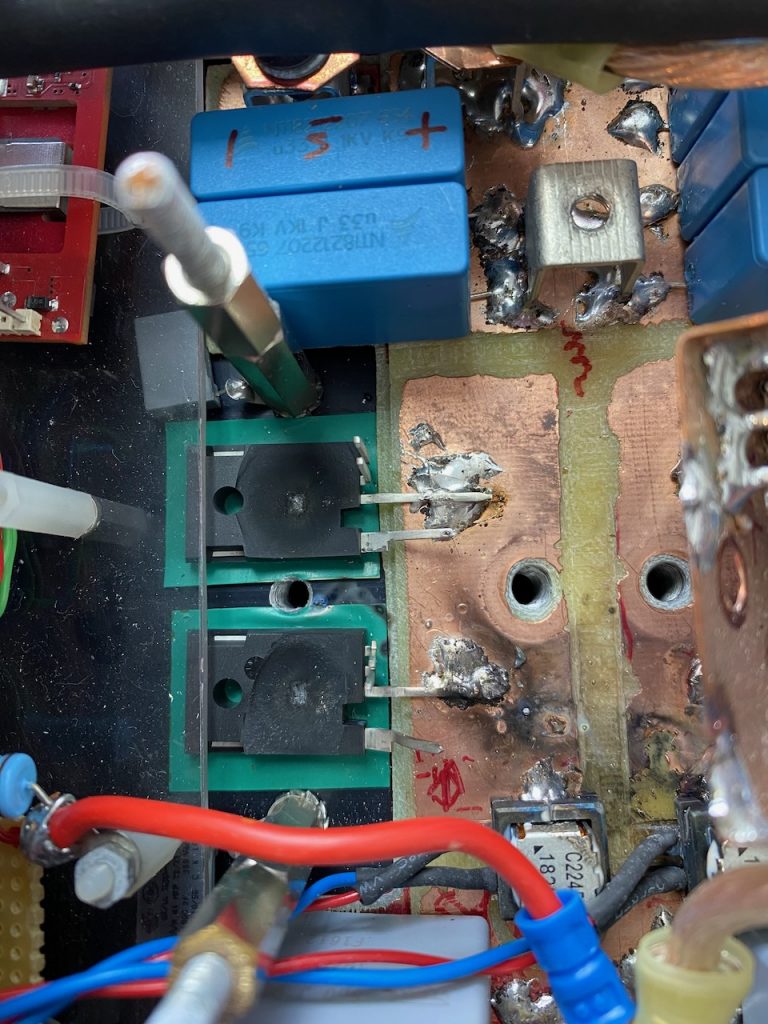
Clearly a quite impressive arc flash had taken place. I think the most likely explanation is that something damp and conductive got in between the boost diode legs and caused the flashover. An arc here would have connected all of the charged DC bus capacitance (4400uF total at 750V!) to the MOSFET drains, causing them to fail explosively from massive overcurrent as soon as they next turned on.
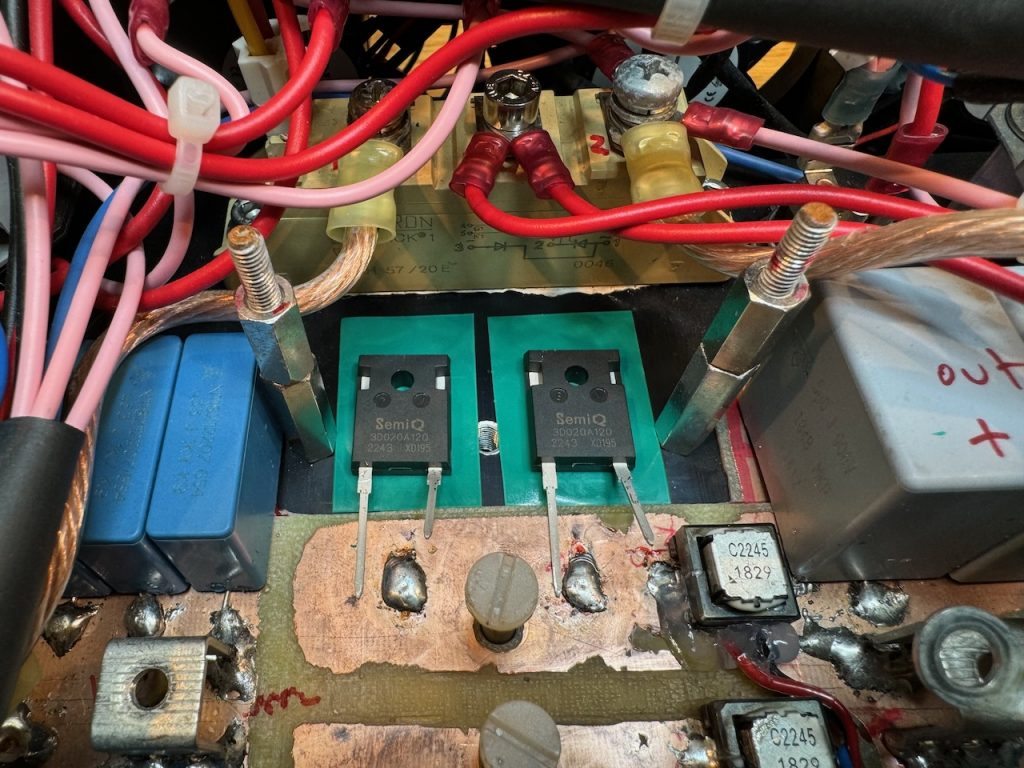
Amazingly the old diodes tested good, though the copper-coated one had a somewhat lower forward voltage. I replaced them anyway with these SemiQ parts that have double the pin spacing.

The annihilated Cree/Wolfspeed SiC MOSFETs were replaced with Infineon IMZ120R060M1HXKSA1.

I forgot to order a replacement CT, so I reinstalled the burnt one with a generous amount of hot glue. It still tested ok for continuity and primary/secondary insulation resistance, and the inductance was reasonable, if a bit lower than its undamaged partner.

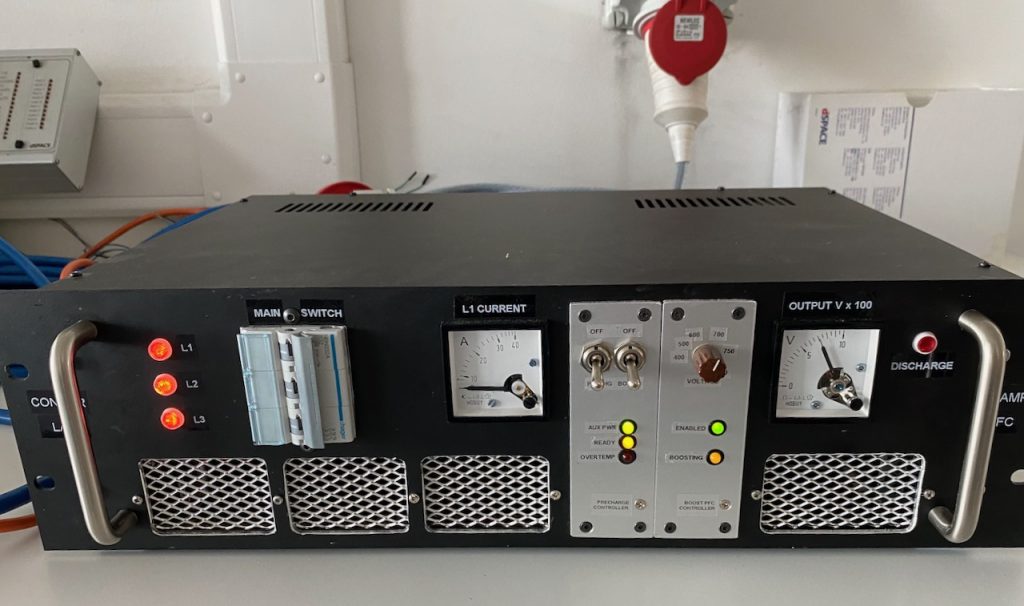
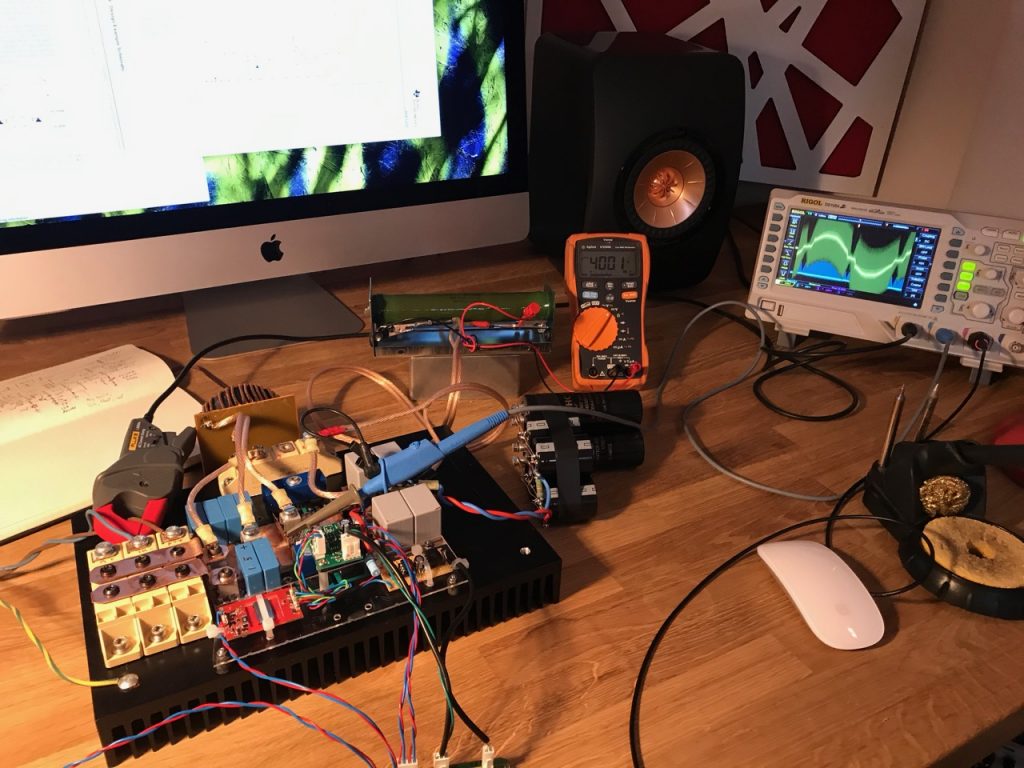
Power up was completely uneventful, though the pause while the control power supply gets going can be a bit unsettling. You can see that I added a test socket for viewing the inductor current while I had the unit apart.

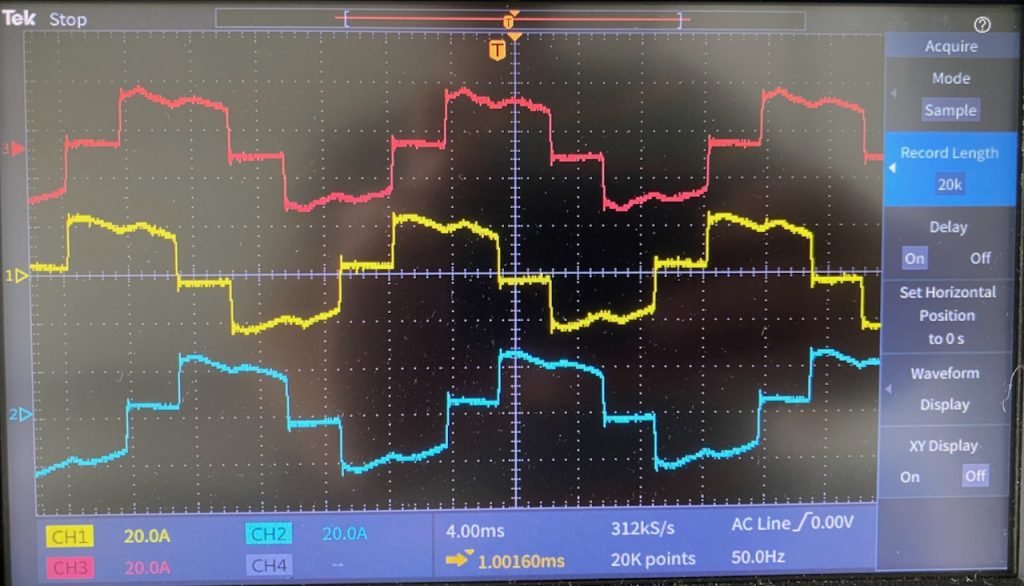
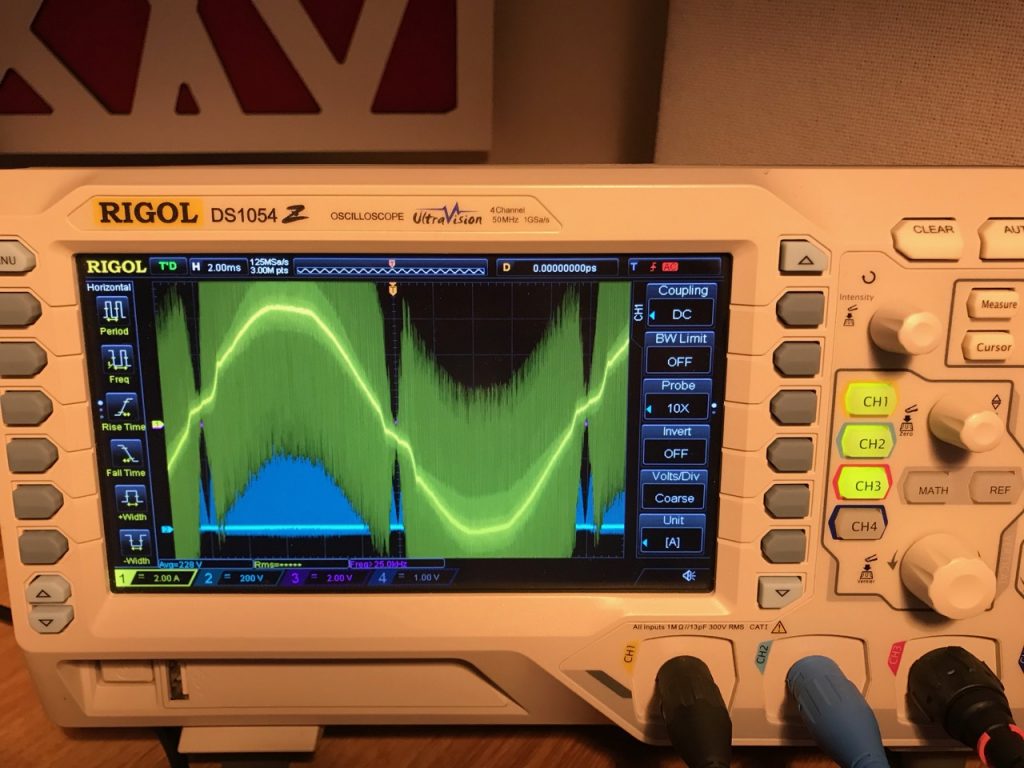
It runs happily and the inductor current waveform looks reasonable. I tried overloading the DC output until the 20A breaker on my house circuit tripped, and it seemed to survive that fine.

As this is a post-hoc post, I can say that the PFC also survived Gaussfest 2024 including several performances of Ian Dunne’s theremin.
Gaussfest 2021

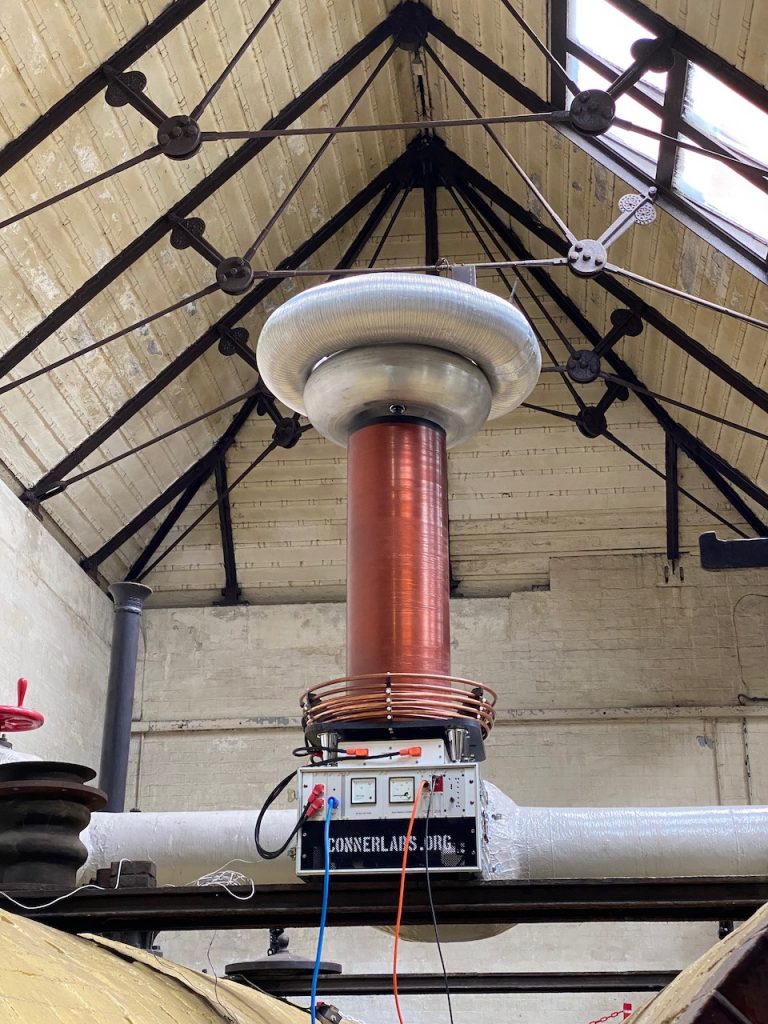
This bonkers event was organised by Extreme Electronics at Papplewick Pumping Station in Nottinghamshire. One of the few venues where Odin‘s full power can safely be deployed…

Check #Gaussfest on Twitter for more πŸ™‚

Odin set up in the boiler house. All steam powered, no EMC worries πŸ™‚
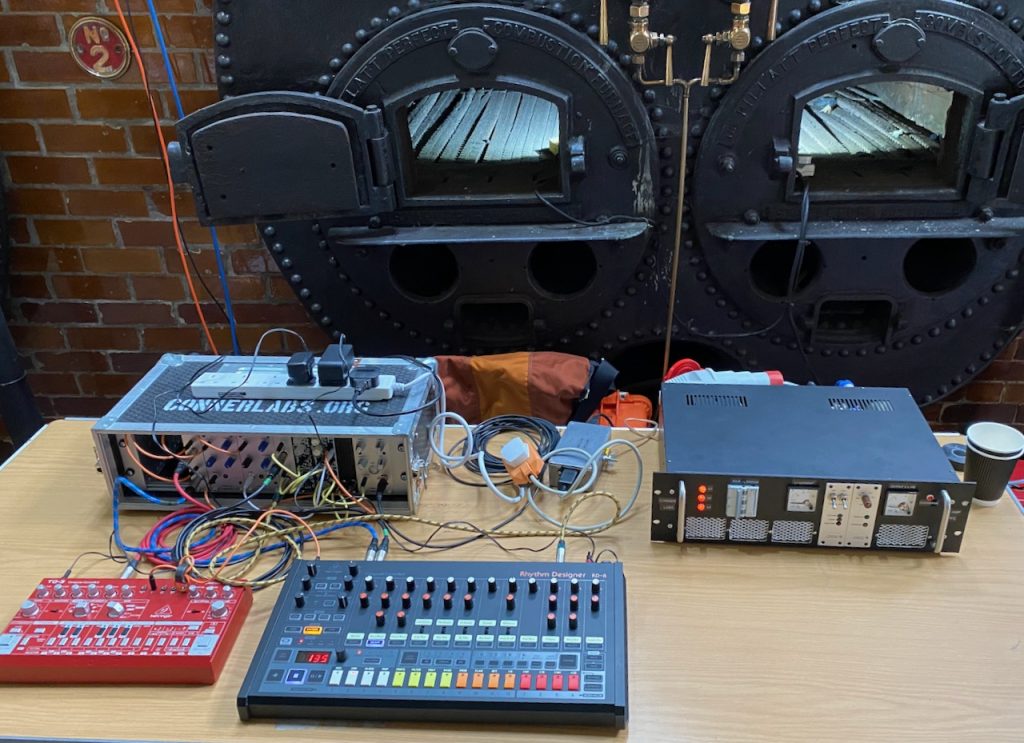
The control position next to the boilers
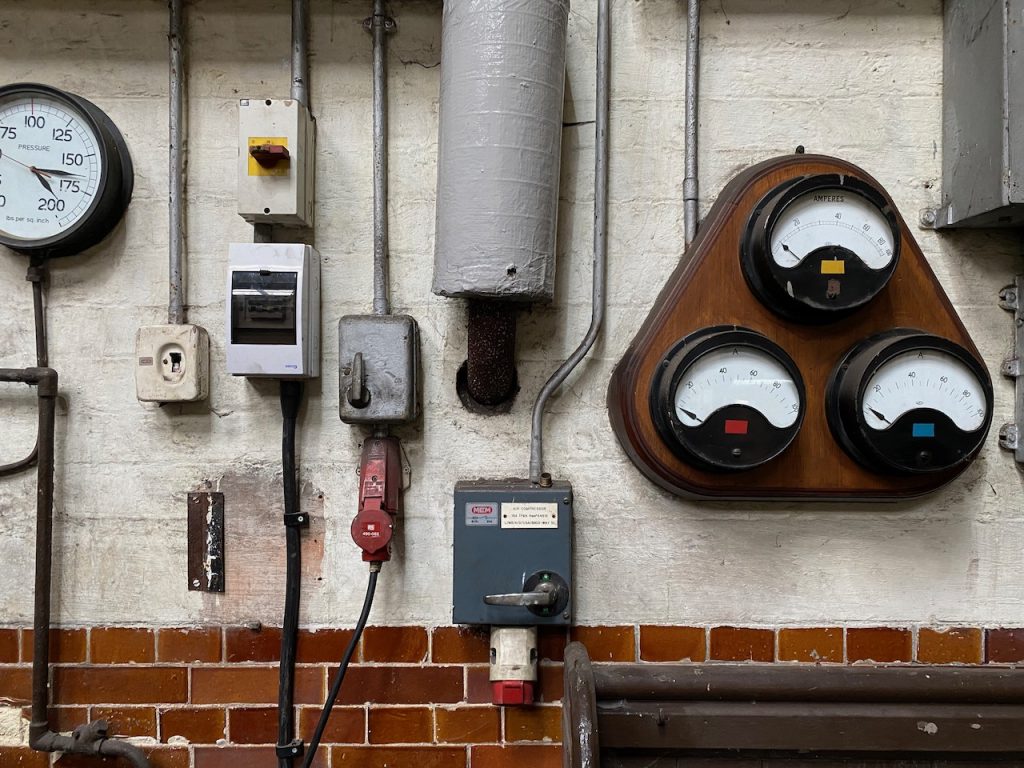
Tapping into 3 phase 415V supply
Can you identify the tune being covered?
More importantly, can YouTube’s content ID algorithm?

Look out for Mike “Electricstuff” with fingers in his ears

Boiler house switchboard… Yes my setup moved the meters πŸ™‚
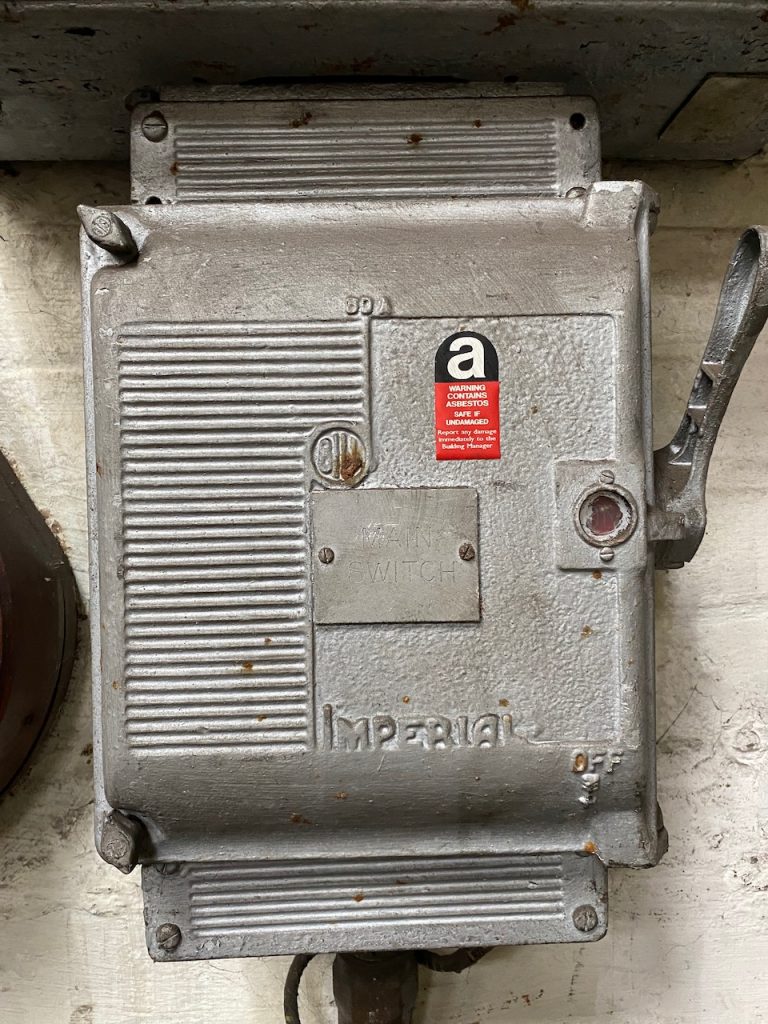
Mmmm, asbestos
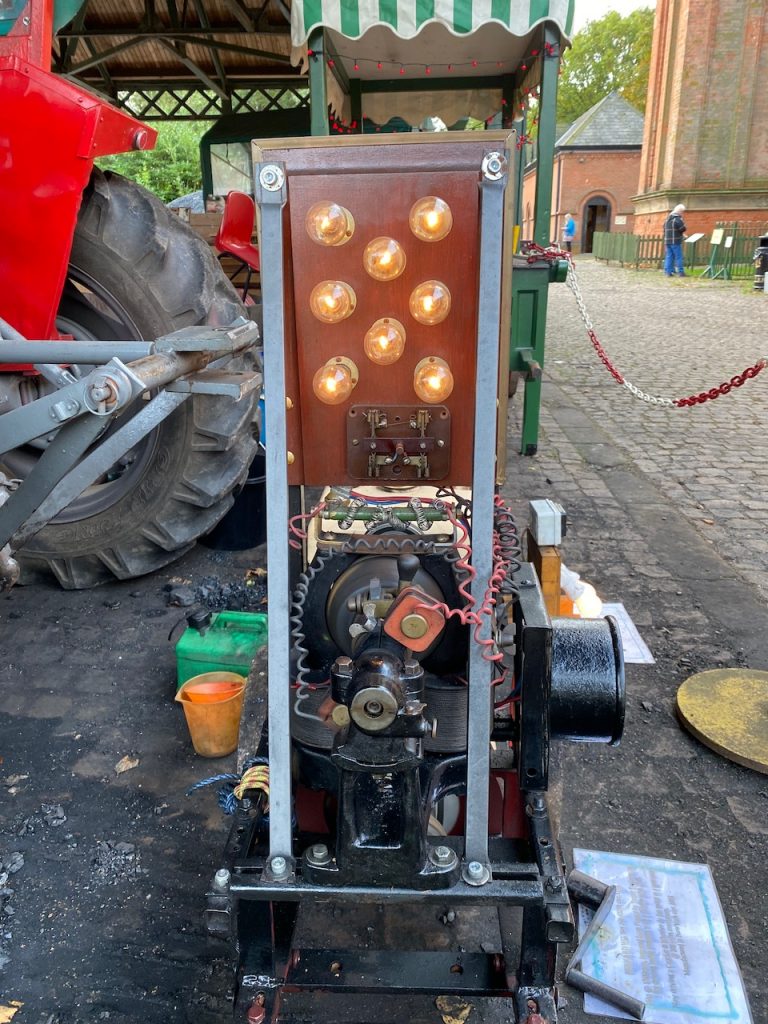
This generator was a bit too small to power Odin πŸ™
This one was too big
My performance did actually use about 10kW
An event like this would not be possible without defibrillators and a tea room.

PFC part 11: 3 phase test

Finally the long awaited test happened πŸ™‚ (you can read all posts about the PFC here)

We plugged it into the 3 phase outlet and it started up normally! πŸ˜€

When smashed with 750V the Tesla cabin heater would draw an impressive amount of power while warming up. Unfortunately the steady state power draw was only about 2kW, probably something to do with the rather weak fan cooling it.

The PFC line current waveforms at (roughly) this 11kW output power level. No surprises here, they look exactly like the theoretical ones for this circuit. (Except strictly speaking the red one is upside down πŸ™‚ ) The theoretical power factor for this waveform is 0.95.

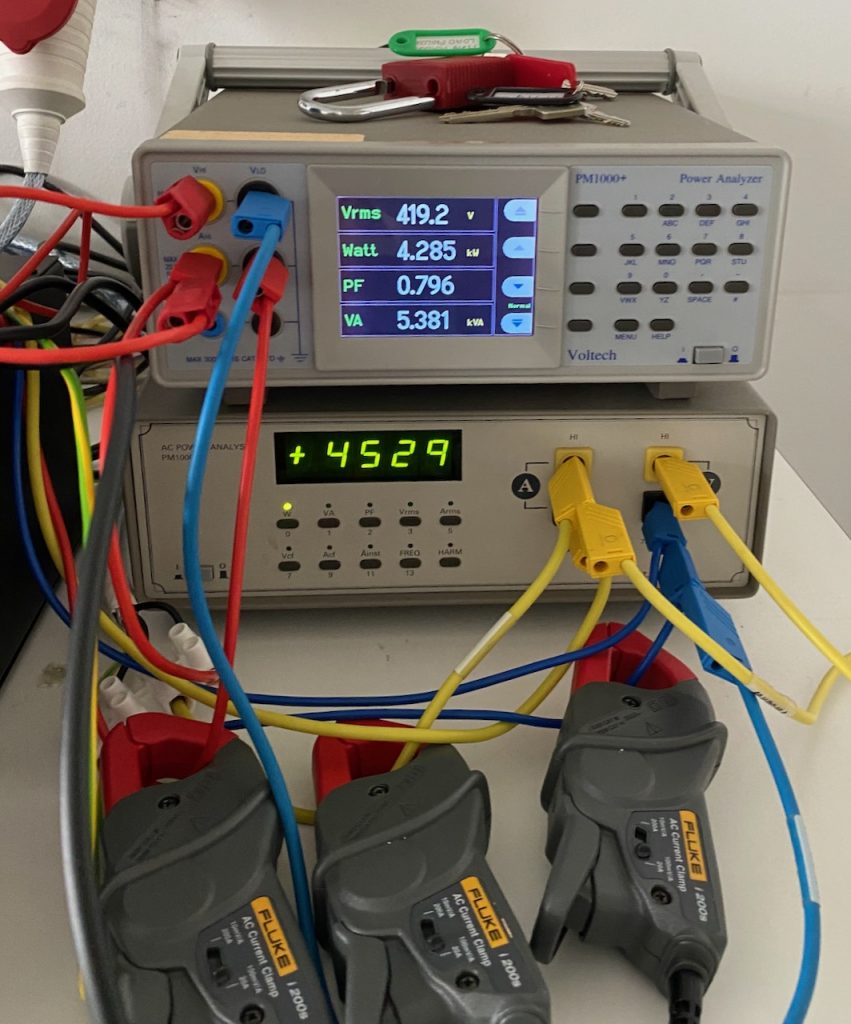
We don’t have a 3 phase power analyser in the lab, so I used 2 single phase ones on the input, according to the old “2 wattmeter method“. To be honest this didn’t work very well, as the power drawn by the PTC heater was always changing, and it was impossible to make sure the 2 meter readings corresponded to exactly the same time. Also, the PF reading is rubbish due to the inherent 30 degree phase shift: to get the actual PF you have to plug the wattage readings into a complicated formula.

When the heater reached steady state, I measured an input power of 2000W, an output of 1900W, and a power factor of 0.96. From an academic point of view it would have been nice to measure the efficiency at higher powers, I expect that 100W is mostly switching losses and the efficiency will increase with heavier loads.

The main goal was to get confidence that the PFC would work at its first gig, and this has been achieved πŸ™‚

PFC part 10.5: Don’t contact me, I’ll contact you

Another problem I have with the cabin heater testing (And the PFC testing πŸ™‚ ) is that the PFC is not designed to start up into a load. This isn’t a problem for the intended application, as the Tesla coil won’t draw any current until it’s commanded to. But to power a resistive load, I have to use a switch to connect the load after the PFC has started up.

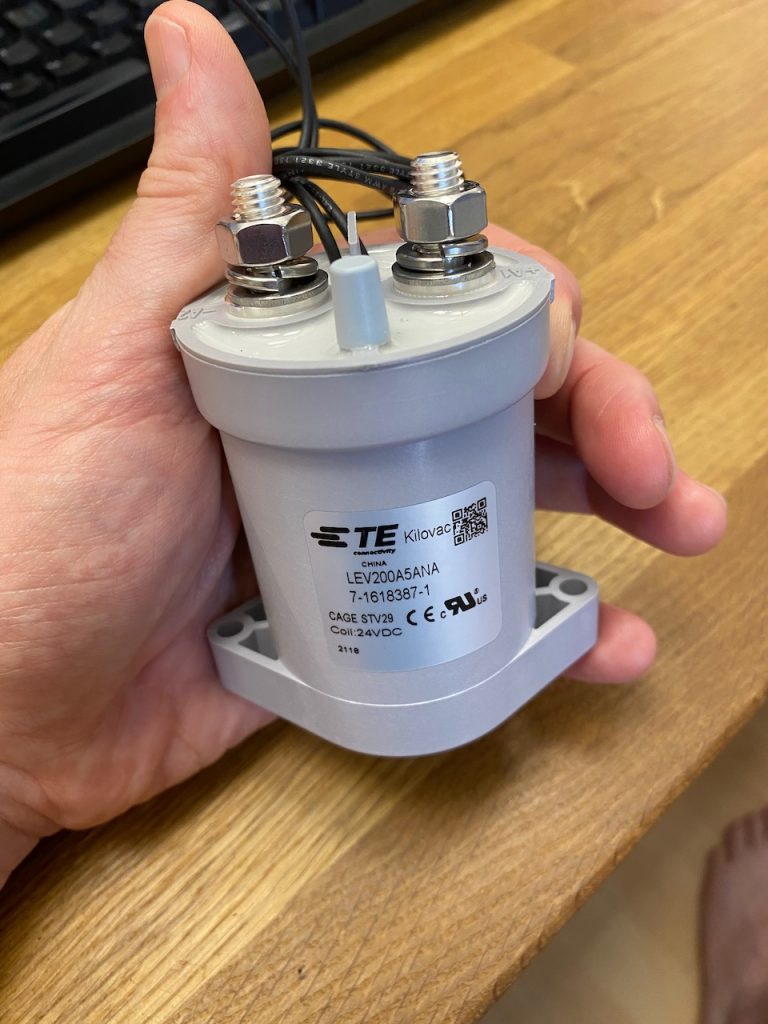
For the previous immersion heater tests I used an ordinary 240V AC rated switch. This will make a DC circuit, but won’t break it: the arc simply won’t go out until the entire switch is incinerated. Of course if you’re reading this there’s a fair chance that you actually enjoy burning things to a crisp with electric arcs, but I have to be on my best behaviour to get the keys to the 3 phase outlet at work, and proper DC rated contactors are getting cheaper anyway thanks to the proliferation of electric vehicles.

The Kilovac LEV200 has hydrogen filling and a permanent magnet to blow out the arc. It’s good for several hundred amps at 900V DC.

As one might expect, it makes a satisfying clunk.

PFC Part 10: Integration test

It was time to put it all together! (This actually happened in March- these are post hoc posts πŸ™‚ )

Tesla coil driver converted for 24V DC control power.

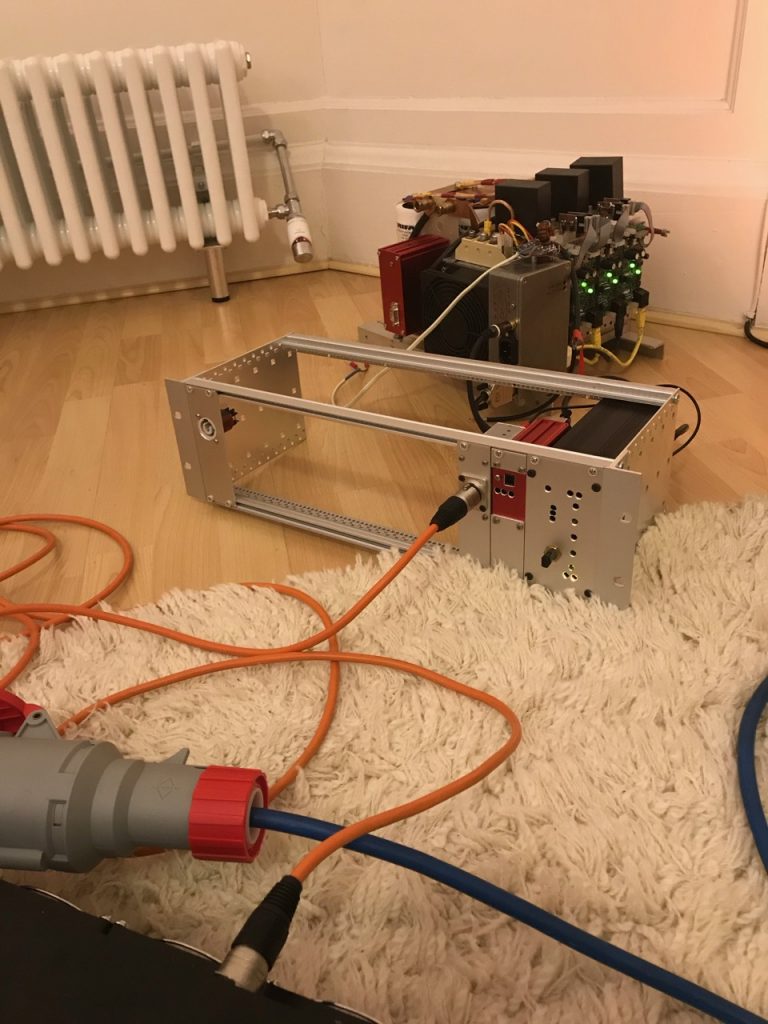
First Odin’s control electronics had to be converted to run off 24V DC instead of the original 240V AC. (And mounted in a Eurorack while I was at it…) This wasn’t too difficult as they already used 20-something volts DC internally, derived from the mains with a traditional iron cored transformer and rectifier, and regulated to 15V.

24V DC input module. It is essential to test this on a furry rug.

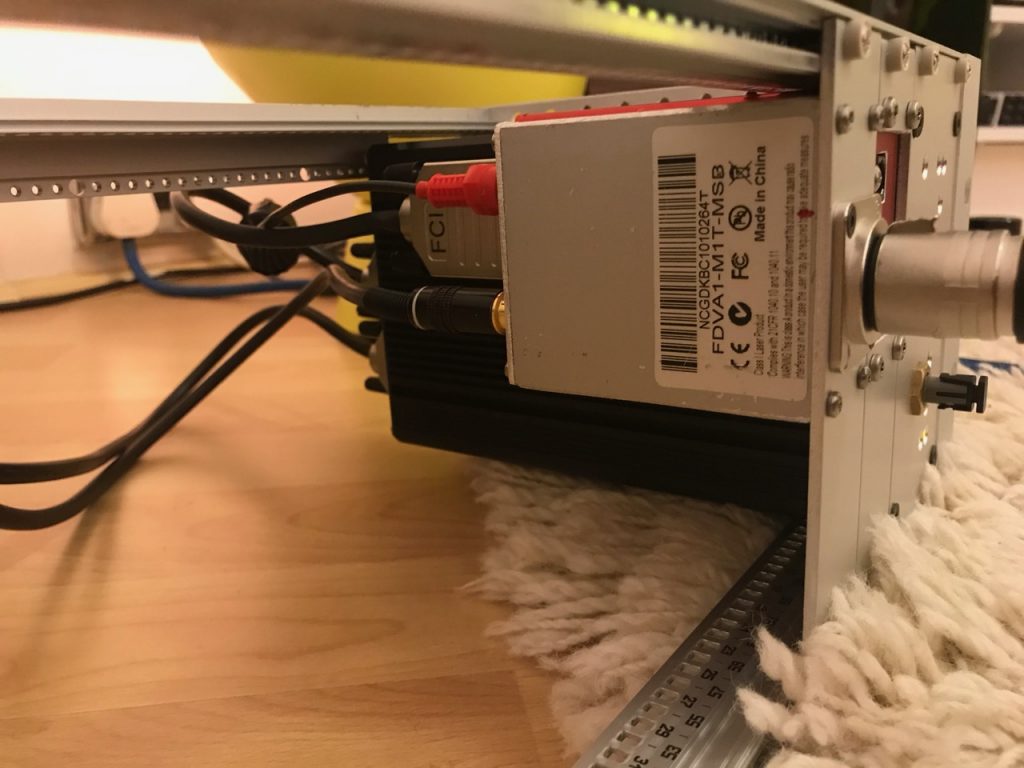
I added DC input sockets to the driver and gate drive amplifier modules, and changed the fan for a 24V one too. The original 240V AC inputs are retained in case the PFC breaks down and I need to change back to the old power supply.

The PFC will be situated at the operator’s position with long cables for 750V and 24V running to the coil. This made everything simpler, as there was no need for remote control and the circuit breaker on the PFC could be the emergency shutoff for the whole system. But it did leave the 24V cable vulnerable to strikes and general pickup of the extreme levels of EMI around a Tesla coil. My solution was to make a DC input module using a surplus Traco 40W DC-DC converter to give galvanic isolation, and lots of EMI filtering on both input and output.

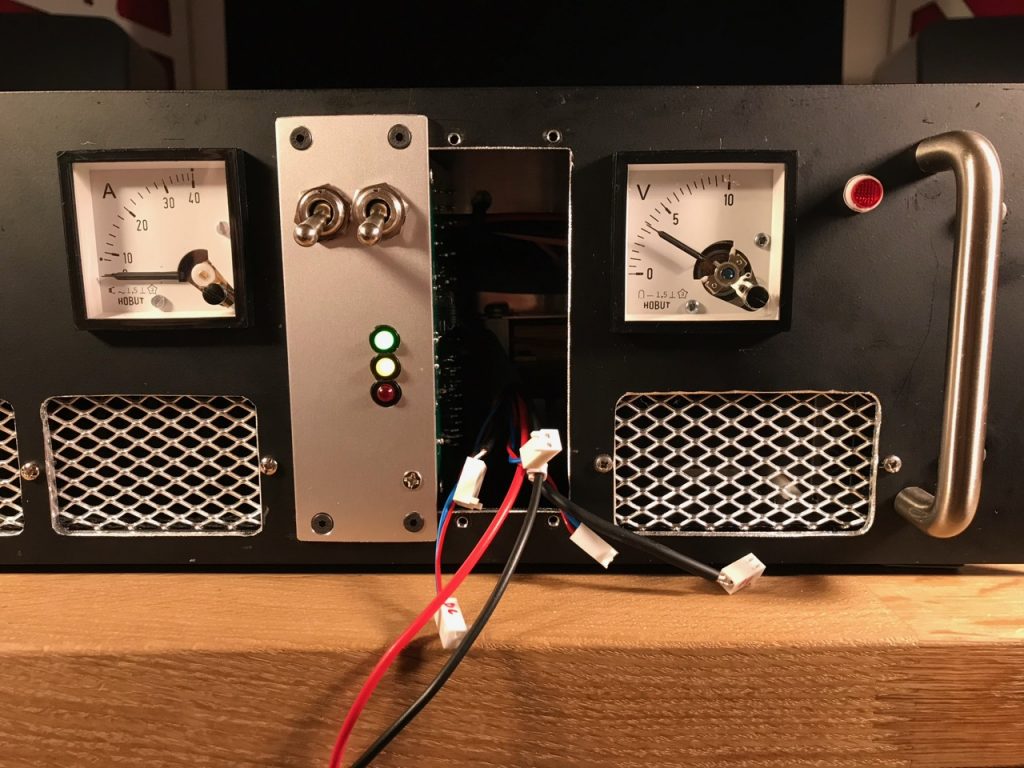
The red module is the receiver for my Teslink system that sends multiplexed control signals over a Toslink optical fibre. I finally got round to completing it (and making a Eurorack mounting transmitter too)

PFC provides 750V DC output (on left) and 24V DC (on right)

The idea is that the PFC accepts single or 3 phase power at anywhere between 208 and 415V, and supplies 24V DC to the Tesla coil electronics from its own control power supply. I didn’t want the hassle of having to change taps on control power transformers, or rather the carnage of connecting it to 415V with the taps set to 240. (I have done this before- it was messy)

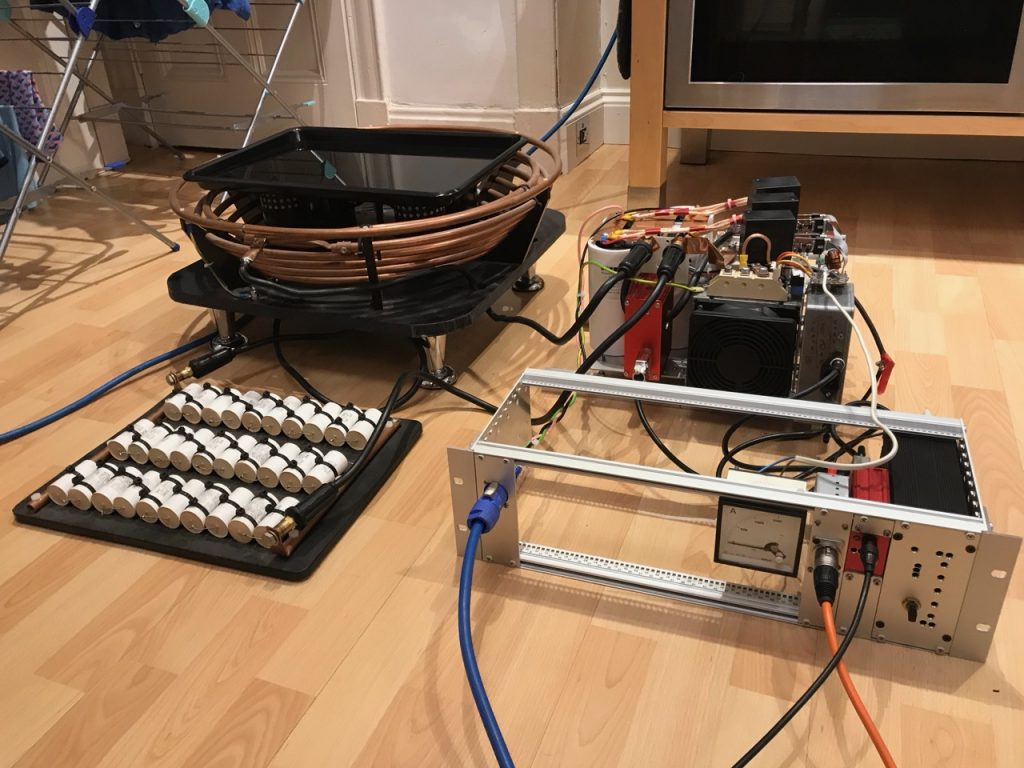
Setup for integration test

The Tesla coil primary was set up using a water-filled steel pan as a dummy load.

It didn’t explode! πŸ˜€

The next step would have been to take the PFC and immersion heater bucket to a lab with 3 phase 415V power. Unfortunately this was made impossible by the COVID-19 lockdown. The debut was to have been the Nottingham Gaussfest, but this was also cancelled. Insert corona joke here πŸ™

PFC Part 9: This case I’m working on

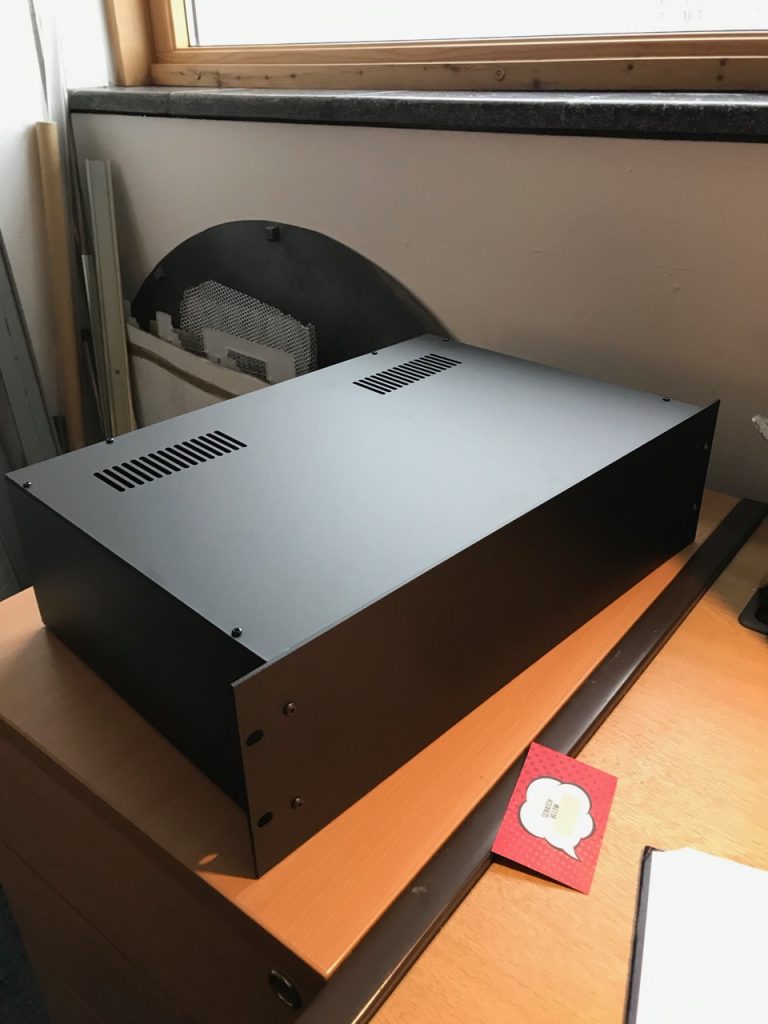
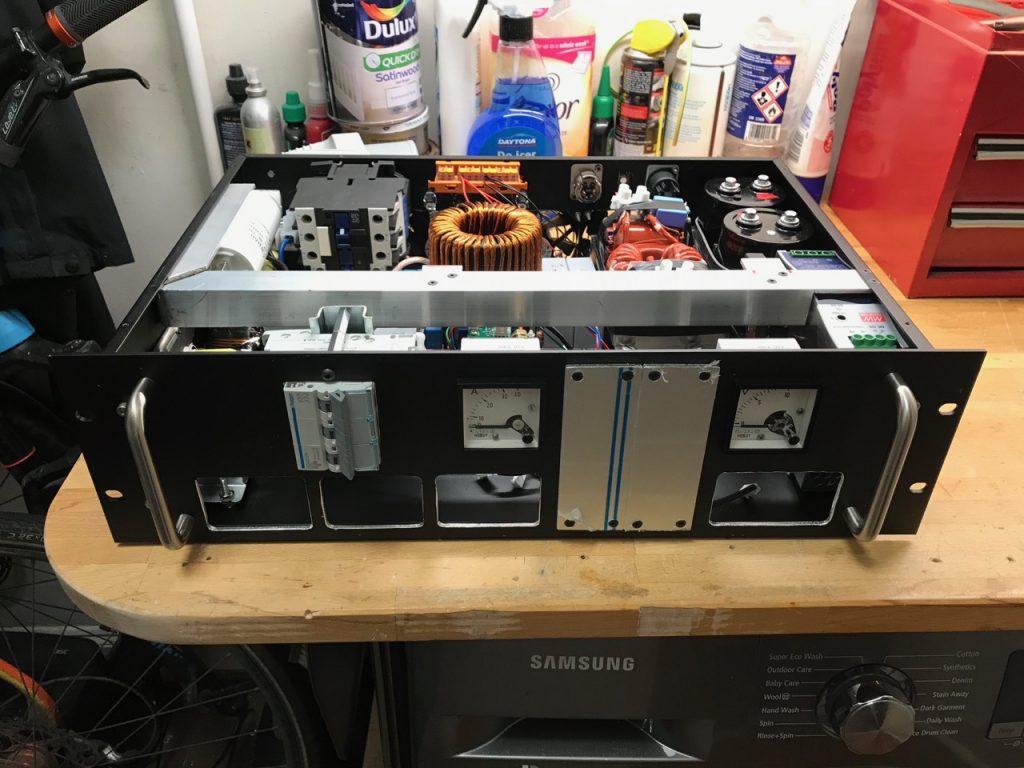
Penn Elcom rack enclosure
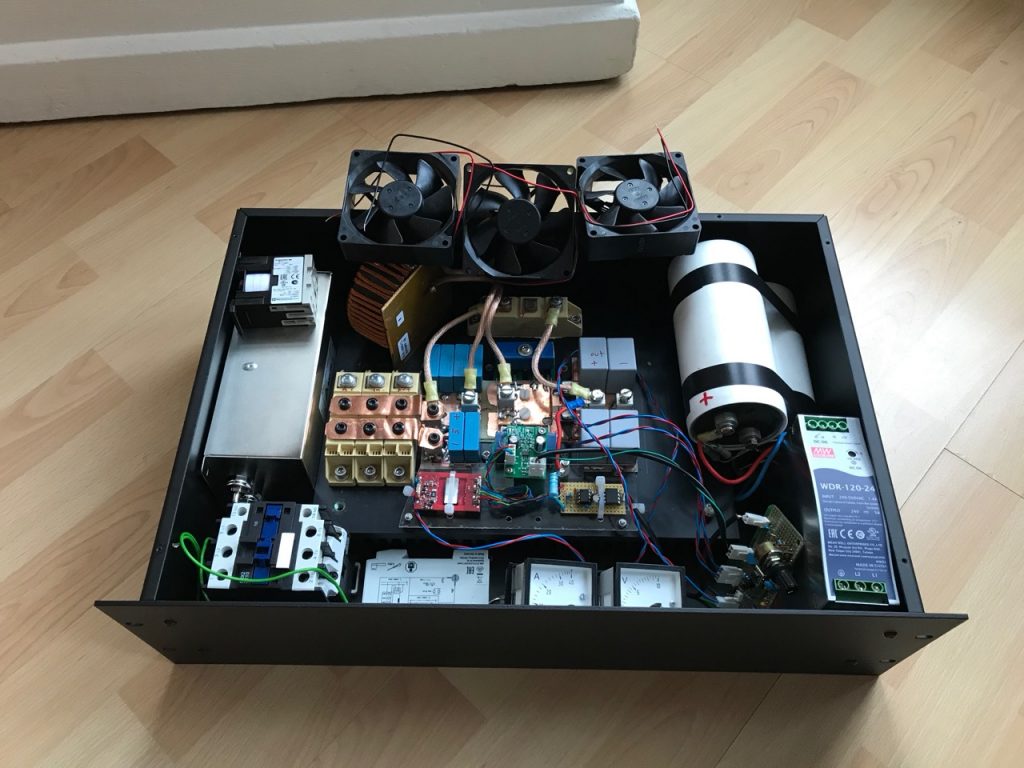
Trial fitment of components
Is this what they mean by a multi-level converter?
Trial fitment 2
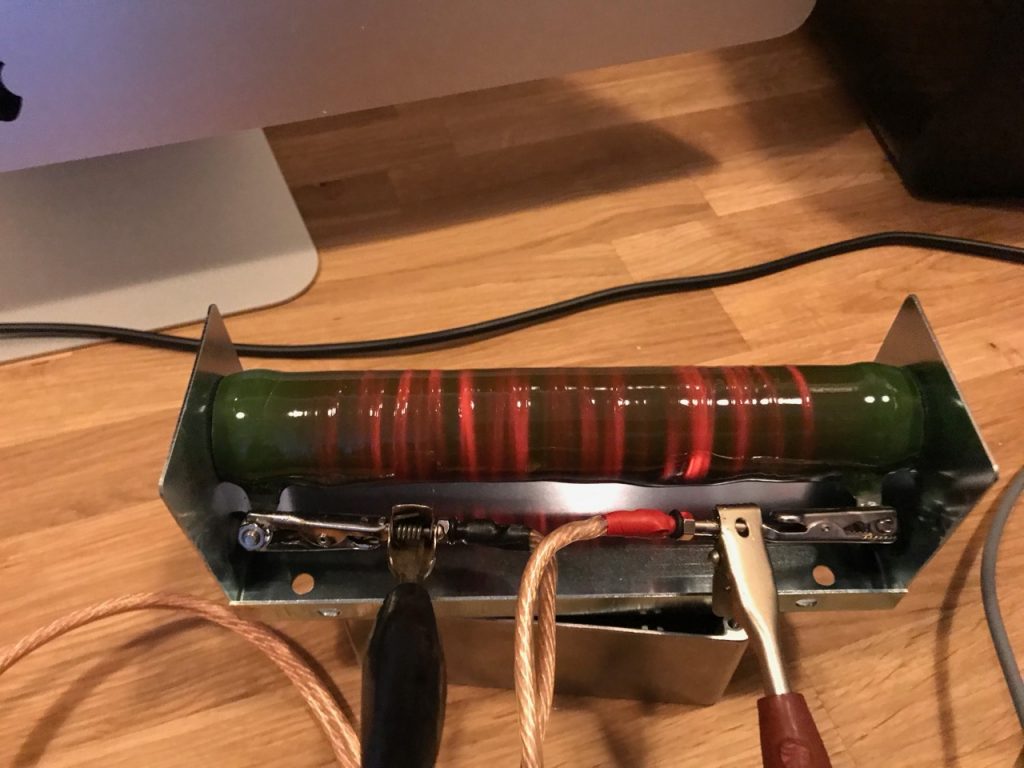
Bleed and ballast resistors attached to heatsink
Trial fitment 3 with EMI filters
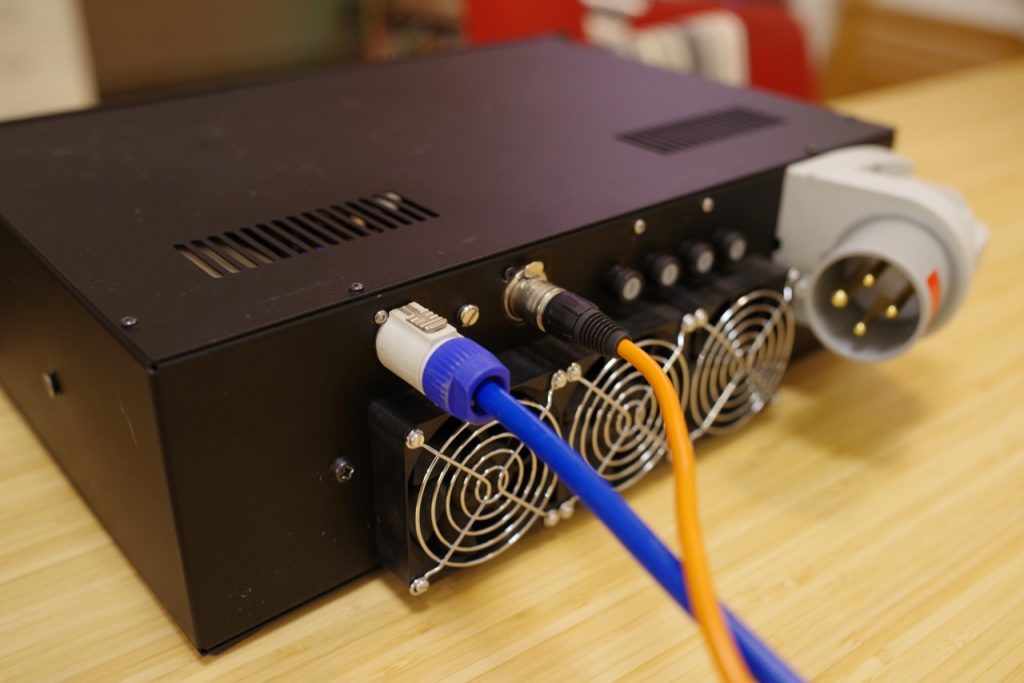
Rear panel
Metalwork nearly finished
Testing the precharge circuit
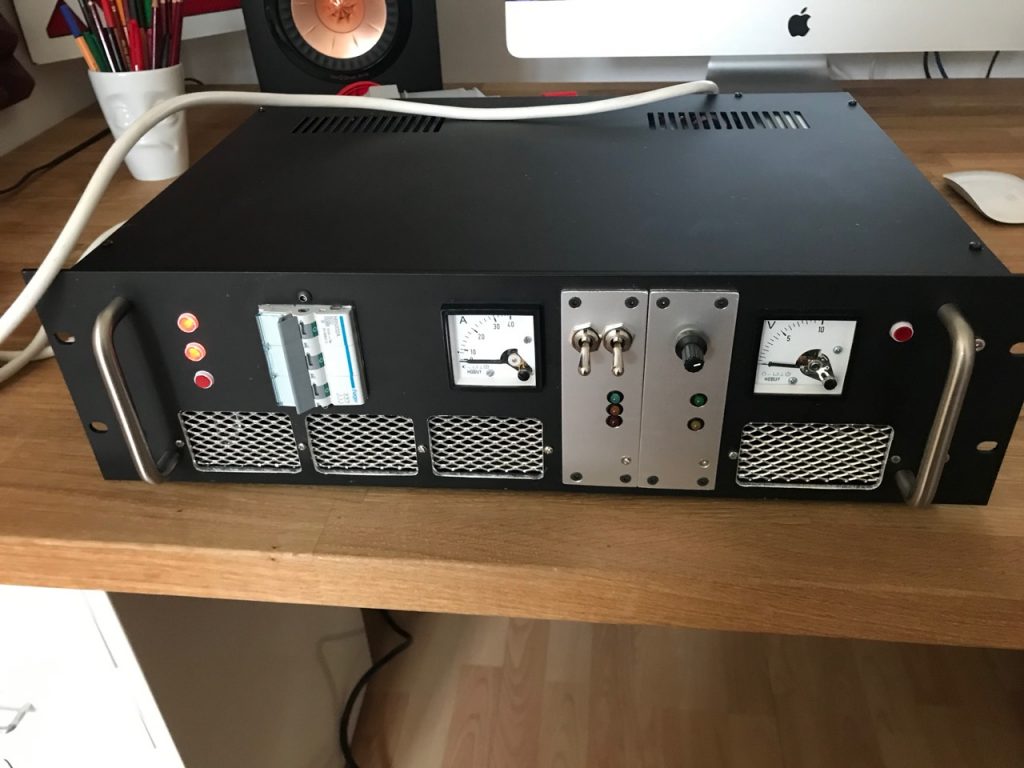
And it’s done

PFC Part 8: EMI filtering

Before I could get on with building the PFC into an enclosure, I had one last design decision to make: What sort of EMI filtering to use. The size and shape of the EMI filters would affect the rest of the mechanical design. Ok, that’s management speak for “How am I going to get all this cr@p into the 3U rack enclosure I’ve already purchased?”

Now, I deal with EMC in my day job and am vaguely familiar with the standards and test procedures, but this is a one-off handmade power supply for a Tesla coil. It’s never going to get tested for emissions, and the emissions from the Tesla coil will dwarf the contribution from the power supply anyway.

So the main purpose of the EMI filters is to protect the PFC from malfunction or damage caused by the Tesla coil emissions. These tend to be common mode transients caused by ground strikes, containing frequencies up to the 10s of MHz. There isn’t a great deal of VHF or UHF energy due to the length of the spark channel. So they really aren’t super hard to filter out.

I prefer to connect the filters so the Y capacitors (jargon term for the capacitance between lines and ground) are at the end connected to the outside world. My reasoning is that I’d rather any incoming transients were dumped to chassis ground through the capacitors, than potentially flashing over a choke.

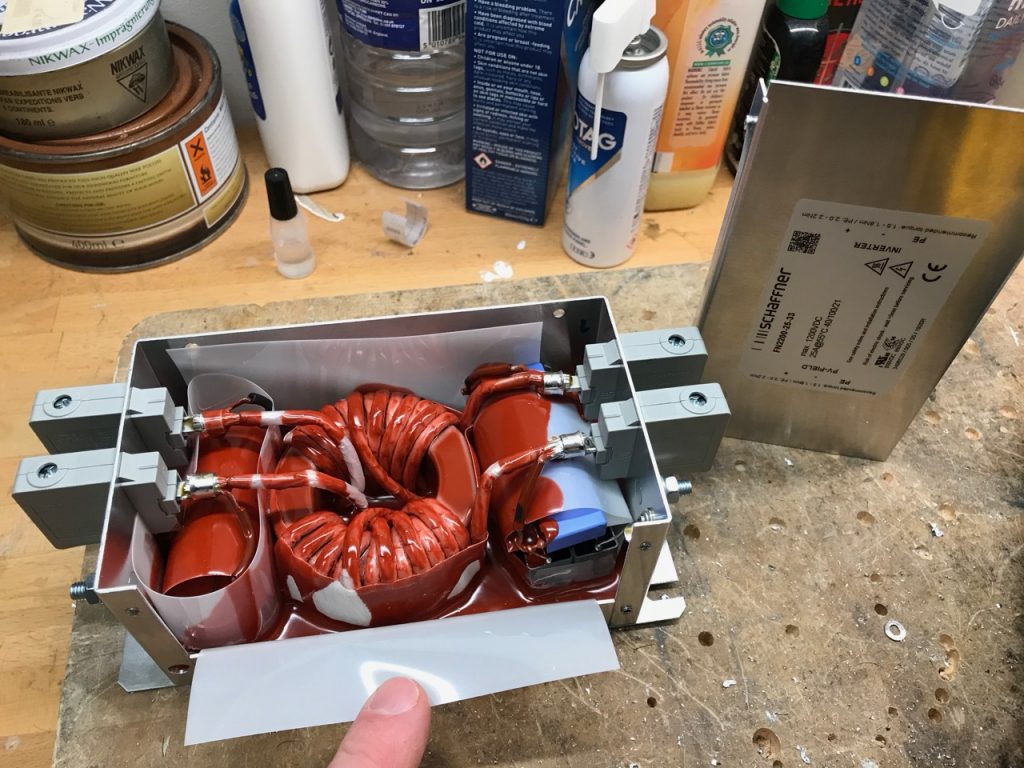
I started by trawling the RS, Farnell and Mouser catalogues for ready-made EMI filters. I ended up with a Delta 30TDVST2 for the input and a Schaffner FN2200-25-33 for the output. These both had the Y capacitors at the load end, so would have to be used backwards from the maker’s recommendation.

I soon discovered a serious problem with both filters: a very high Y capacitance. This isn’t a problem in the intended industrial application, but a bit of a show-stopper for mine. When the PFC is used on a single phase supply, the high capacitance causes enough earth leakage current to trip any RCD. Note that the Y capacitance of the DC output filter also contributes to the leakage, because the DC output is not isolated from the mains and has AC superimposed on it.

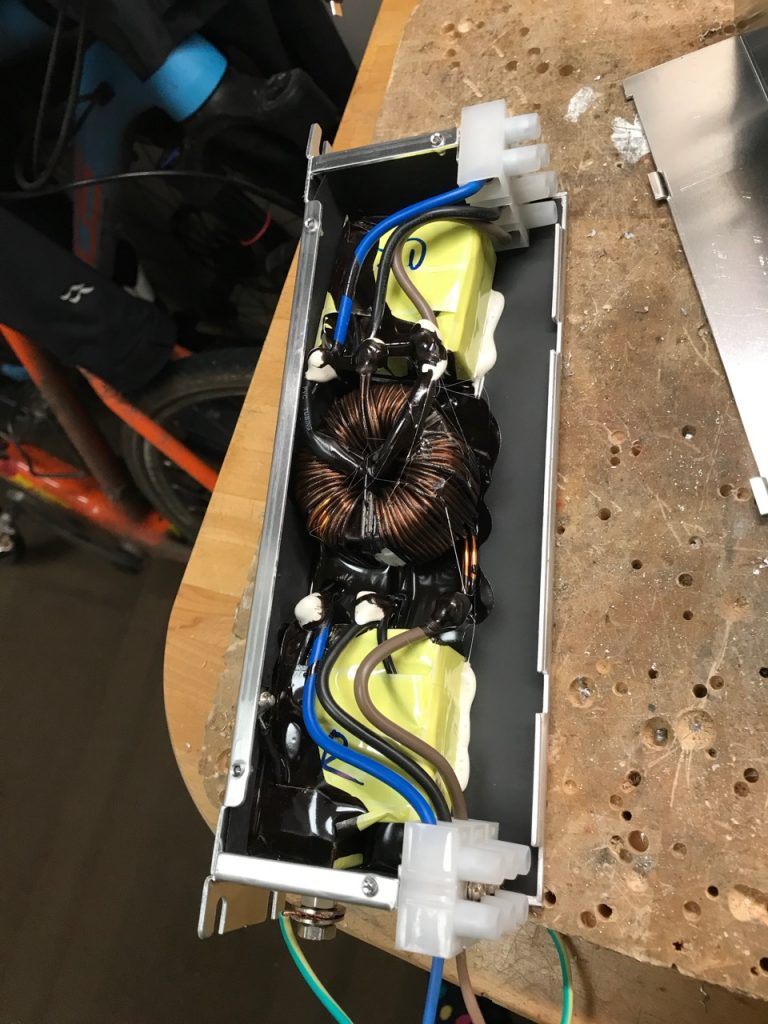
I couldn’t find any better filters, so I broke them open and set about reducing the Y capacitance.

Schaffner used stainless rivets that were a pain to drill out, but I got there.
The innards of the Delta. Not super impressed with build quality.
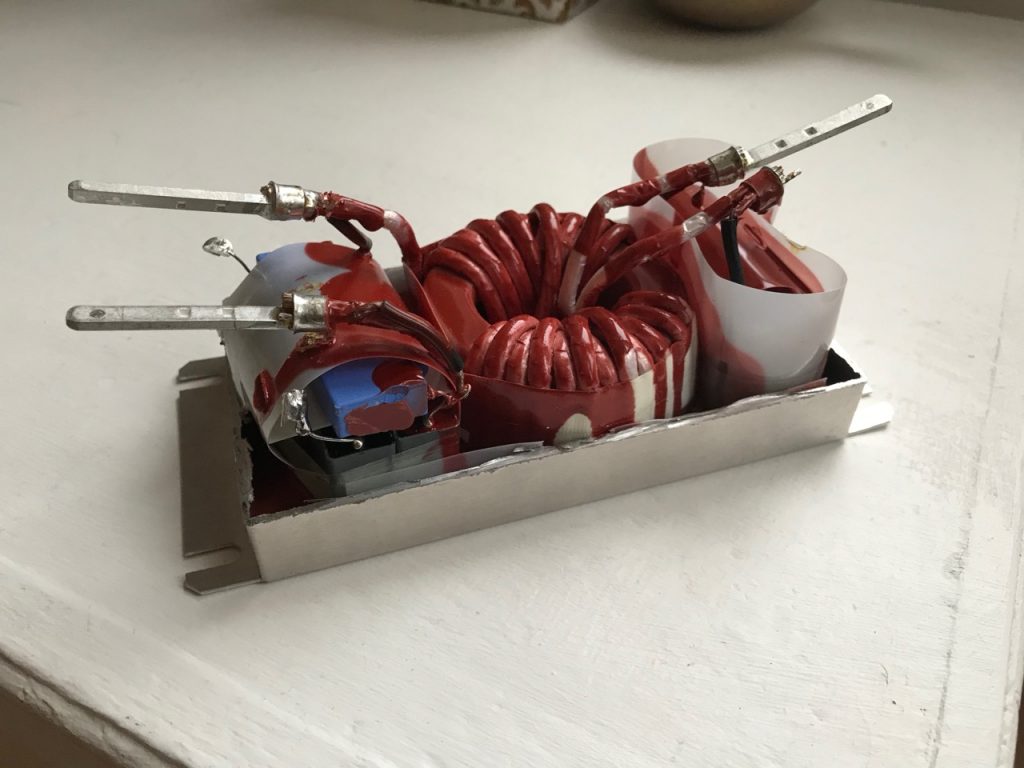
Schaffner FN2200 gets a careful trim with the angle grinder.
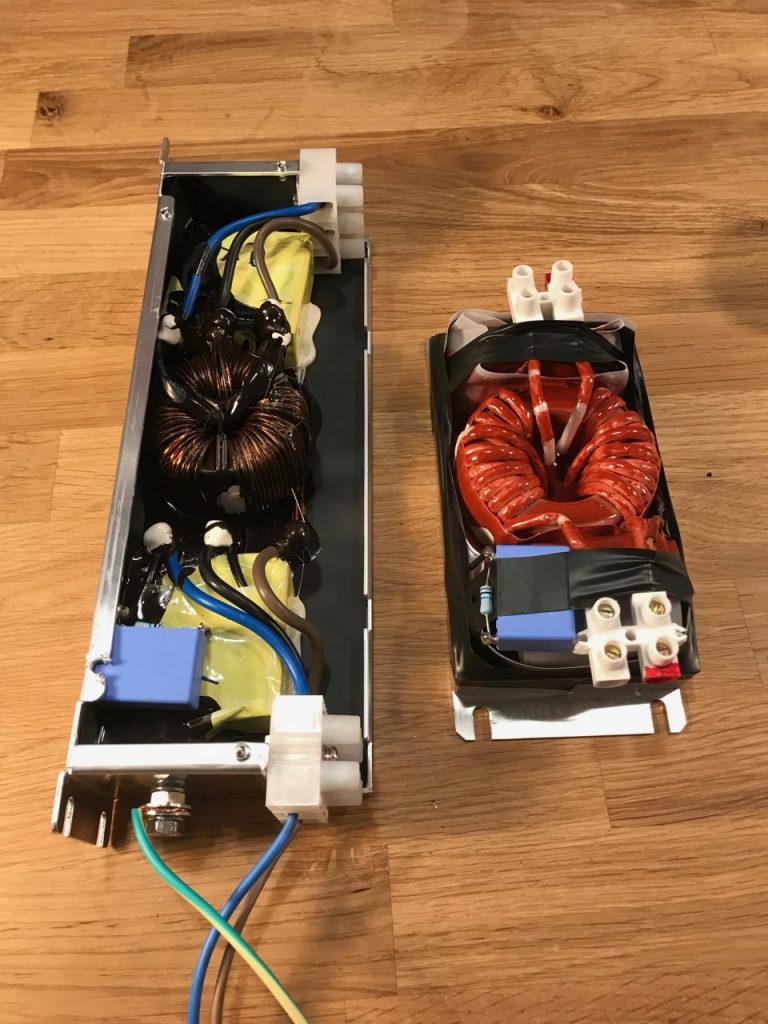
The modified filters

I lifted the connection between Y capacitors and earth, and added a 68nF capacitor in series, with a 2.2M discharge resistor. This should give a total leakage current budget of around 10mA at 240V AC. (Odin has 2 68nF capacitors from DC bus to ground already, which contribute too)

The modified filters no longer tripped my house RCDs, so the job was done. In hindsight, I wouldn’t buy ready-made filters again. It would have been cheaper to buy the parts and make them.
PFC Part 7: Auxiliary circuitry

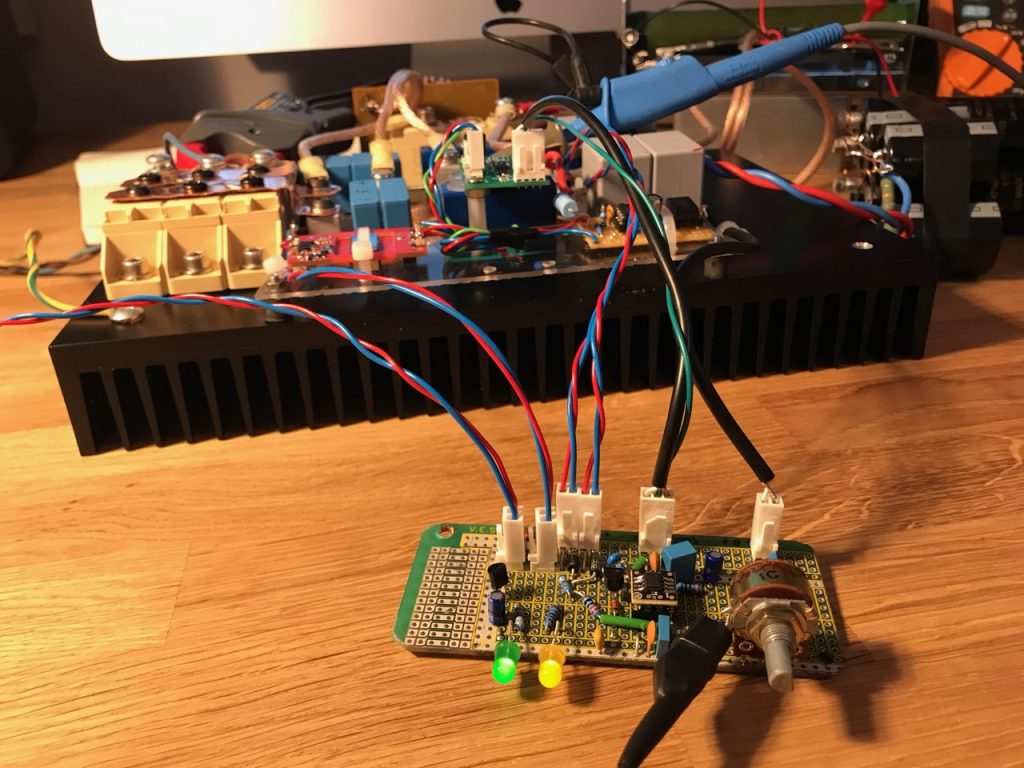
The PFC engine is working, but there are a few other things needed to make it usable. (Operationalise it? Or Heaven forbid, weaponise it? πŸ™‚ )

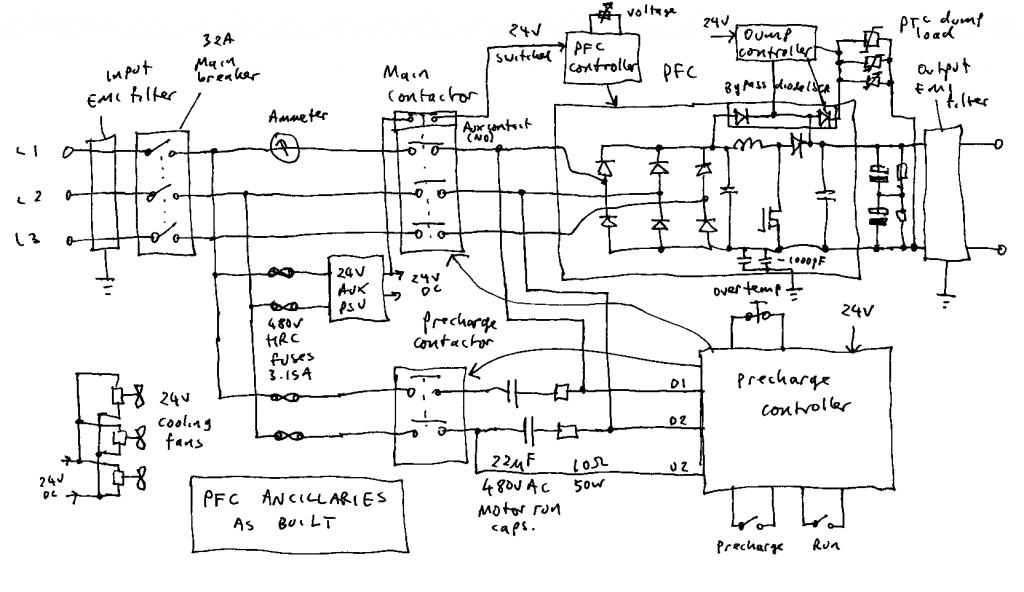
The other stuff as built. (Except the output voltmeter which I forgot)

Auxiliary power supply: The PFC needs a small amount of power to run its own control electronics. I decided to use a Meanwell WDR-120-24 switching power supply to provide 24V DC. This is an industrial grade unit that will accept any input voltage from 200 to 500V AC.

The WDR-120-24 is a bit more expensive than the usual 85-265V input range units, but vital for my goal of being able to run the PFC off either 230V single phase or 400V 3 phase power, without any kind of voltage selector switch that could cause carnage if set wrongly.

Precharge: The bus capacitance of the DRSSTC is very substantial. Odin has 4700uF after a recent upgrade. The PFC itself will also need another 1000uF to allow it to work without the DRSSTC connected. All of this has to be charged to the peak value of the mains voltage before the PFC can even start, in an orderly manner without tripping any breakers.

I chose a capacitive ballast for this job, consisting of 22uF motor run capacitors with 10 ohm resistors in series. The capacitors do most of the current limiting while the resistors protect the capacitors and main contactor from the surge when the capacitors are shorted out. The resistors are attached to the main heatsink and protected by the overtemperature cutout.

The precharge controller is based around a time delay and voltage sensing relay. (Schematic in a future post) The voltage between D1 and D2 must get over 200V, and the voltage between D2 and U2 below about 20V, before the sensing relay will pull in. This energises the main contactor, connecting the PFC input rectifier directly to the mains, and powering up the PFC controller through its auxiliary contact. The PFC then goes through its own soft start procedure, charging the DC bus capacitance to full voltage.
Dump load: The large DC bus capacitance also needs discharged when the system is powered down. My previous coils all relied on bleed resistors and took over a minute to discharge. For this build I decided to try some PTC thermistors from Epcos. (Details in a future post.)

The main advantage of PTCs is that, unlike normal resistors, they limit their own temperature and won’t catch fire or explode if the switch controlling them accidentally turns on while the DC bus is powered. This allows me to switch them with a SCR which was already present in the bypass diode module.

EMI filtering: This is as much to protect the PFC from damage by the huge transients generated by the Tesla coil, as to protect the mains from the hash thrown out by the PFC. My search for suitable off-the-shelf EMI filters is documented in another post.

PFC Part 6: High power test

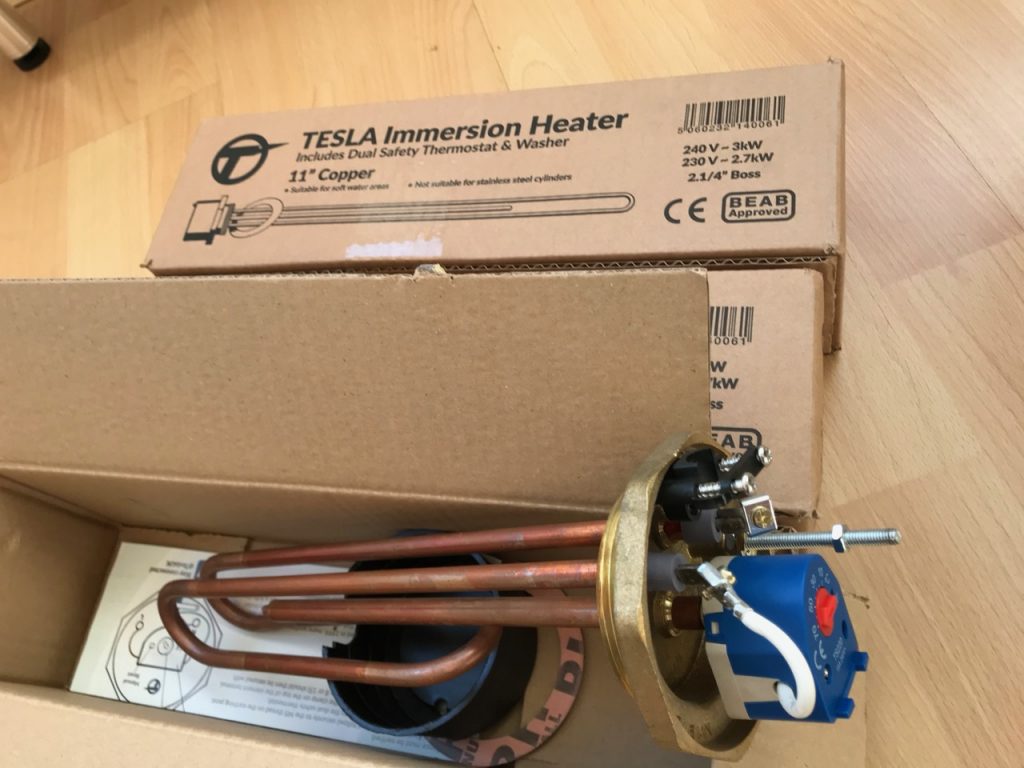
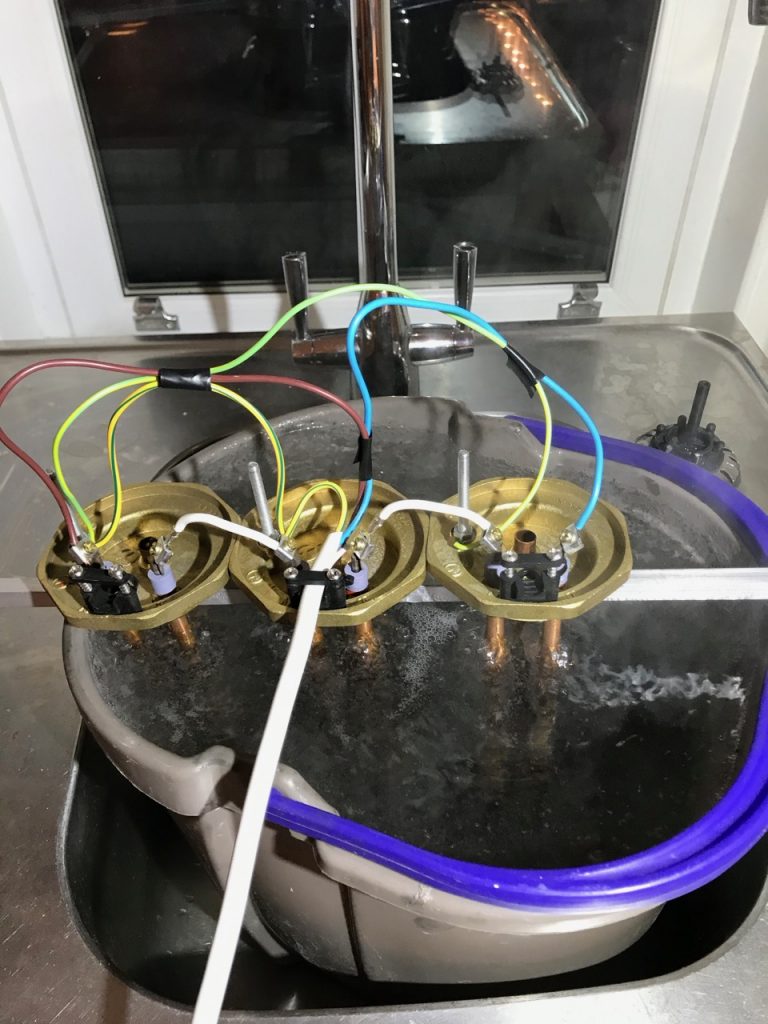
The low power test was a success, so a larger dummy load was obtained- 3x 240V, 3kW water heaters connected in series.

They’re even Tesla branded! 8)

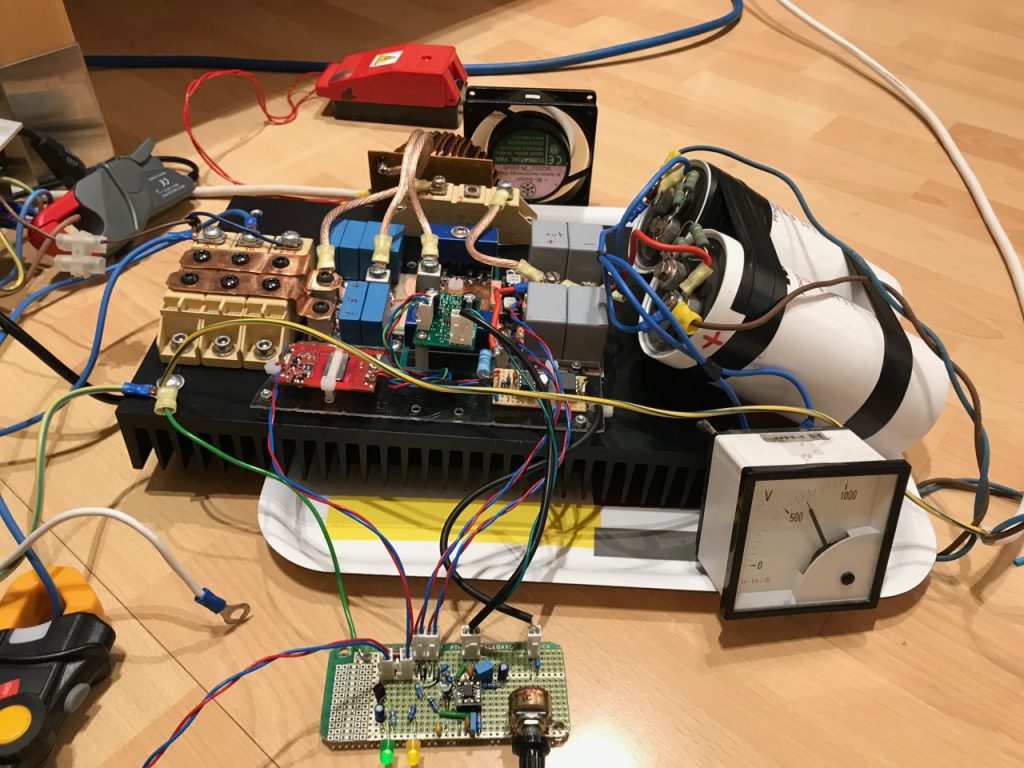
The PFC was placed on a special tea tray test fixture and temporarily wired into the electric cooker supply in the kitchen.

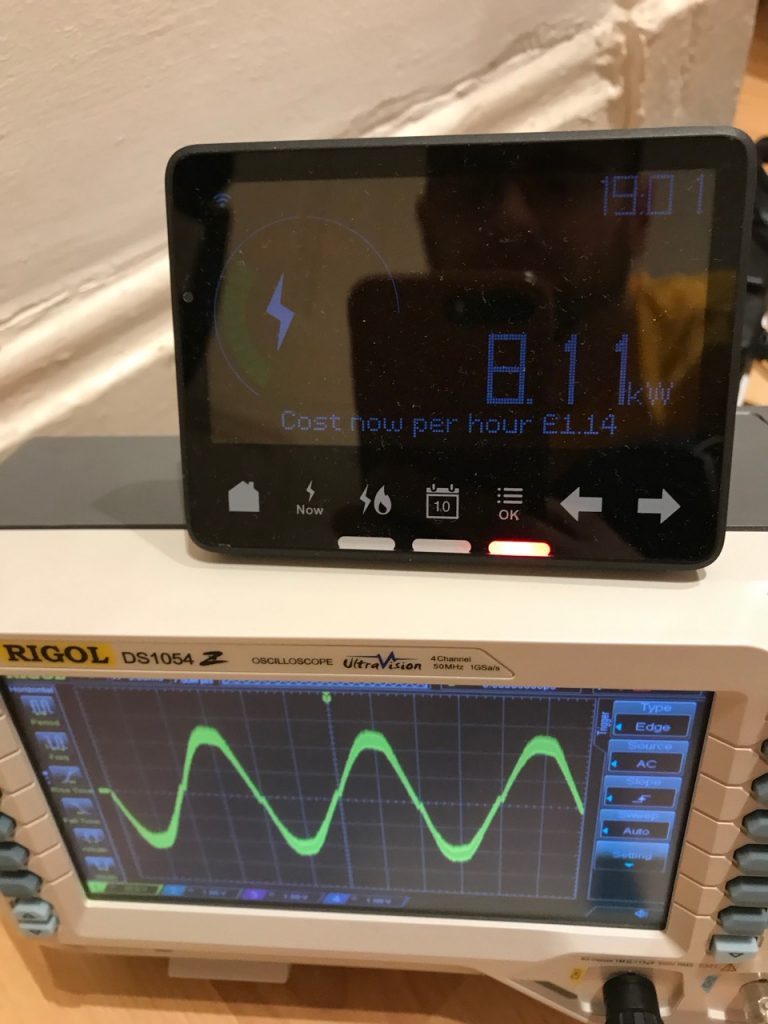
According to my smart meter the result was 8.1kW input, though the other house appliances were using a few hundred watts at this point. The line current waveform looked nice. I used an EMI filter this time so the garbage at the switching frequency is reduced.

The temptation to add 20 tea bags was strong.

PFC Part 5: Initial test

The moment of truth could be put off no longer πŸ™‚ The PFC was tested at reduced input voltage using a 110V, 100 watt heater as a load.

Complete assembly. Note bunch of extra electrolytic capacitors on output.
Line current waveform looks reasonable. (Using a Fluke current clamp)
Maybe a bit more than 100 watts?