Category: Electric vehicles

  • Zero test ride

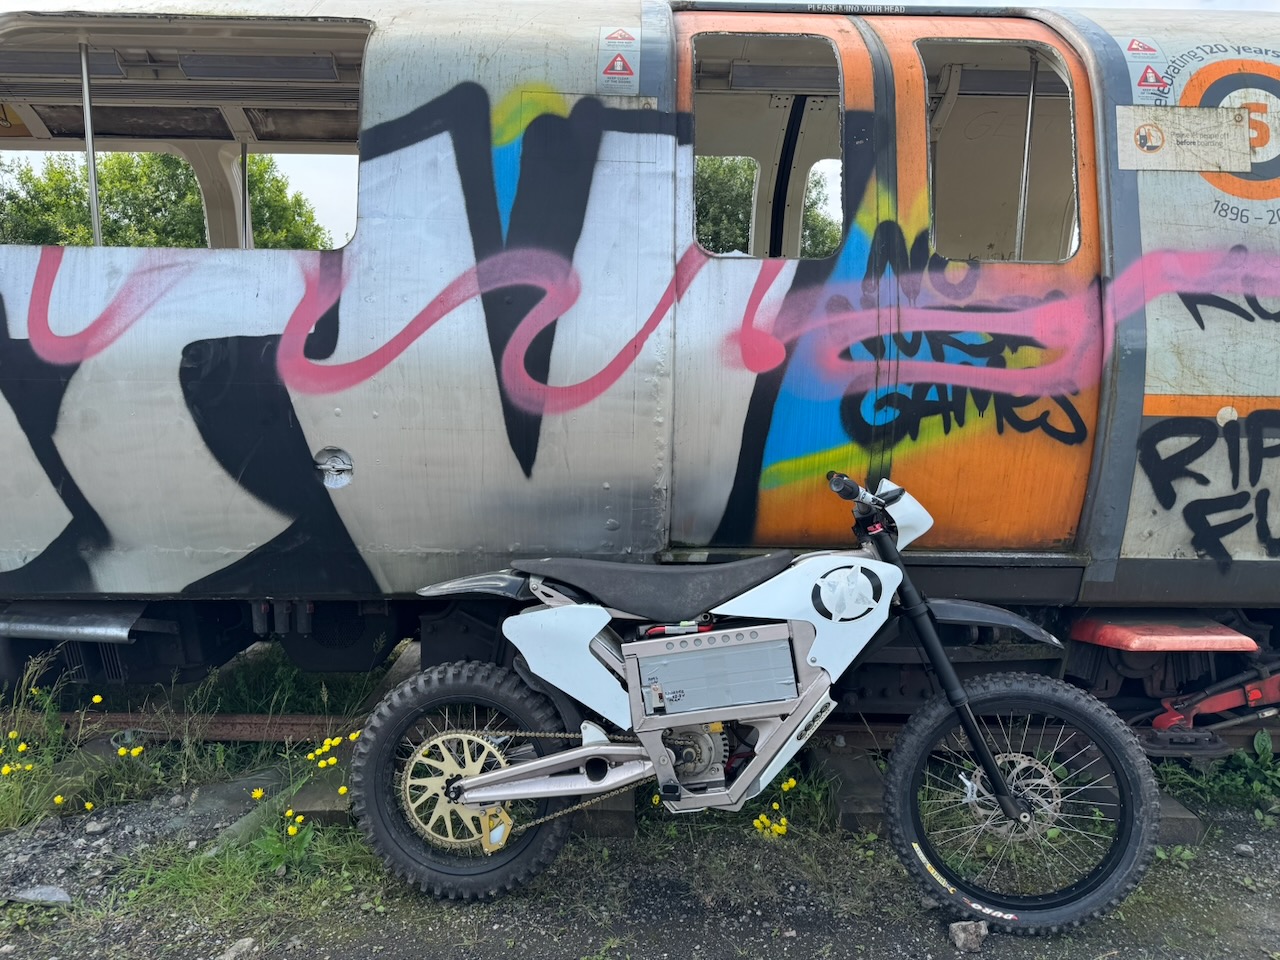
    I took the Zero to an undisclosed location to give the new battery a workout. I rode it 18.5km off road and achieved a max speed of 68km/h, just a bit short of the manufacturer’s claimed 80km/h. I went as fast as I dared and used full throttle at every opportunity. The forks performed well after their DIY service with random oil grade and quantity.

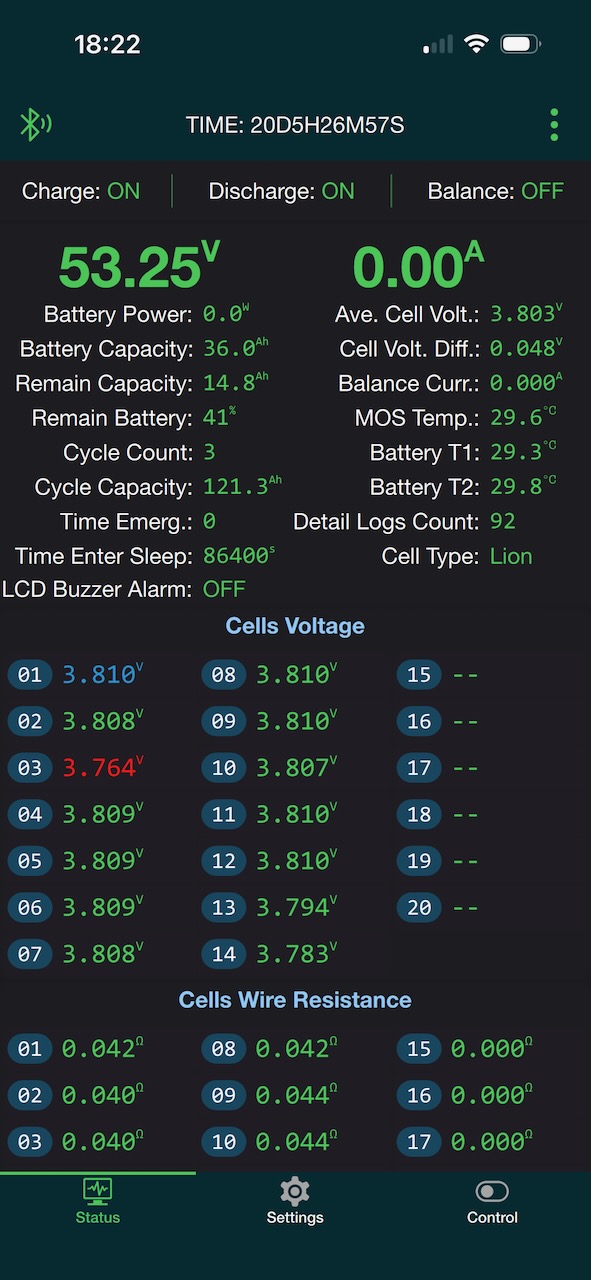
    This is what the battery status looked like afterwards.

    JK BMS app screenshot

    After the ride I discharged the battery until it cut off on cell undervoltage, and there was a bit more capacity remaining than the 41% estimate. Also after discharging it, the bike’s own fuel gauge showed red.

    So my verdict is that this new battery is plenty good enough and might even work with the existing pack-level voltage monitoring, even if it doesn’t have perfect SoH. I can see how it might deliver something like the claimed 40 miles of range if ridden slowly on flat ground.

  • Zero X facts

    [Fork about and find out]

    Here I’m documenting the things about this bike that I couldn’t find out anywhere else. This post will be updated as I find out more.

    FORKS

    They look cool AF but have no identifying markings and there is no service information to be had anywhere. Google AI thinks they were Zero’s own design.

    They had absolutely no damping and made horrible clunking noises, so we (myself and the bike’s actual owner πŸ™‚ ) decided to open them up and try to service them anyway. Sorry for the lack of pics.

    They turned out to have a quite similar design to mountain bike forks that I’ve serviced in the past, like the Rock Shox Pike and Domain. Indeed the Zero has a standard 1 1/8″ threadless MTB headset, and downhill MTB forks would probably fit and work well.

    The left hand leg (the one with the brake caliper) contains a coil spring. The adjuster knob on top is coil spring preload. There is an air valve in the bottom of this leg that just seems to generate more preload. We added a small amount of oil to this leg and put it straight back together.

    The right hand leg is a combined air spring and damping cartridge. The adjuster knob is rebound damping.

    This one was squirting oil from a blown O-ring when we got it. We replaced all of the O-rings with ones from a kit bought from Amazon. πŸ™‚ They seem to be metric but a bit fatter than the most popular metric sizes.

    To open this leg you have to release any air pressure, unscrew the top, empty out the oil (there was practically none left) and compress it fully, which will reveal a nylon nut on top of the inner leg. Undo this nut and the damper innards will come out of the inner leg, which can then be slid out of the outer if desired.

    This leaves a floating air piston in the bottom of the inner leg which can be ejected with air pressure to the Schrader valve. (If you forgot to release the air pressure, it has already hit you in the forehead.) The piston has 2 O-rings that probably need replaced too.

    We had to figure out the oil volume for this leg by trial and error, by adding more until the damping started to work. It ended up about 250ml. I tried searching for this info online, but the internet couldn’t decide if it was 85ml or 350…

    10wt Castrol motorcycle fork oil was used, because that was what Halfords had on the shelf. πŸ™‚ 40psi of air pressure in the coil spring leg and 85-100psi in the damper leg felt about right.

    ORIGINAL BATTERY

    The original battery was completely missing. It died on the previous owner and got lost when it was sent back for repair.

    It was a 14S12P arrangement of Molicel 26700 lithium ion cells. These were some of the first high-drain cells, capable of much higher discharge currents than the typical laptop battery.

    After studying the construction I can’t imagine how this battery could have failed prematurely πŸ™‚ but here we are…

    MOTOR

    A Motenergy ME0708 brushed permanent magnet DC motor. Capable of 4.8kW continuous and 15kW (20.1hp) for one minute.

    CONTROLLER

    An Alltrax NPX 300A model with custom firmware for Zero. Not reprogrammable or tunable.

    DASHBOARD

    Has a LED bargraph voltmeter, a LED that turned green when I stuffed that resistor in the battery temperature sensor plug, and two switches: 25/50mph speed limit and low/high torque.

    The power has to be cycled using the ignition key or handlebar kill switch to make these switch settings take effect.

    More info: The LED goes solid green when the bike is ready to roll and flashes various error codes when there’s a problem. I verified 6 flashes for battery undervoltage lockout, the other suggestions might be AI hallucinations…

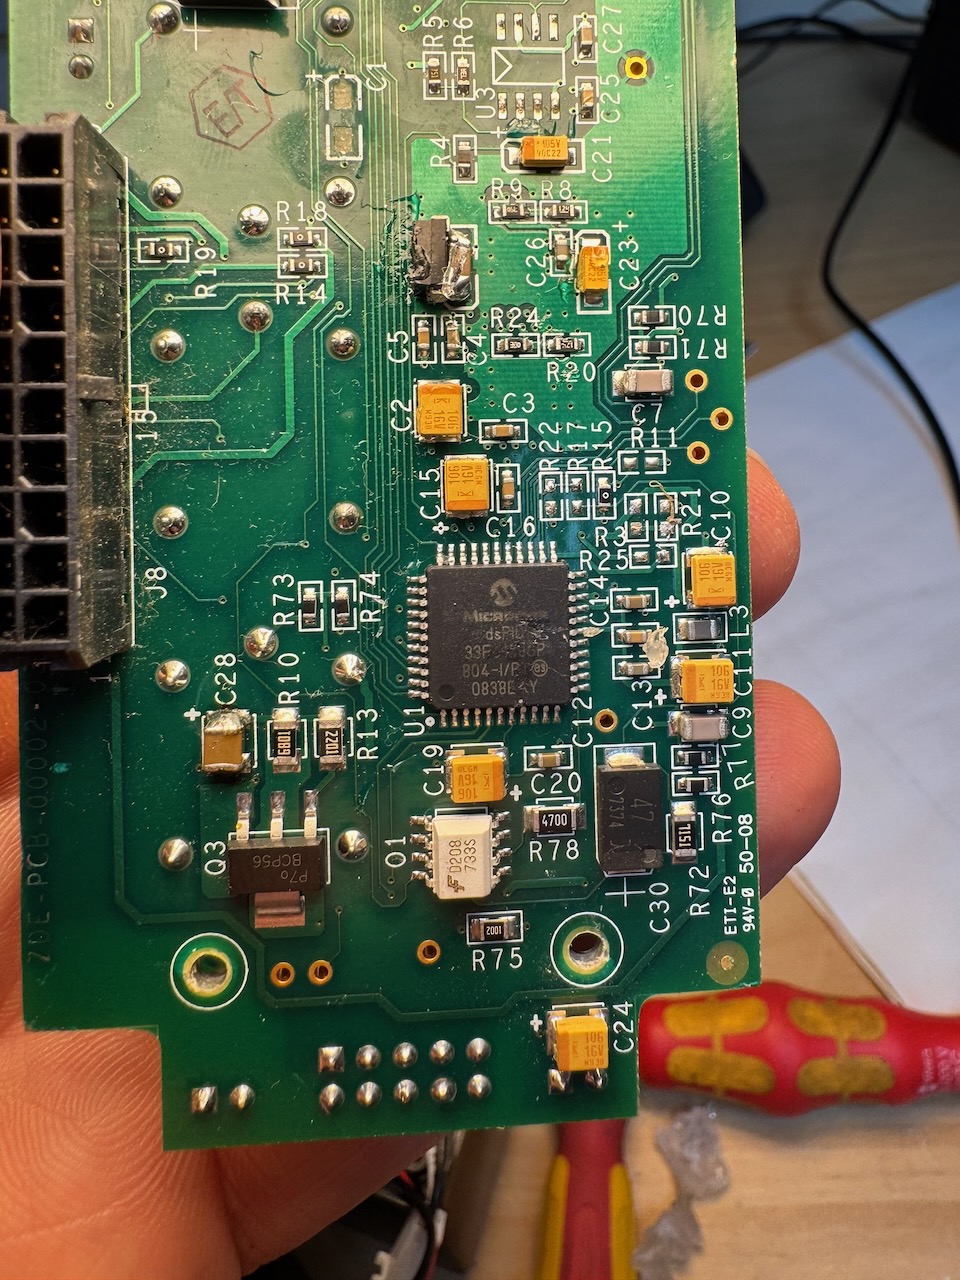
    I opened up the dash and it looks hella complicated! There is a Microchip dsPIC in there. I think it must be performing some kind of throttle mapping to make the bike feel less like a golf cart πŸ™‚ The Alltrax controller has a half throttle input, but it isn’t connected to anything.

  • Zero e-moto battery

    [Building a new battery for a 2009 Zero X]

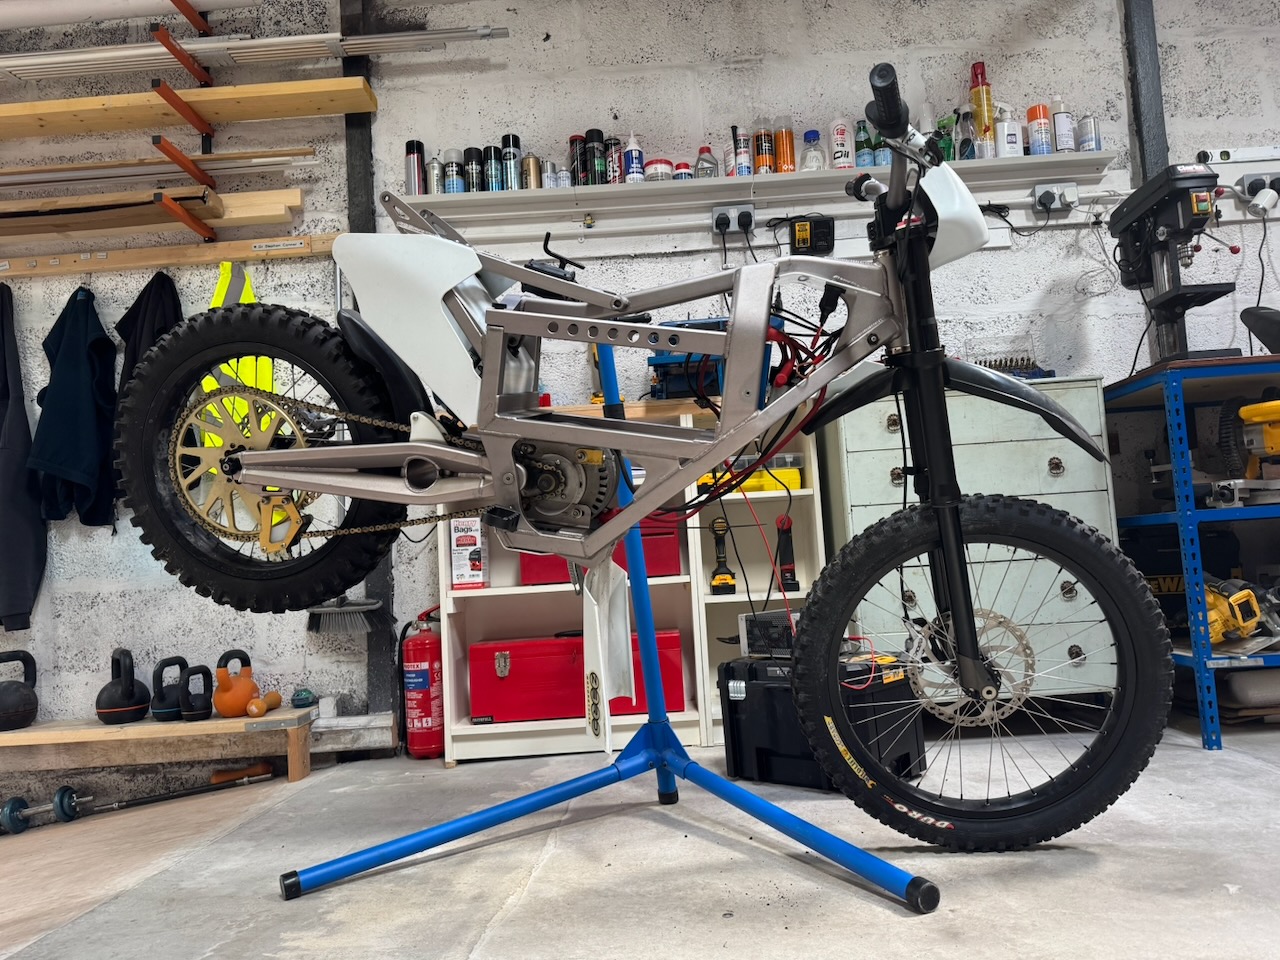
    This electric motorcycle arrived at Conner Labs with a sad empty hole where the battery should have been.

    The battery connected with a standard Anderson plug and another smaller 2 pin connector. Could it be some annoying custom BMS data connection? Or just a battery temperature sensor? I opened negotiations by stuffing a 10k resistor into the small plug and connecting a 48V power supply to the large one.

    The dashboard lit up and the rear wheel turned, which seemed pretty encouraging.

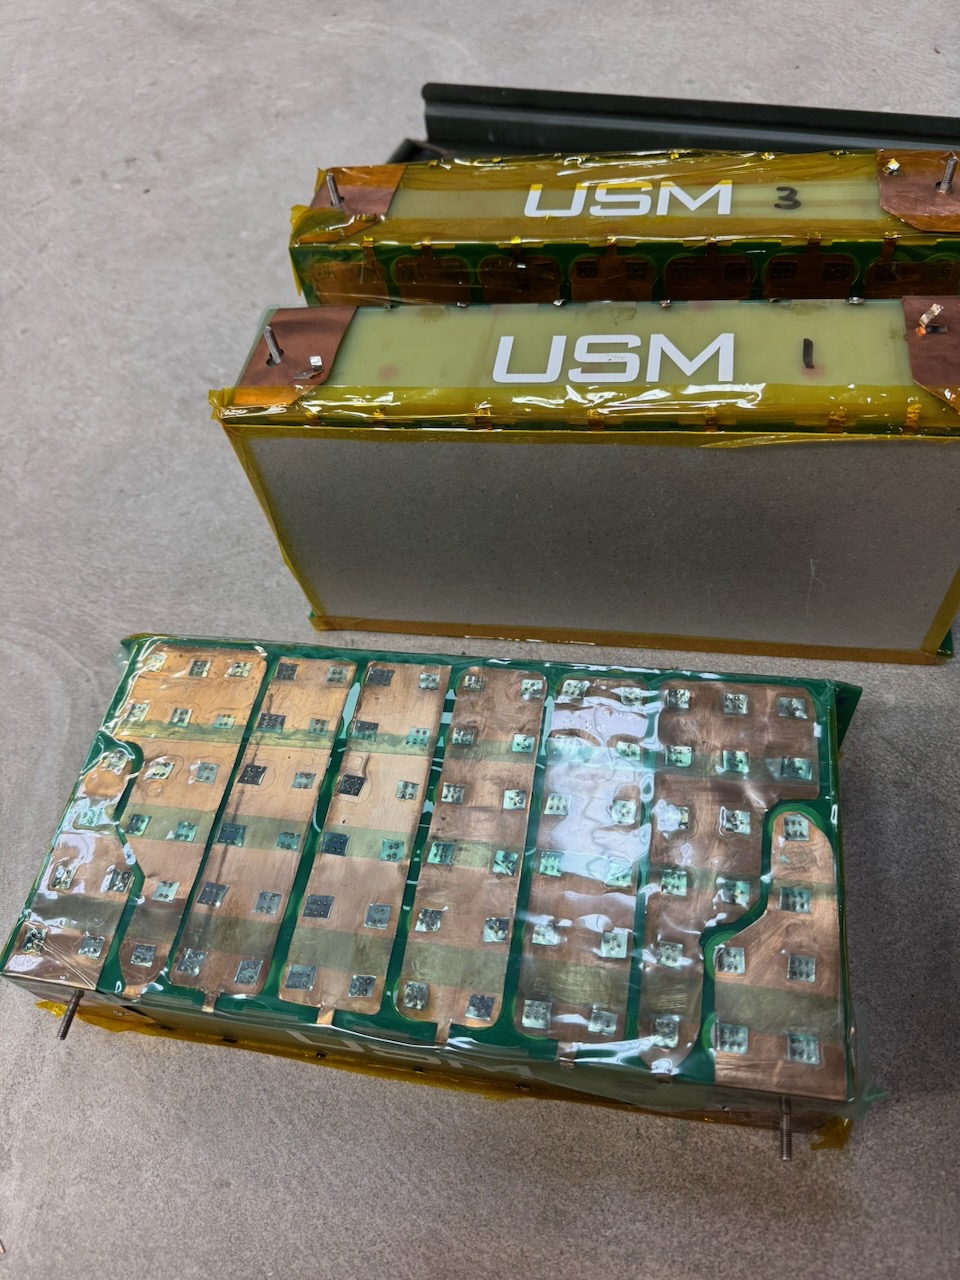
    Soon after, some battery modules from a Formula Student electric race car also turned up. Thanks University of Strathclyde Motorsport πŸ™‚

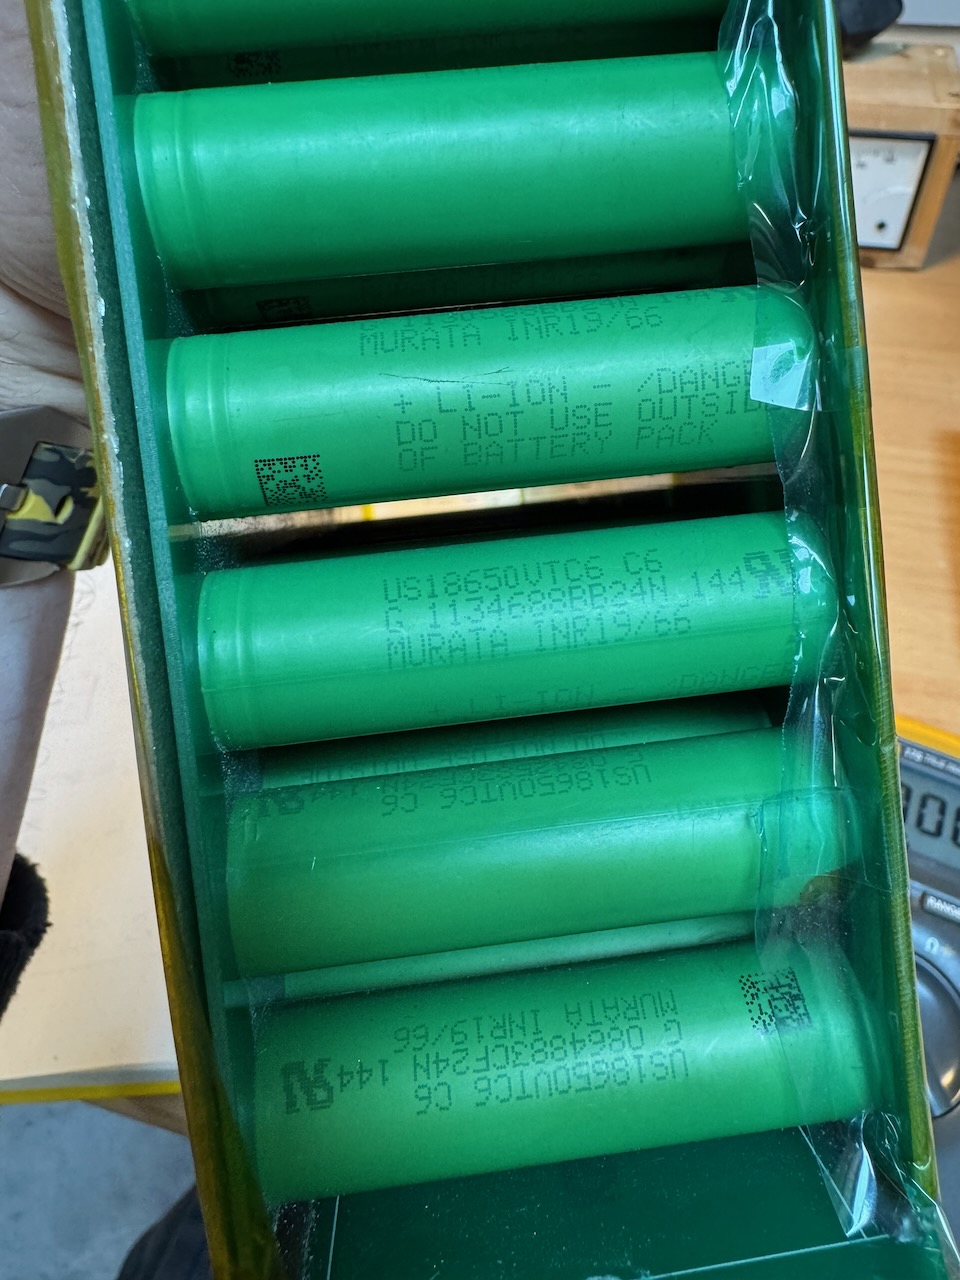
    Ooh, Sony/Murata VTC6 cells, I wonder what state of health they are in?

    These modules are 14S6P, and in a stunning coincidence, the Zero’s original battery was also 14S.

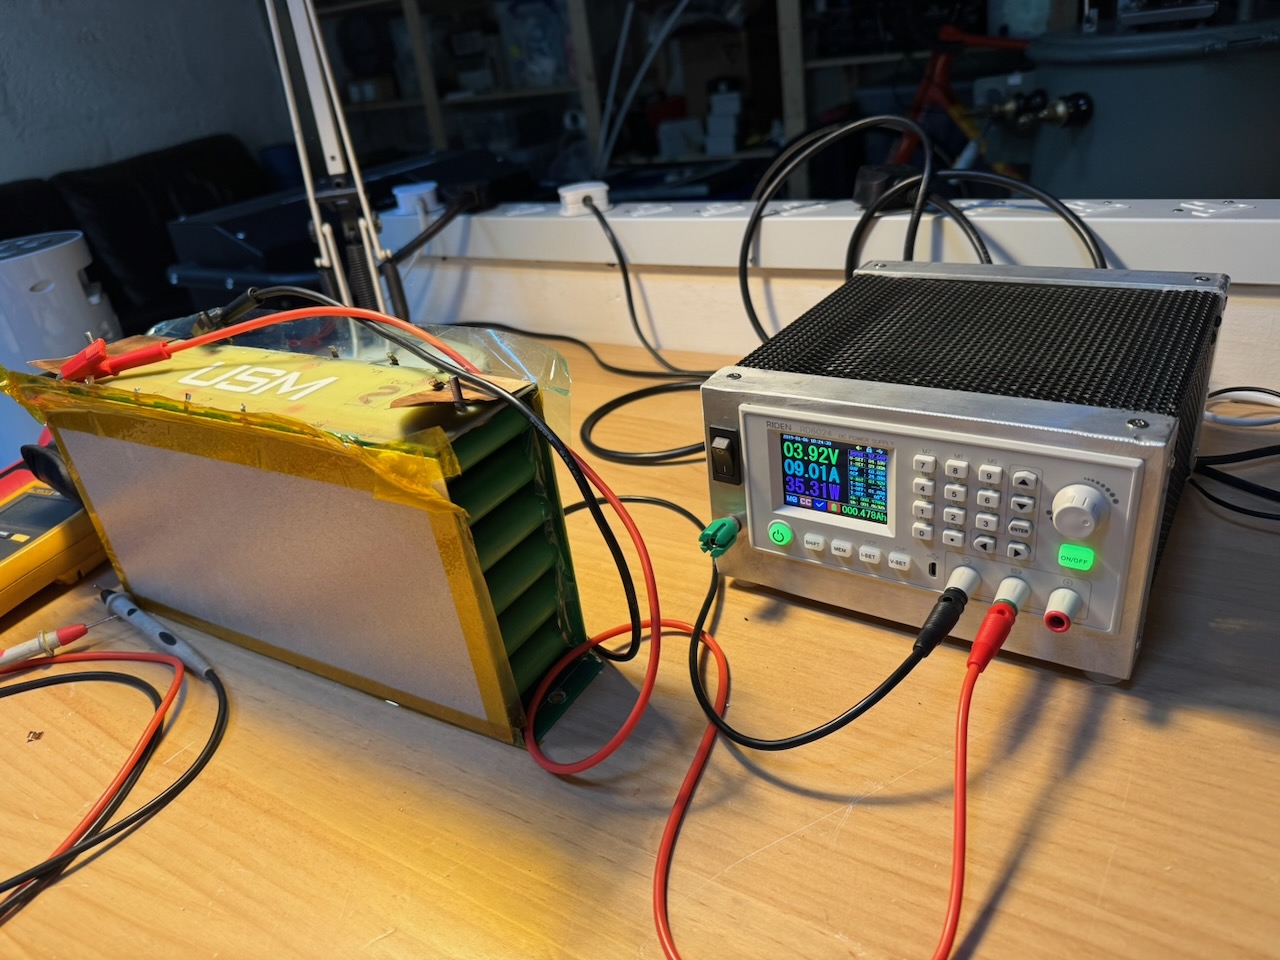
    Using a bench power supply, I charged each section of each module to 4.1V. The Riden RD6024 has a dedicated battery charging terminal and tail current cutoff mode that hopefully made for more consistent results. The amp-hours needed varied wildly between sections, showing that the battery was indeed badly out of balance.

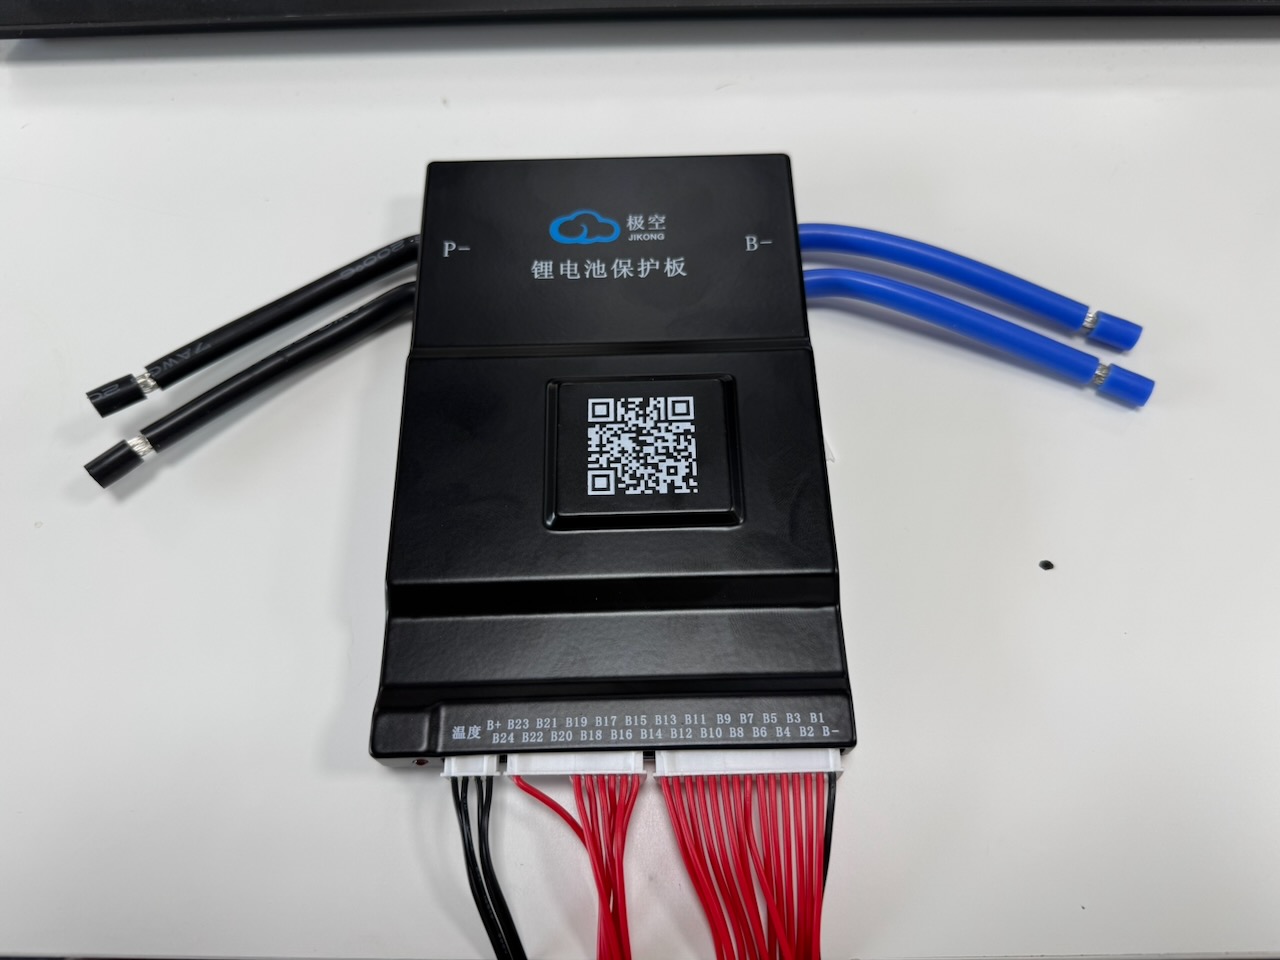
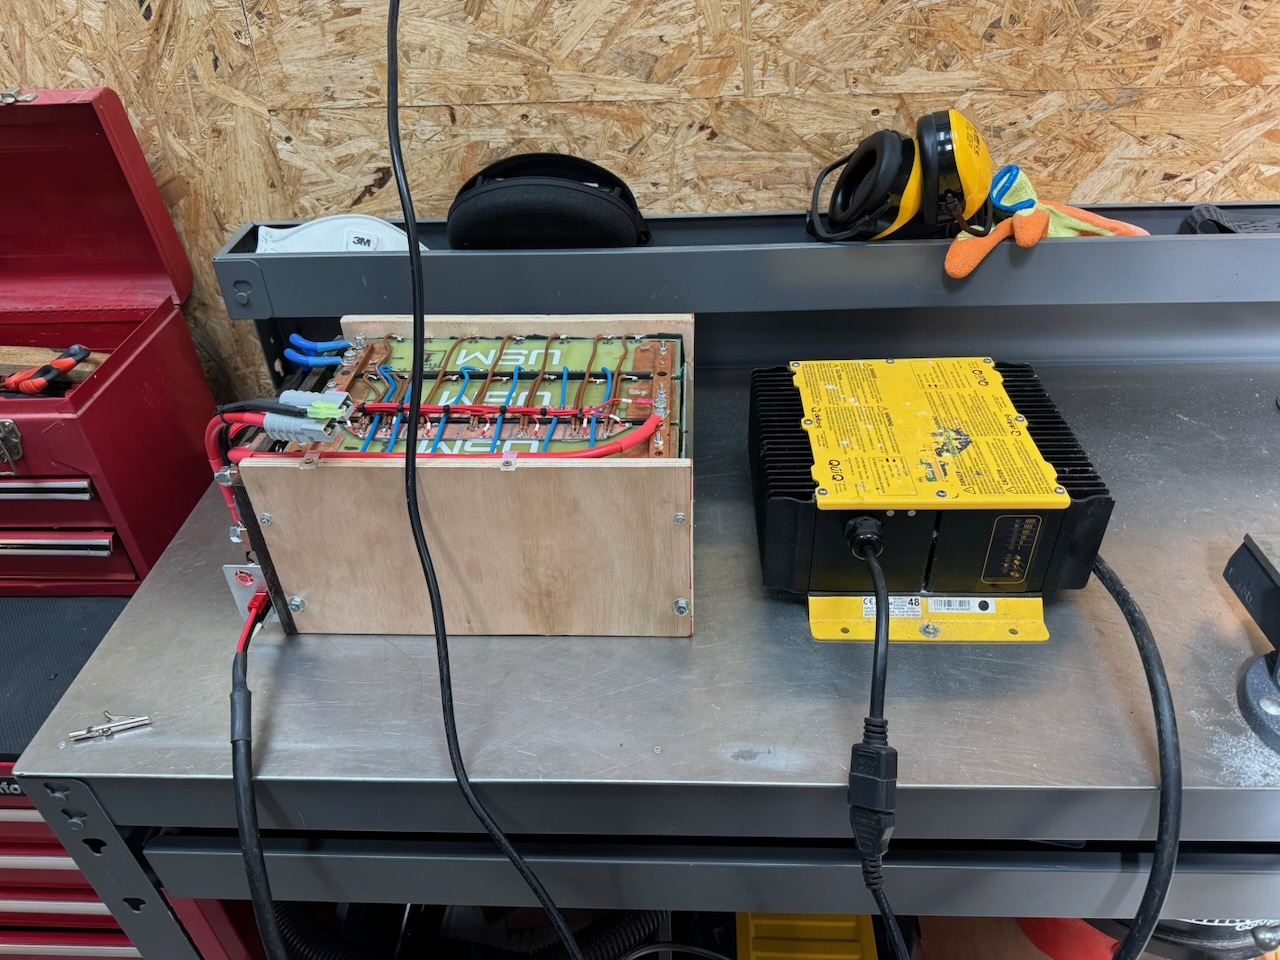
    Once I could see that I had enough good cells to build a battery, I bought a BMS (JK B2A20S20P) This is rated at 200A continuous, 350A peak, and the bike’s controller (an Alltrax NPX) is rated 300A peak, so hopefully it will be up to the job. I’ve used the JK BMS before and it wasn’t a complete disaster.

    I got some laser cut acrylic spacers with slots for the BMS temperature sensors (and 2 more 10k NTCs, one for the bike’s dashboard and one for the charger)

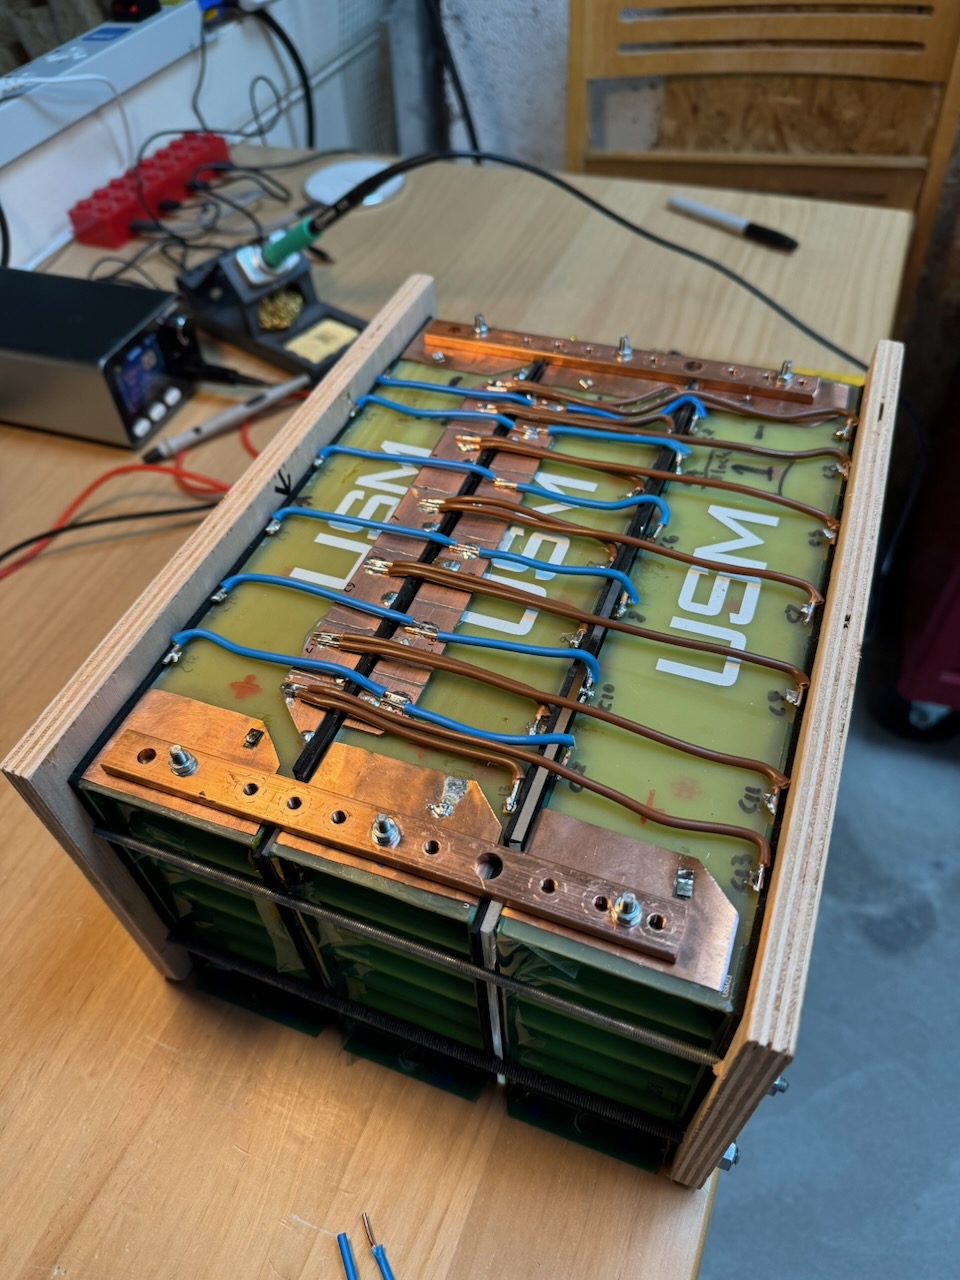
    Then clamped it all together with some Plywood Aided Design ™ Just a temporary fix of course, if it fits the bike’s battery compartment and performs well, some more fire and water resistant material will be substituted in future. I promise lol.

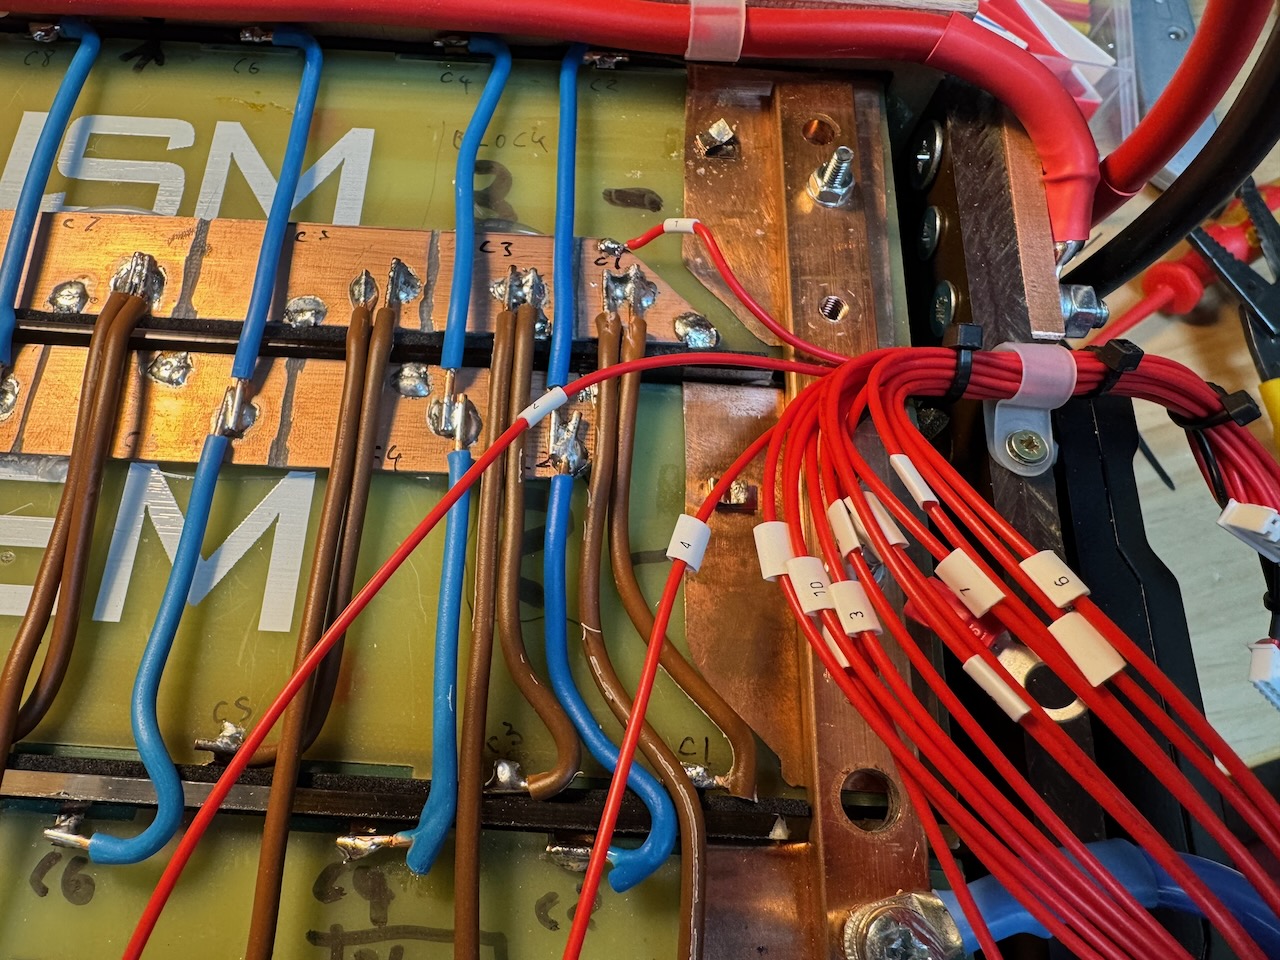
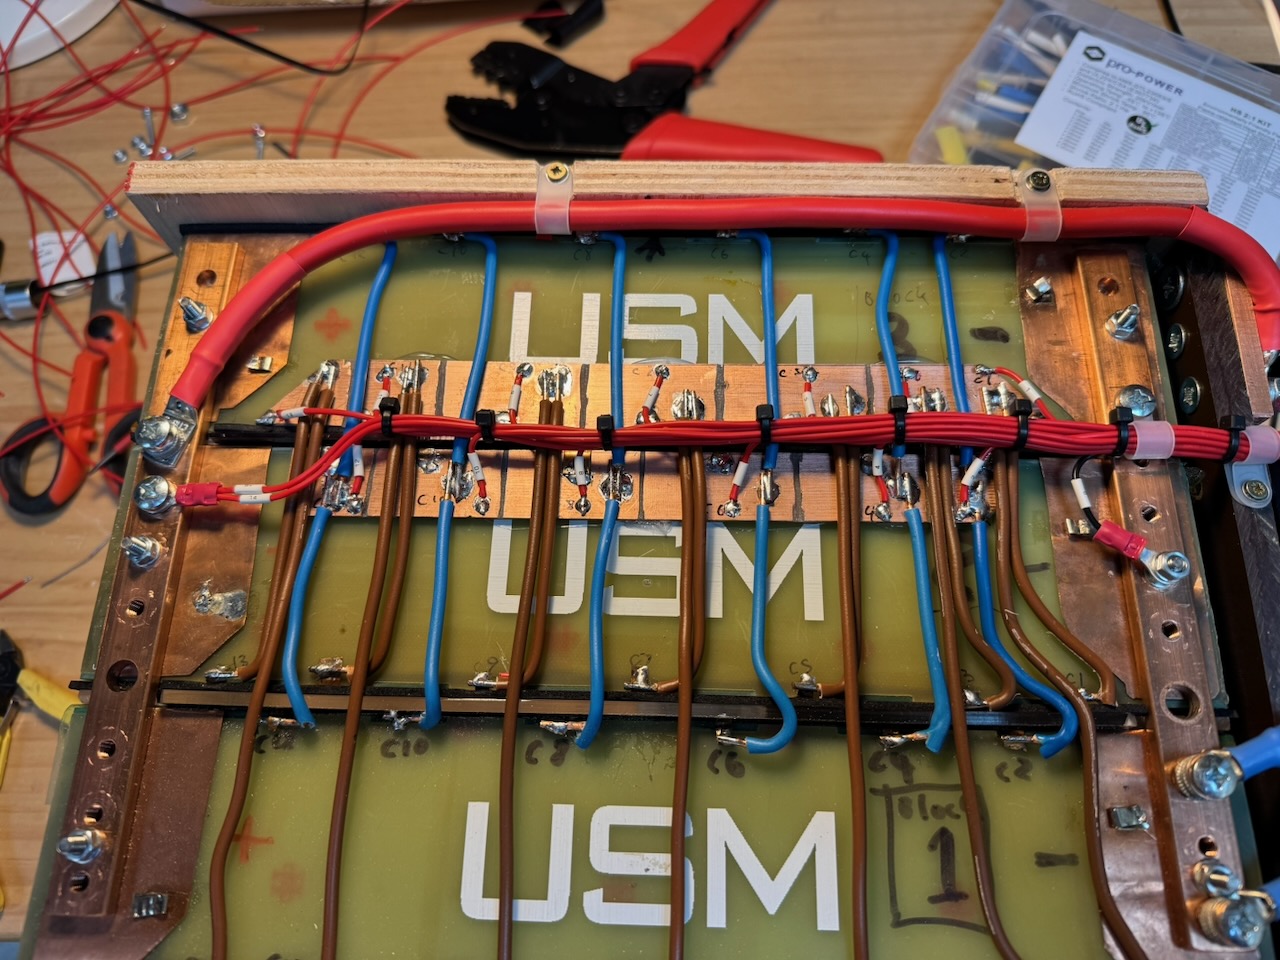
    You might notice that I connected all of the cell taps of all of the blocks in parallel. The correctness of this approach is debatable :/ but I thought it was a reasonable compromise, compared to an individual BMS for each string.

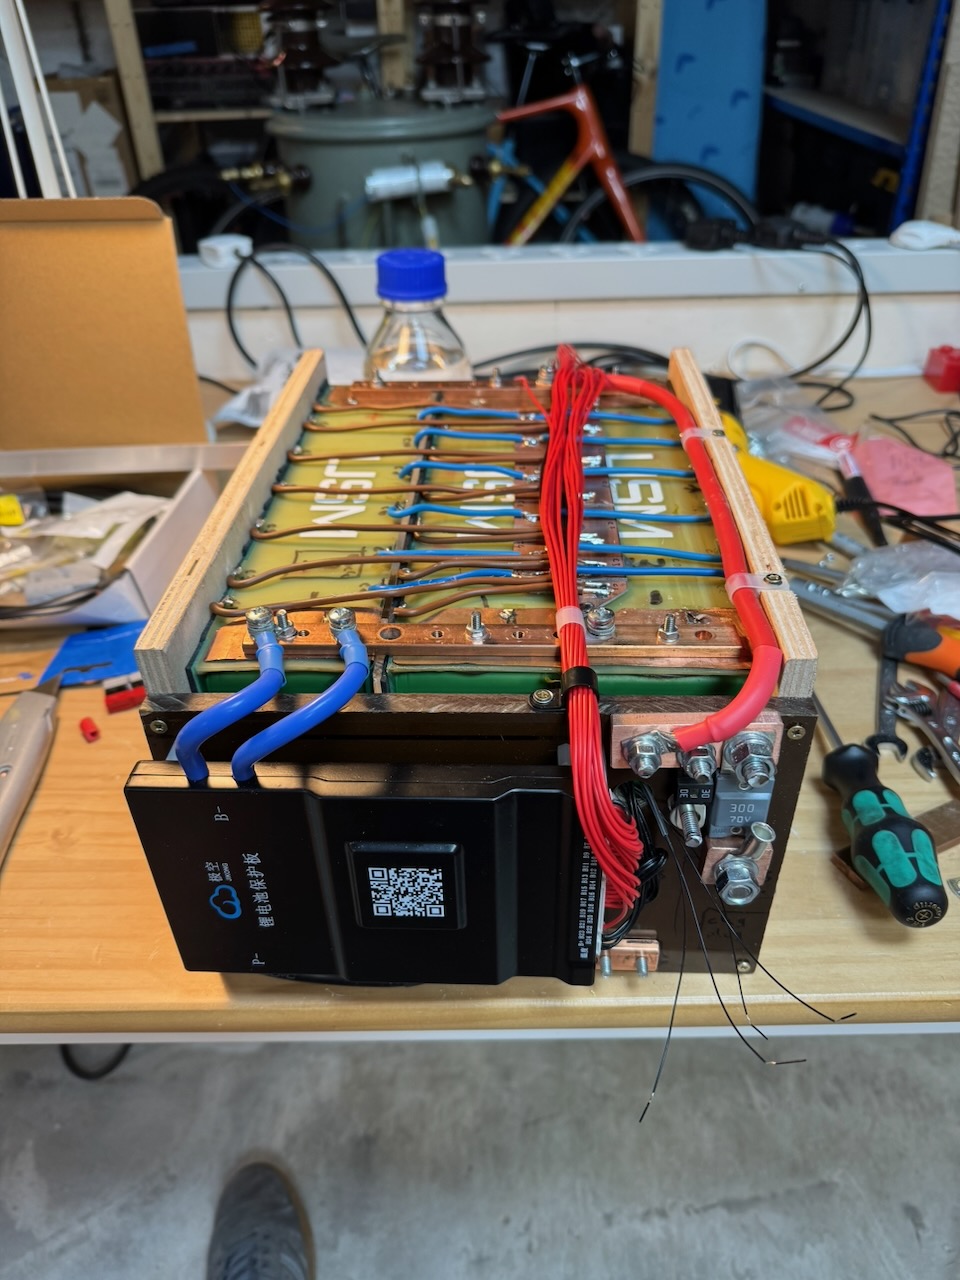
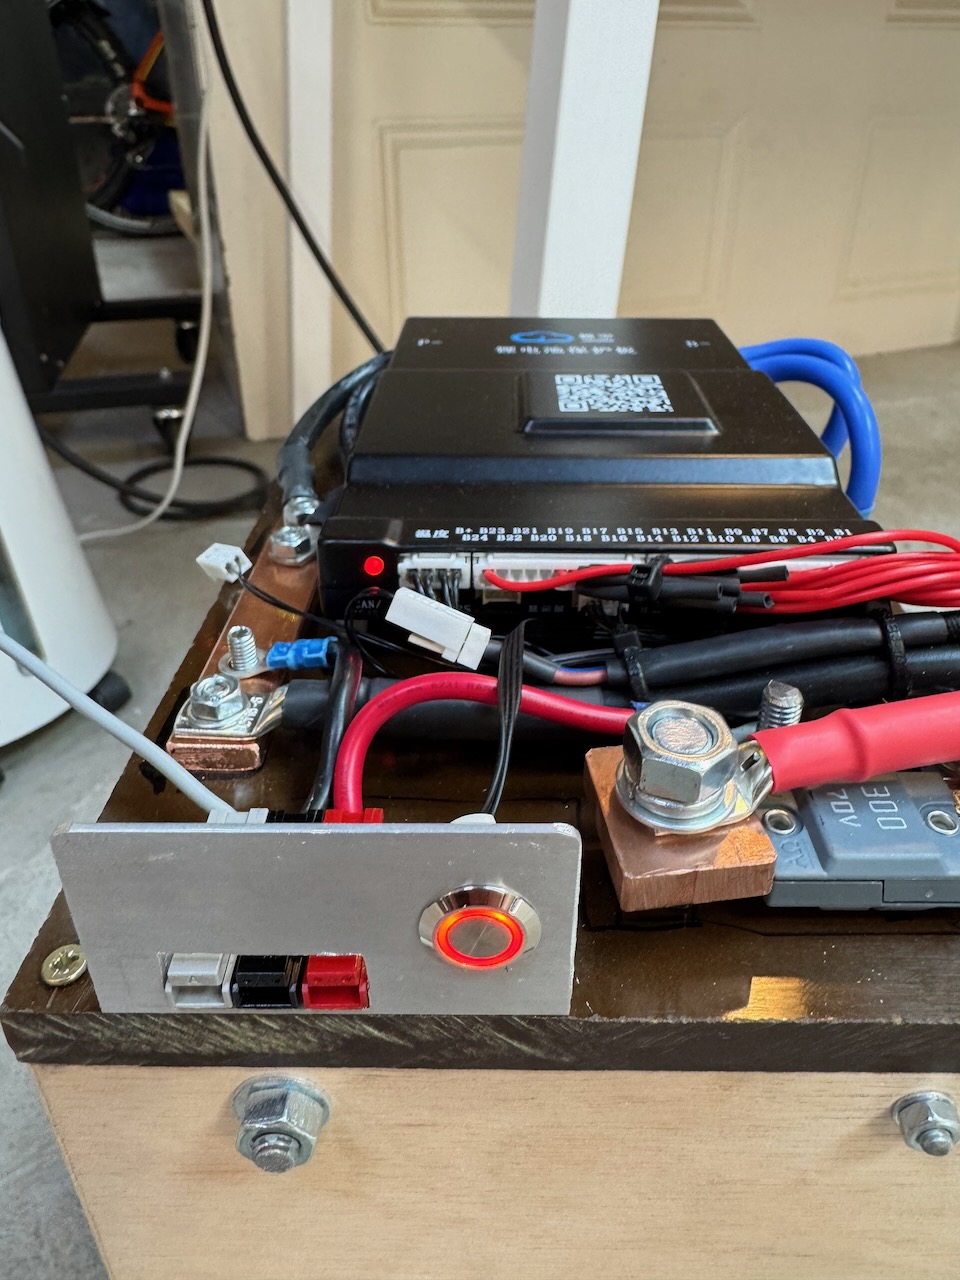
    I mounted the BMS and fuses on a Tufnol end plate. Even for a temporary fix we can’t risk these coming loose and causing a short circuit.

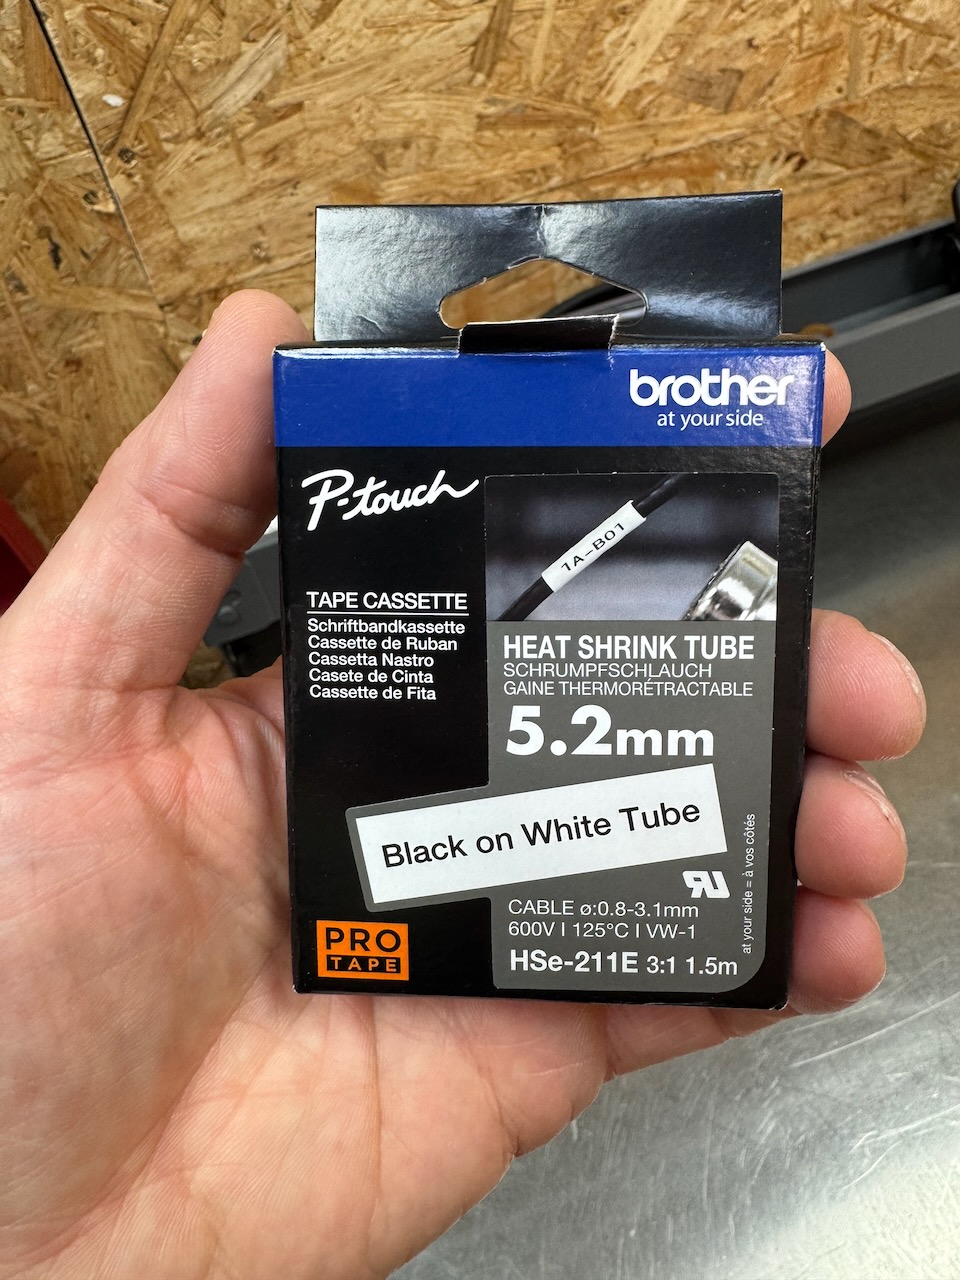
    The days of marking wires with splodges of permanent marker are over at Conner Labs.

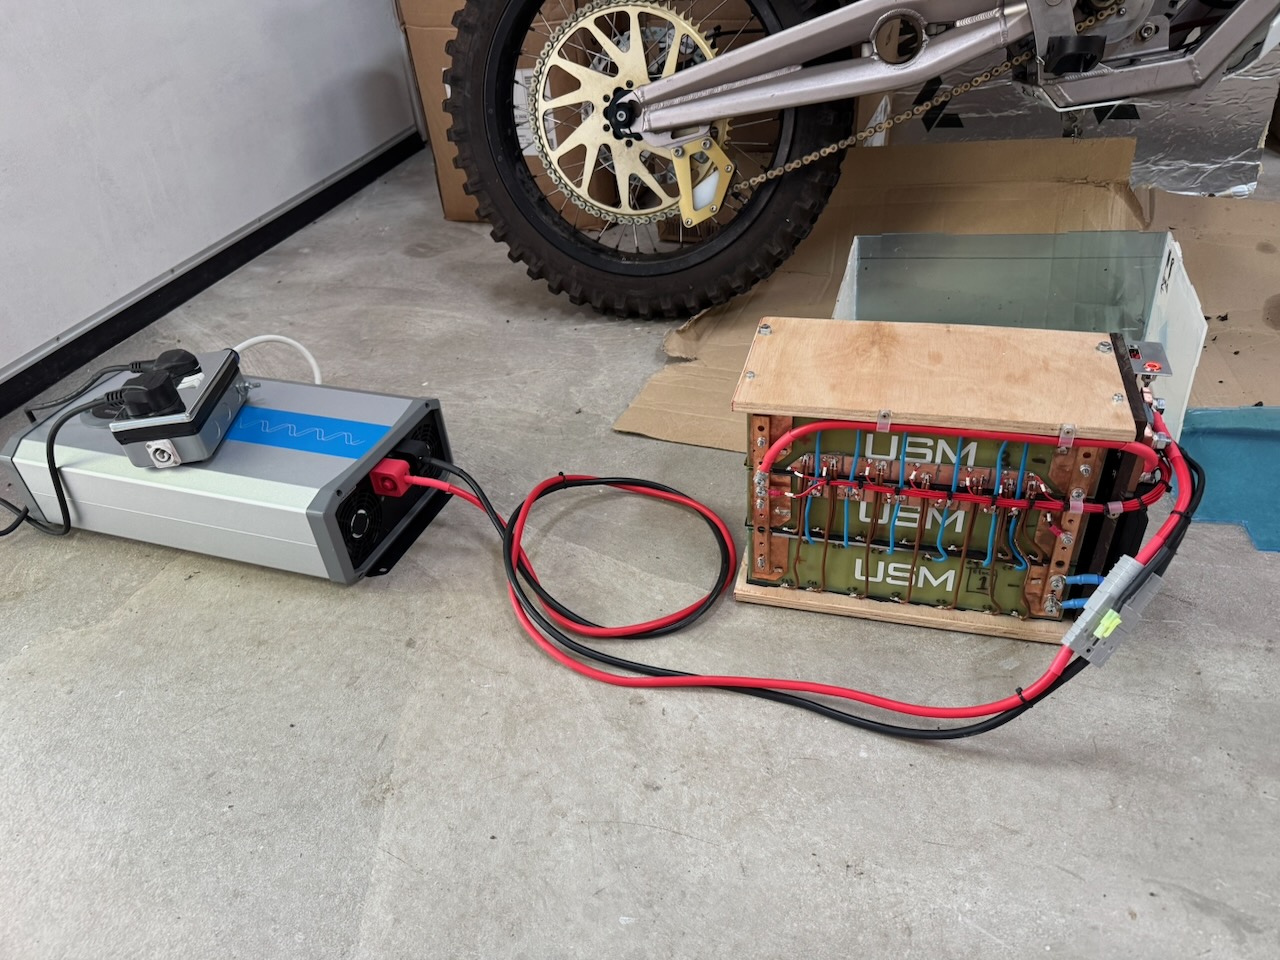
    Soon it was time for the battery’s first cycle, for which I borrowed a 48V inverter as a load.

    With 2500W of load on my 50V, 54Ah battery I expected it to last a bit over an hour. At this point there was a slight disappointment as the discharge was ended by cell 3 undervoltage at only two-thirds of the expected capacity. πŸ™

    Then it was time to attempt a recharge with the Delta-Q QuiQ charger supplied with the bike. It would sometimes cut out at random with a sequence of flashing lights that wasn’t documented anywhere. For future me and others reading, the white wire is not for a temperature sensor! Just connect it to the black one to make the charger run.

    Also, these chargers have programmable firmware with a selection of different algorithms. Mine were labelled lead-acid but had been reflashed with a custom “algorithm 99” that was in fact for 14S lithium ion.

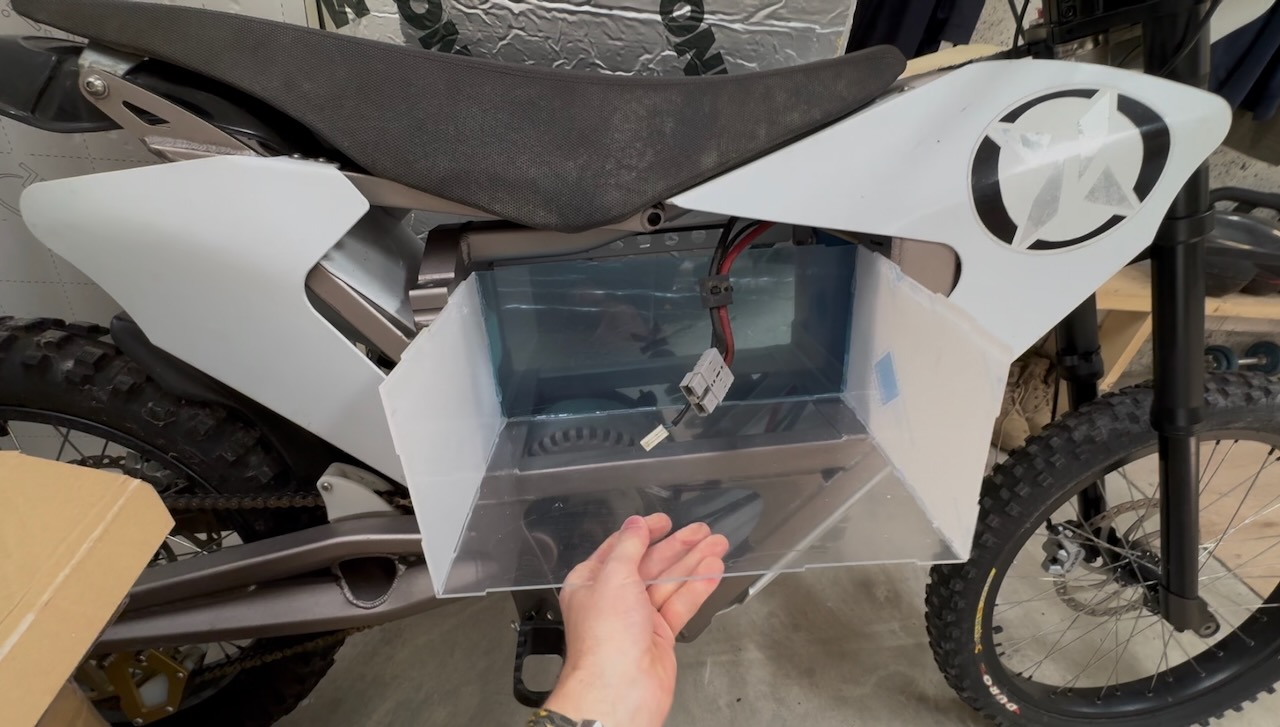
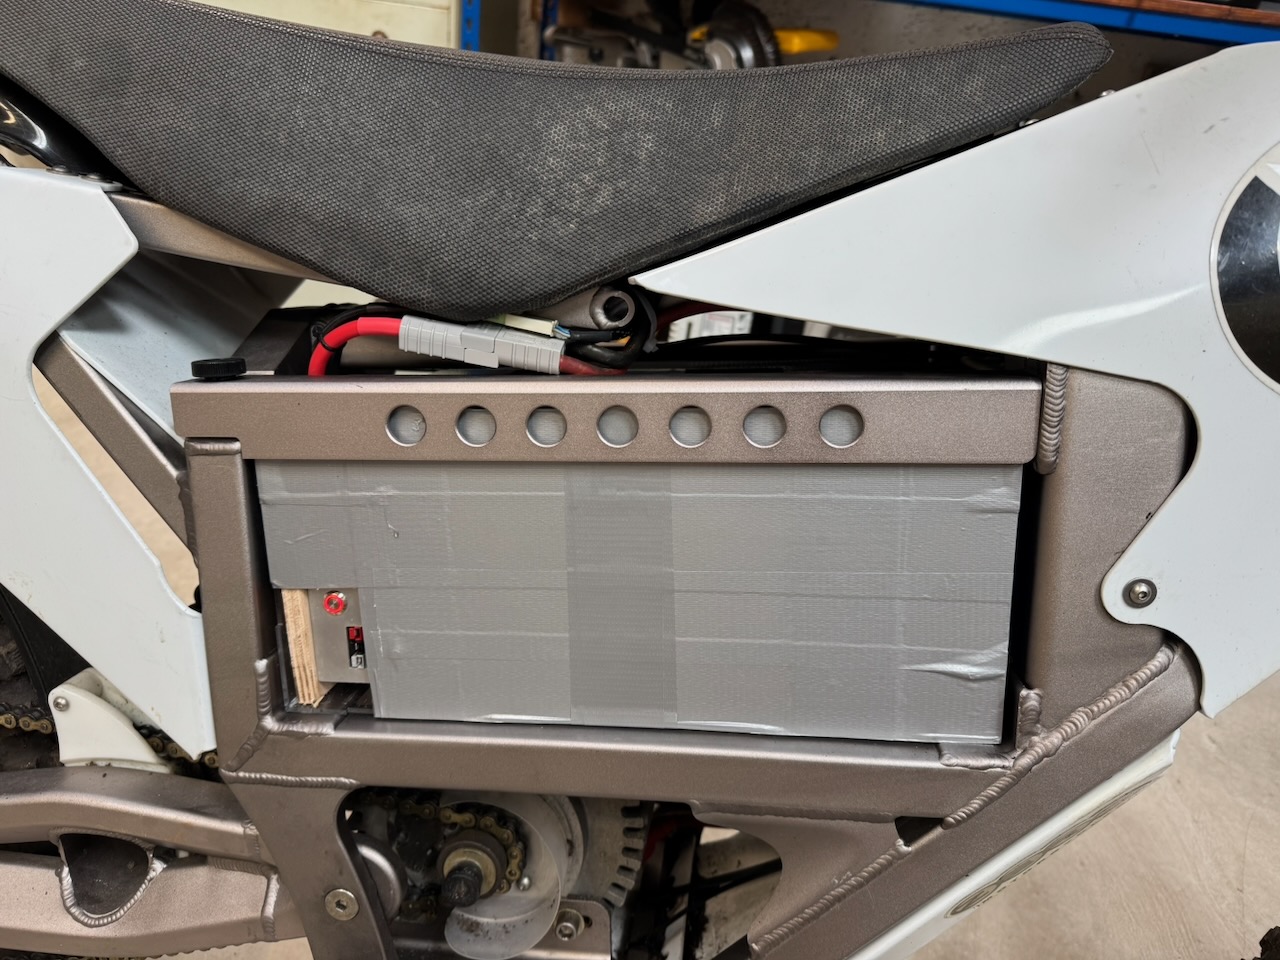
    The project was “completed” (?) with a laser cut acrylic outer enclosure and a generous wrapping of duct tape.

    And did the bike run? Find out in part 2…