Wanted a track light fitting for the living room and more aluminium welding practice 🙂
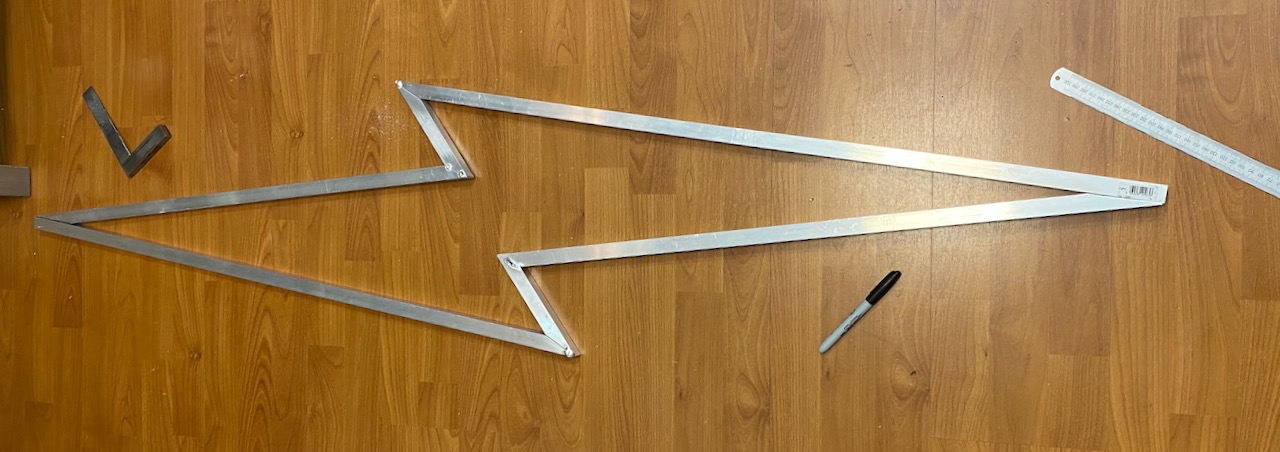
20x20mm square tube (ashamed to admit I bought it from B&Q) was cut into the shape of a lightning bolt.
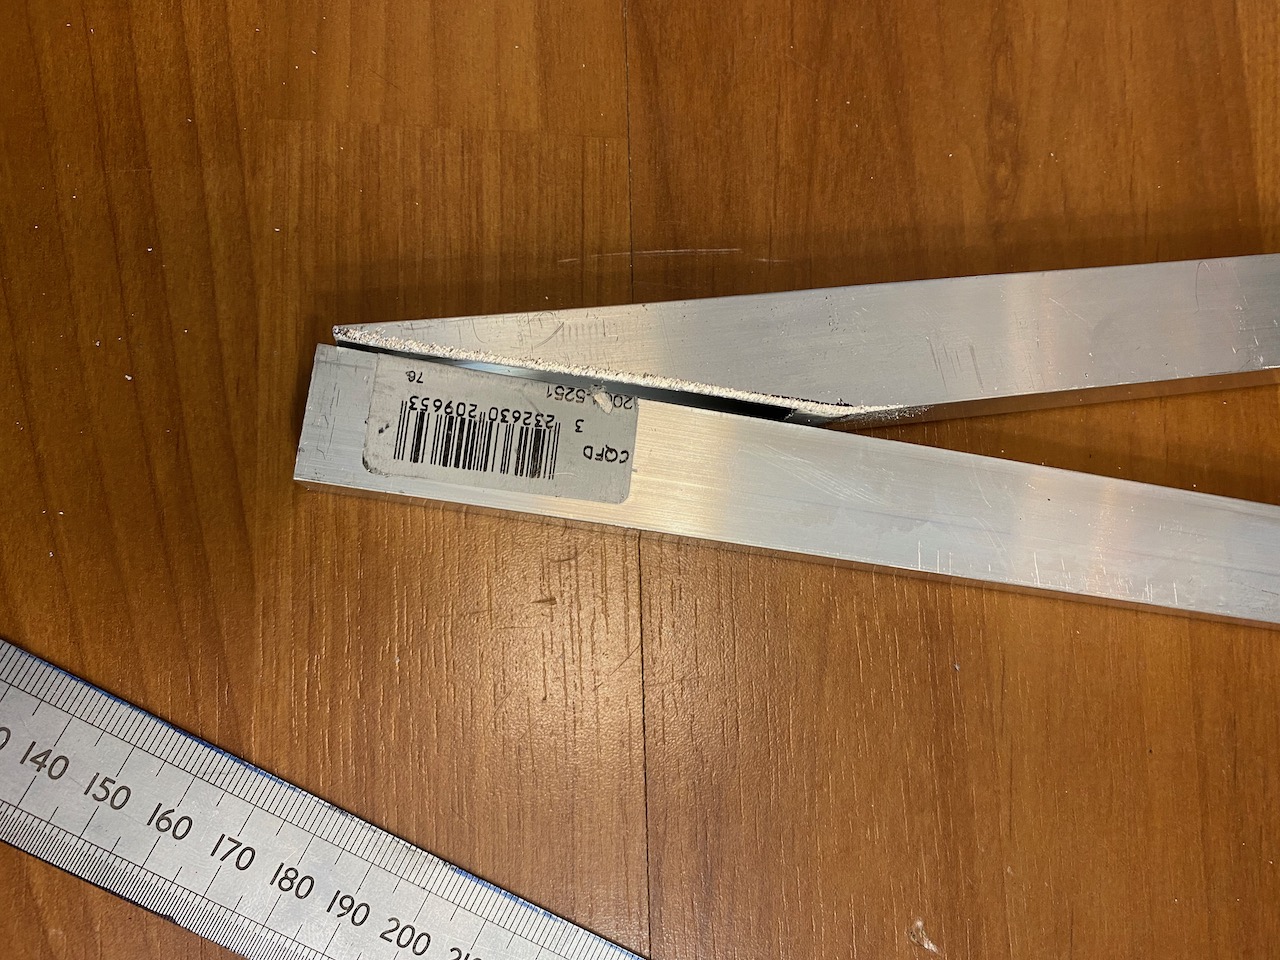
Oh dear, the mitreing could have been better…
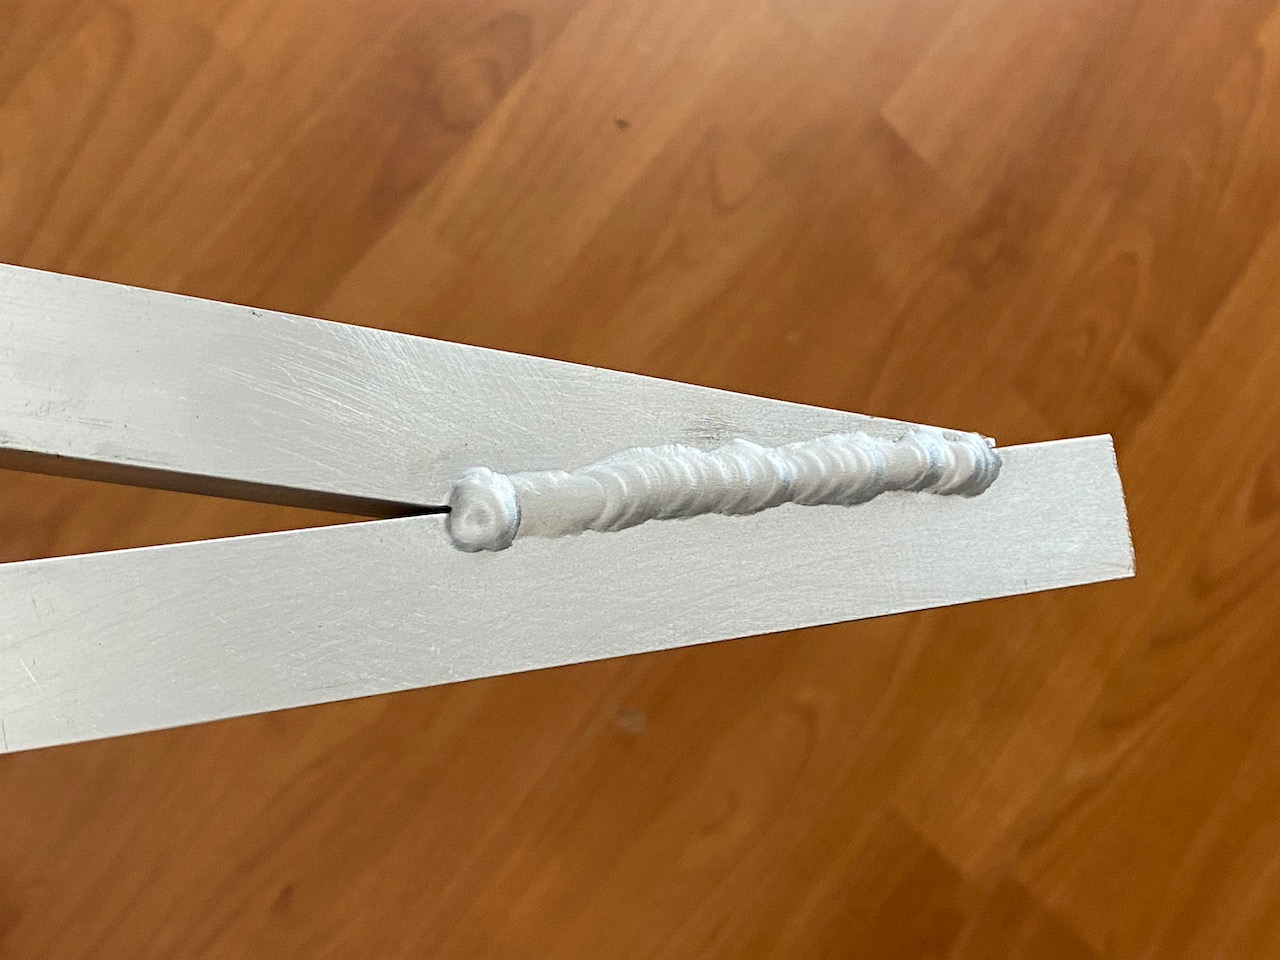
This is the nicest weld, there were much worse 😀 I got off to a bad start by burning several holes in it while trying to tack it together, and had to weld up the holes. I didn’t realise the tubing was only 1.6mm thick and started off with too large a tungsten and too much current. Another reminder to always test the welder settings on a scrap of the material you’re going to use… 🙂
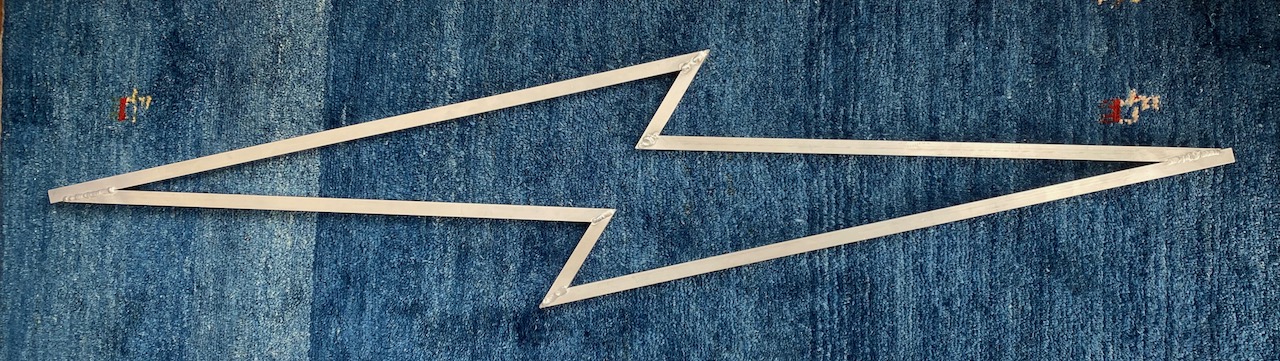
After fully welding (OK I didn’t do the inside corners 🙂 )
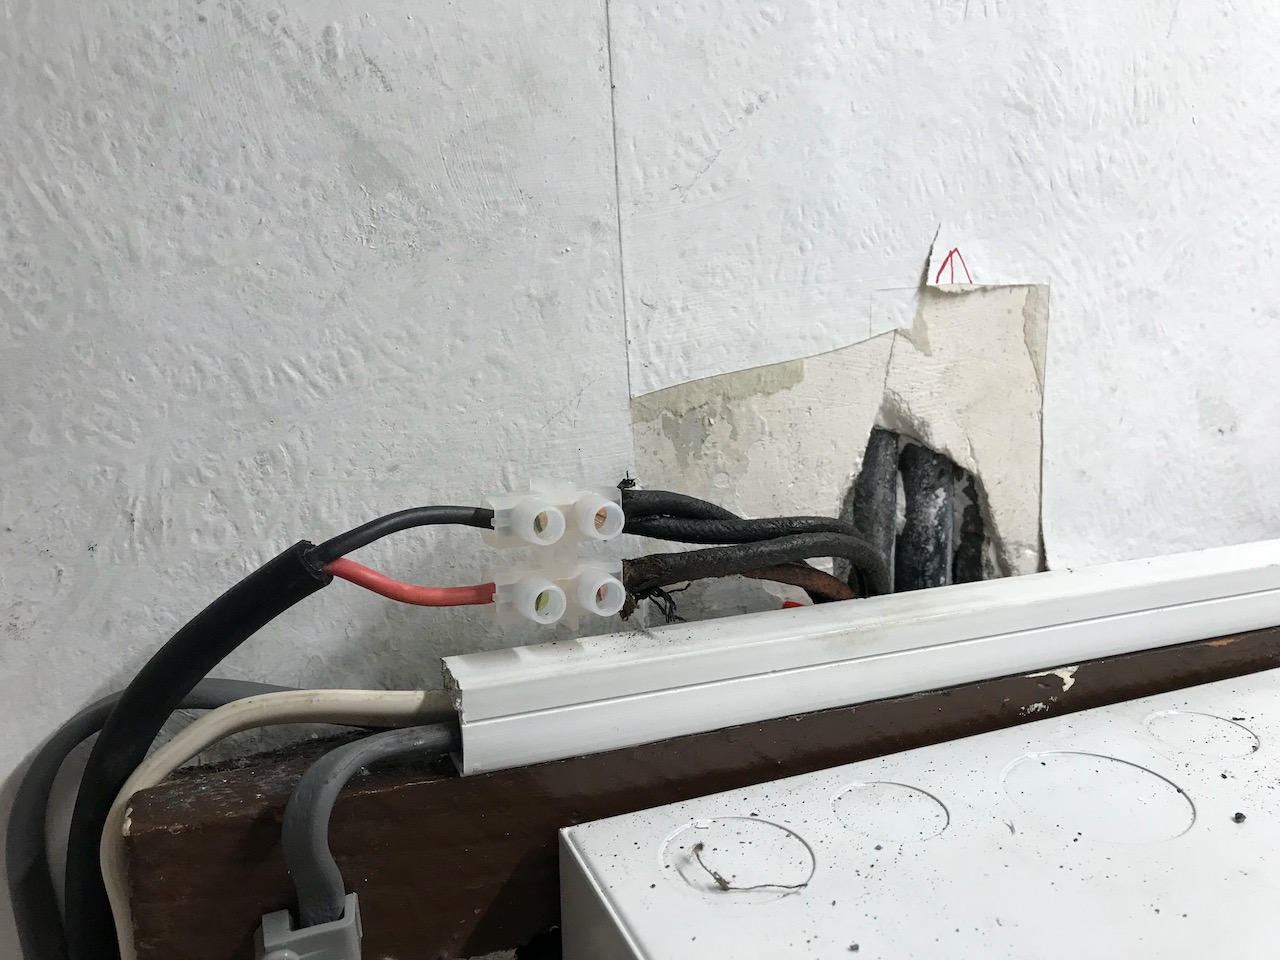
One of the joys of living in an old house is dodgy wiring. Another joy is ornate lath and plaster ceilings that might collapse at any minute. 🙂 My problem is a combination of the two. The overhead lights in most rooms are powered by 1930s vintage rubber and cloth covered wiring that can’t be replaced without trashing the ceilings.
As a token gesture to electrical safety, I added a RCD to the lighting circuit, and believe it or not it started tripping at random. This left me with a few options:
Stop using the ceiling lights altogether
Have them rewired and the ceilings replastered
Run the lighting circuit off a lower voltage that wouldn’t tax the ancient rubber and cloth insulation.
A lower voltage would of course limit the power that could be delivered before overloading the wiring. So the second part of the plan would be to replace the light fittings for LEDs to achieve a reasonable light output with less power.
I decided to go for 12V (in hindsight 24 would have been better- I ended up replacing the power supply with a 15V one as a compromise…)
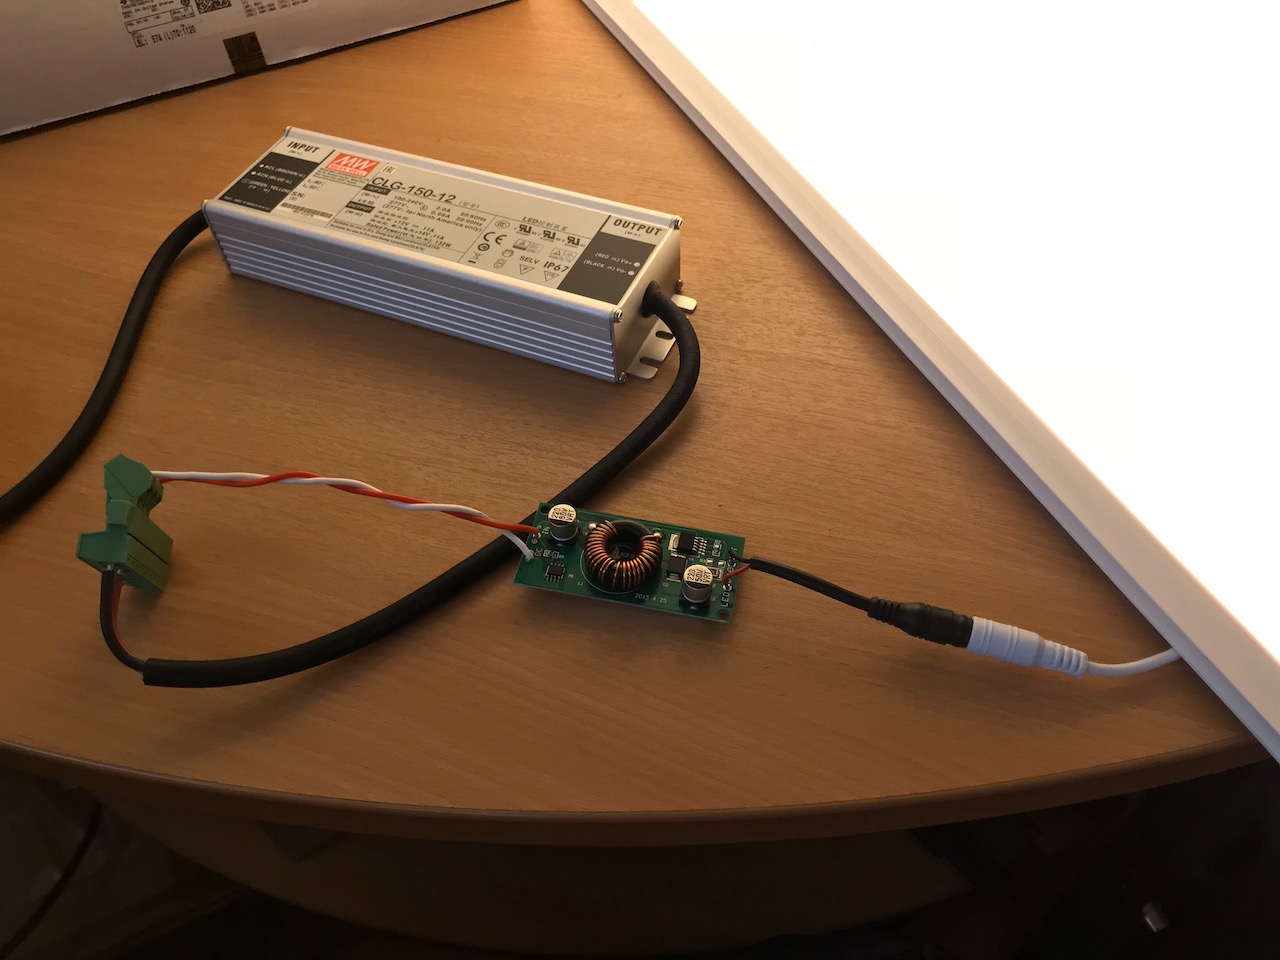
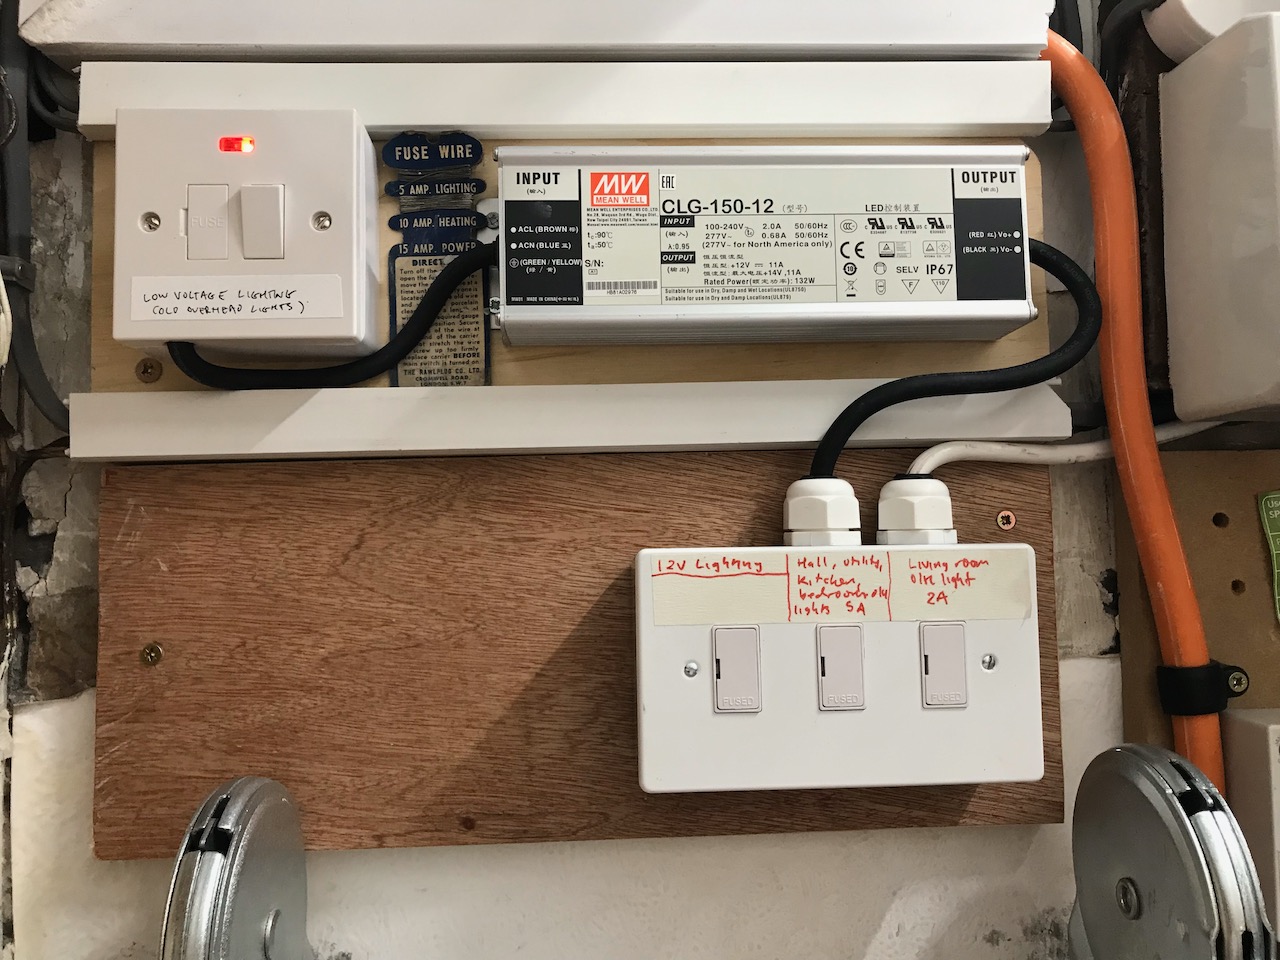
First step was to source a reputable brand of power supply festooned with safety approvals. It will be left on 24/7 unattended, and it would be ironic to go to these lengths to avoid the wiring catching fire, only for the PSU to catch fire. 🙂
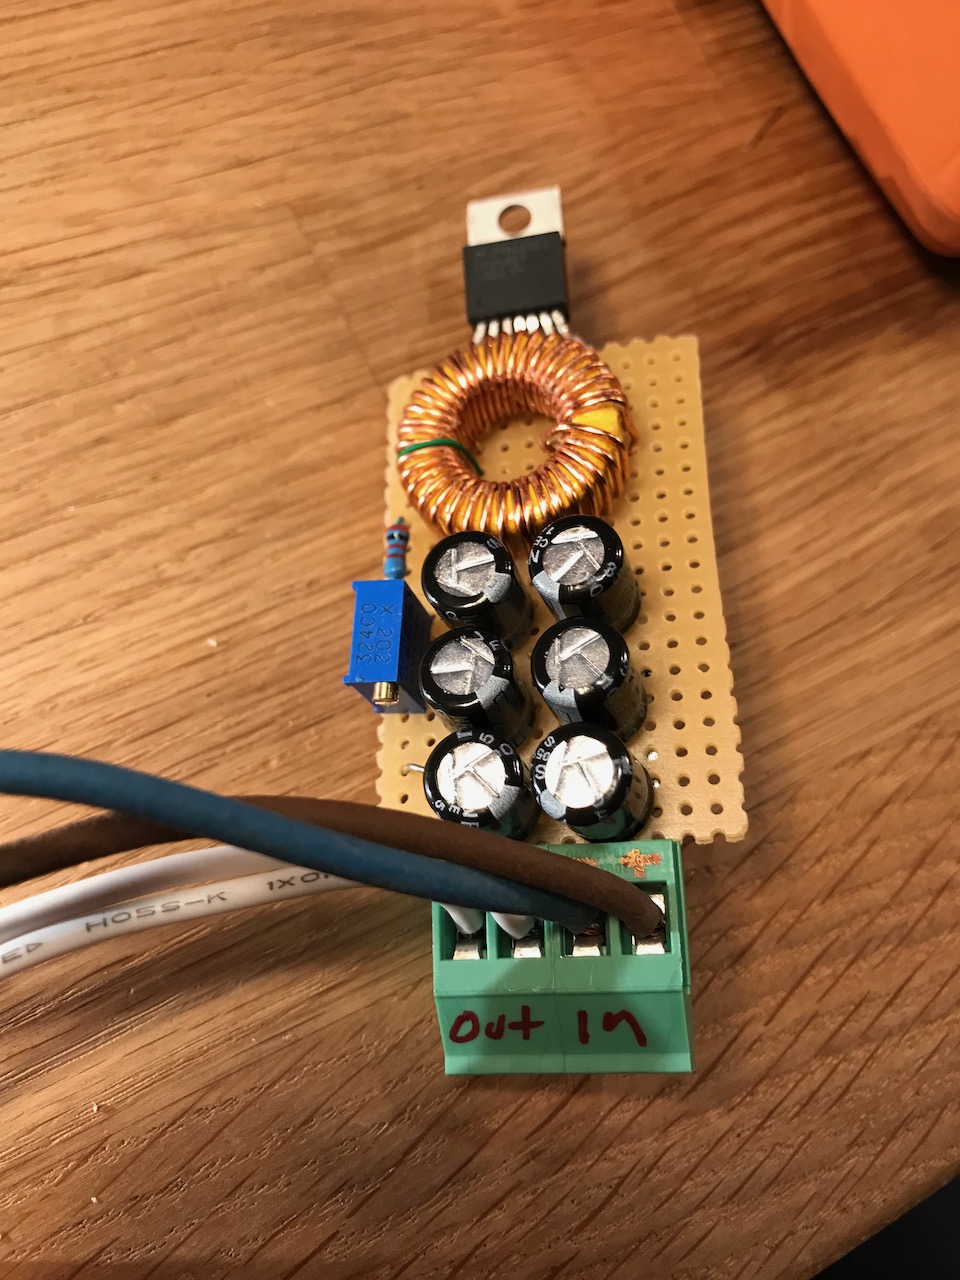
I bought a few 600x600mm LED panel lights from TLC Electrical, and chucked the 240V drivers that came with them for some 12V drivers from Ebay.
They are still plenty bright enough.
The power supply was mounted next to the consumer unit and connected to the existing 240V lighting circuit with a FCU.
Oh dear… At this point I realised the thickness of the old wires was mostly insulation and the actual copper cross section was puny. To the point where a 11 amp power supply could potentially overheat them if one of the light fittings shorted out, leaving us no better off in terms of safety than before.
I connected it up anyway 🙂
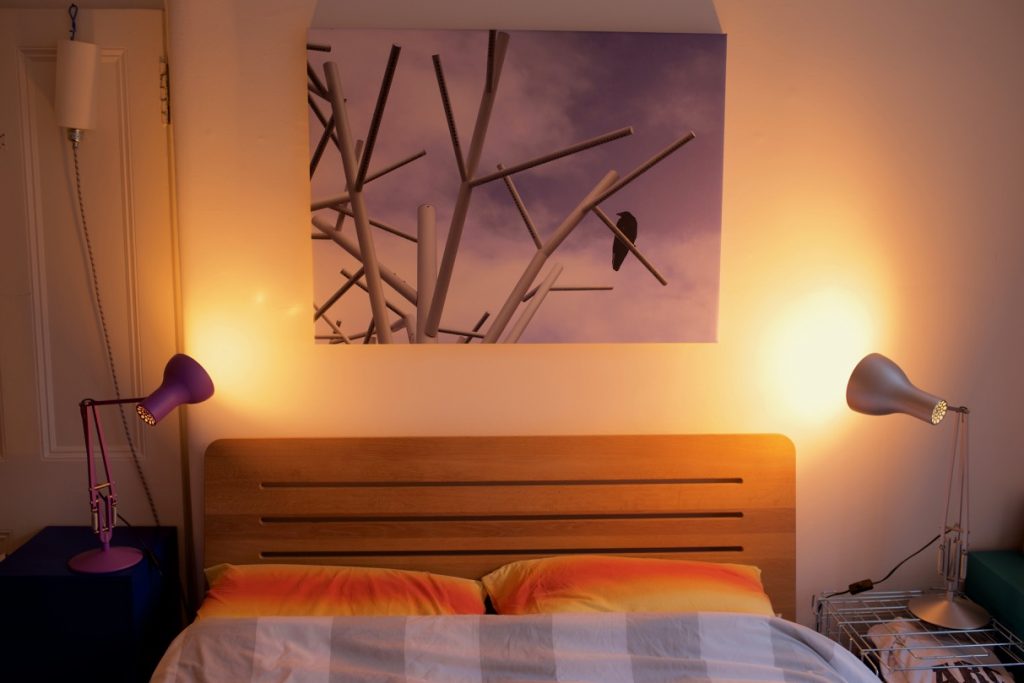
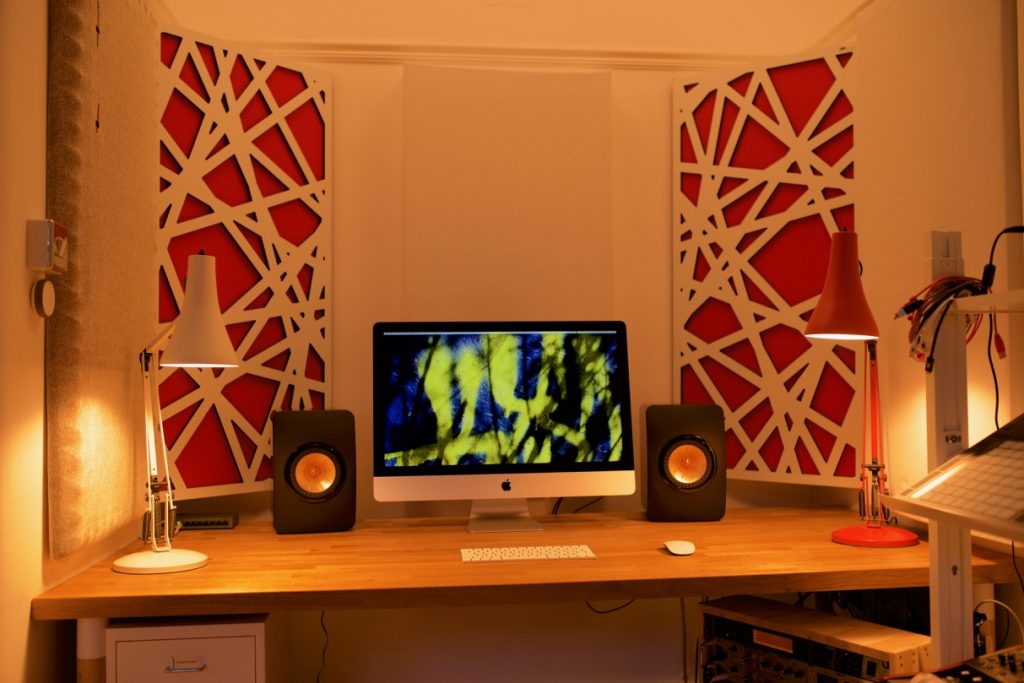
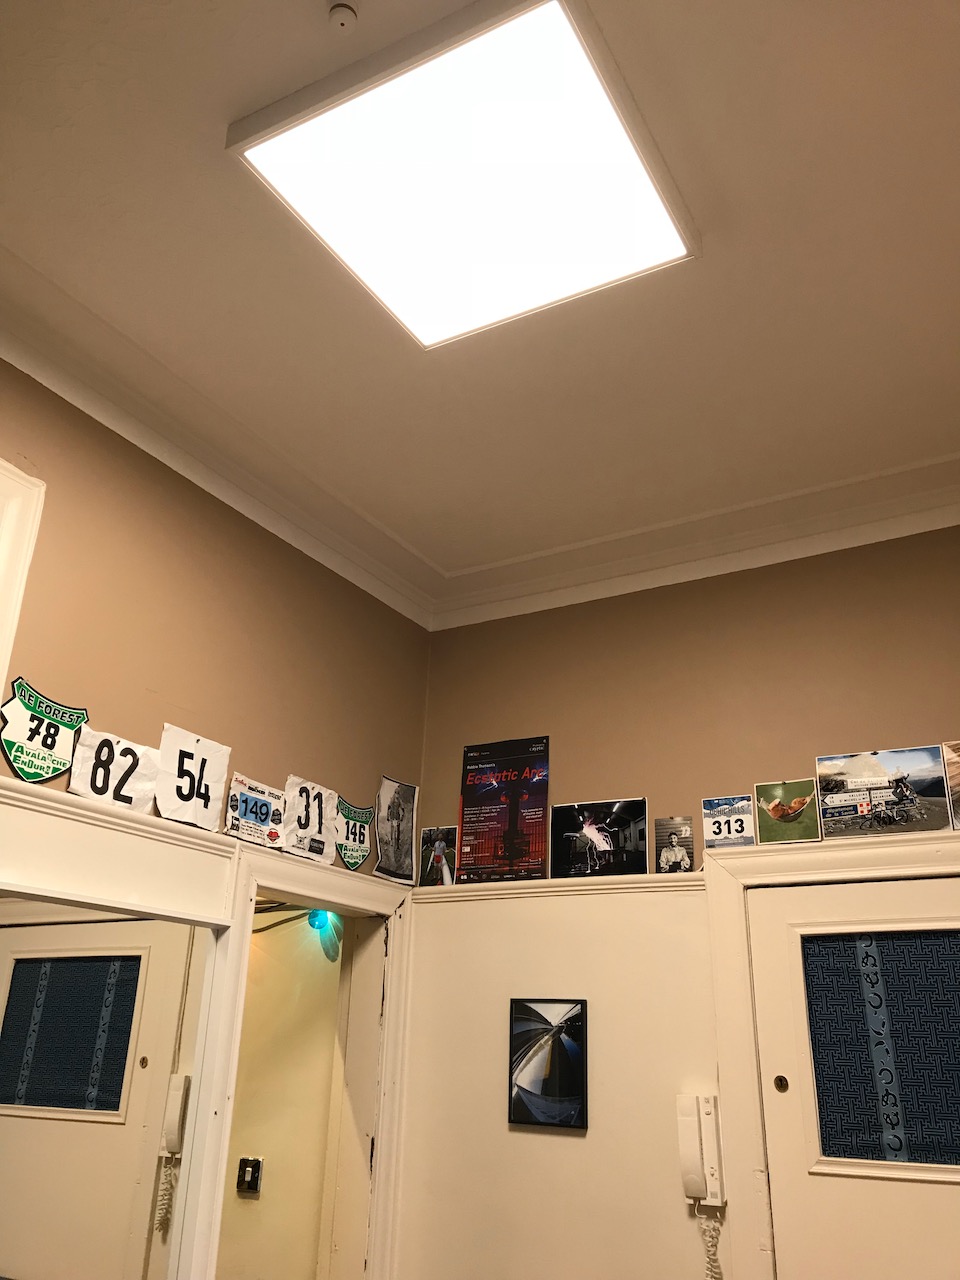
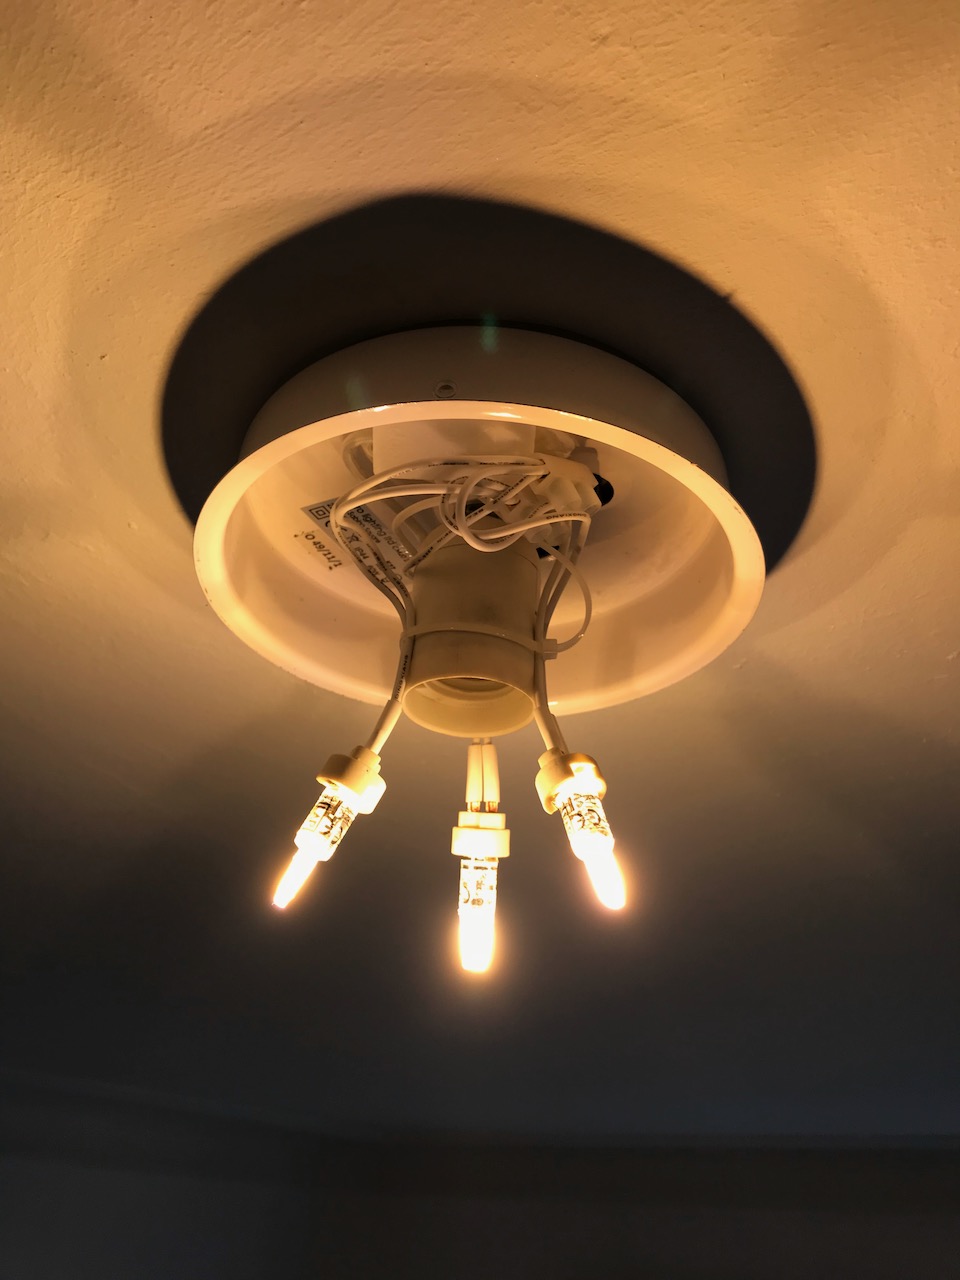
The first of the new light fittings in place
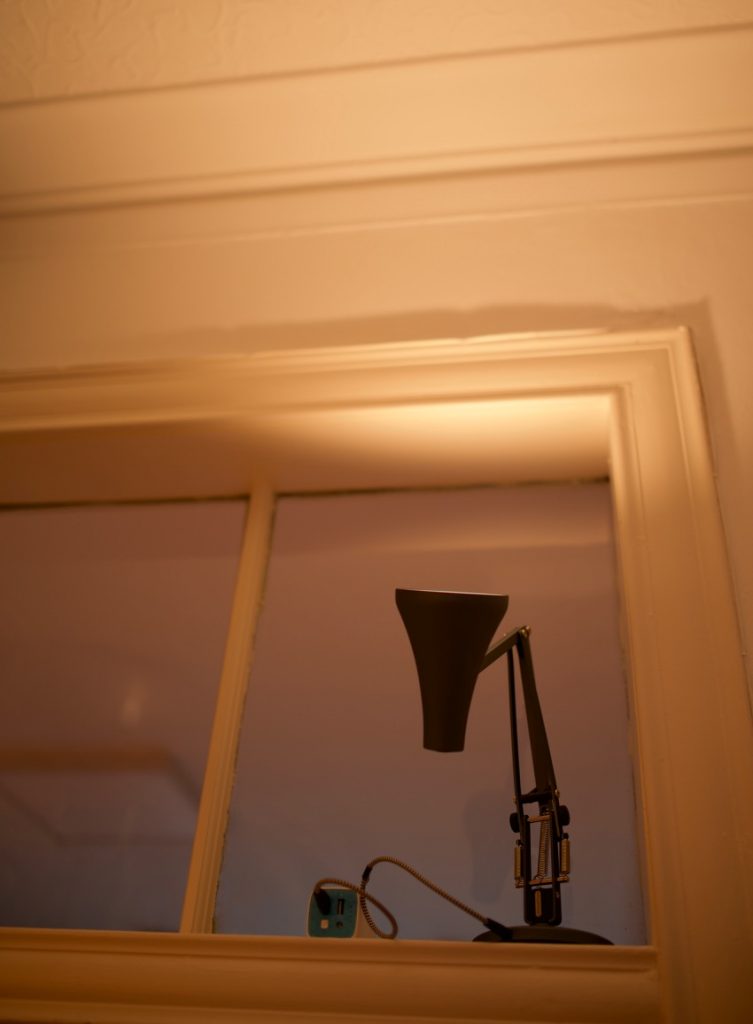
The other light fittings were modified with bodges like this
Later I added some fuses to address the issue of the PSU being able to overheat the wiring.