As you can imagine from the number of acronyms in the title, this took a huge amount of fiddling and was very confusing, so documenting it here for my own benefit and others’. 🙂
I wanted to run Ubuntu Server ARM64 on a Raspberry Pi CM4 dev board using a NVMe SSD for at least the root filesystem (and ideally booting from it)
Step 1: Update the CM4’s bootloader firmware
The CM4 probably has an older bootloader firmware installed from the factory that doesn’t support NVMe. This step is best done from a Linux PC: I used an old Acer laptop running Zorin 16. The below commands are to be entered in a terminal window:
First you need the latest version of the Raspberry Pi USB boot tool. This has to be built from source, and you may need to install some dependencies first (-1000 geek points if you didn’t already have git and build-essential 🙂 )
sudo apt install git
sudo apt install build-essential
sudo apt install libusb-1.0-0-dev
Now it’s time to build the USB boot tool from source…
git clone --depth=1 https://github.com/raspberrypi/usbboot
cd usbboot
make
Now you need to edit the boot order settings and get the latest EEPROM image. This part is adapted from this tutorial which doesn’t work verbatim any more (the “nvme” folder doesn’t exist in the usbboot repository, but substituting the “recovery” folder works)
cd recovery
sed -i -e '/^BOOT_ORDER=/ s/=.*$/=0xf25416/' boot.conf
NVMe on Raspberry Pi is still kind of bleeding edge, so it’s best to use the newest versions of everything. pieeprom-2021-07-06.bin was still the latest image at the time of writing:
rm -f pieeprom.original.bin
curl -L -o pieeprom.original.bin https://github.com/raspberrypi/rpi-eeprom/raw/master/firmware/beta/pieeprom-2021-07-06.bin
./update-pieeprom.sh
Note: At this point the update script crashed complaining that it couldn’t find Python. I guess Zorin 16 removed Python 2.x and forgot to make Python 3 the default? The python-is-python3 package fixed that for me. Hopefully your Linux distro has a functioning “python” already, in which case don’t execute this command, it’ll probably break something!
sudo apt install python-is-python3Finally it’s time to burn your changes to the CM4… The “disable eMMC Boot” jumper must be fitted on J2 for this to work (Unless you have a CM4 Lite I guess…)
cd ..
sudo ./rpiboot -d recovery
Now connect the CM4 Dev board J11 “USB Slave” to a USB port of your Linux PC and apply power to the 12V DC input.
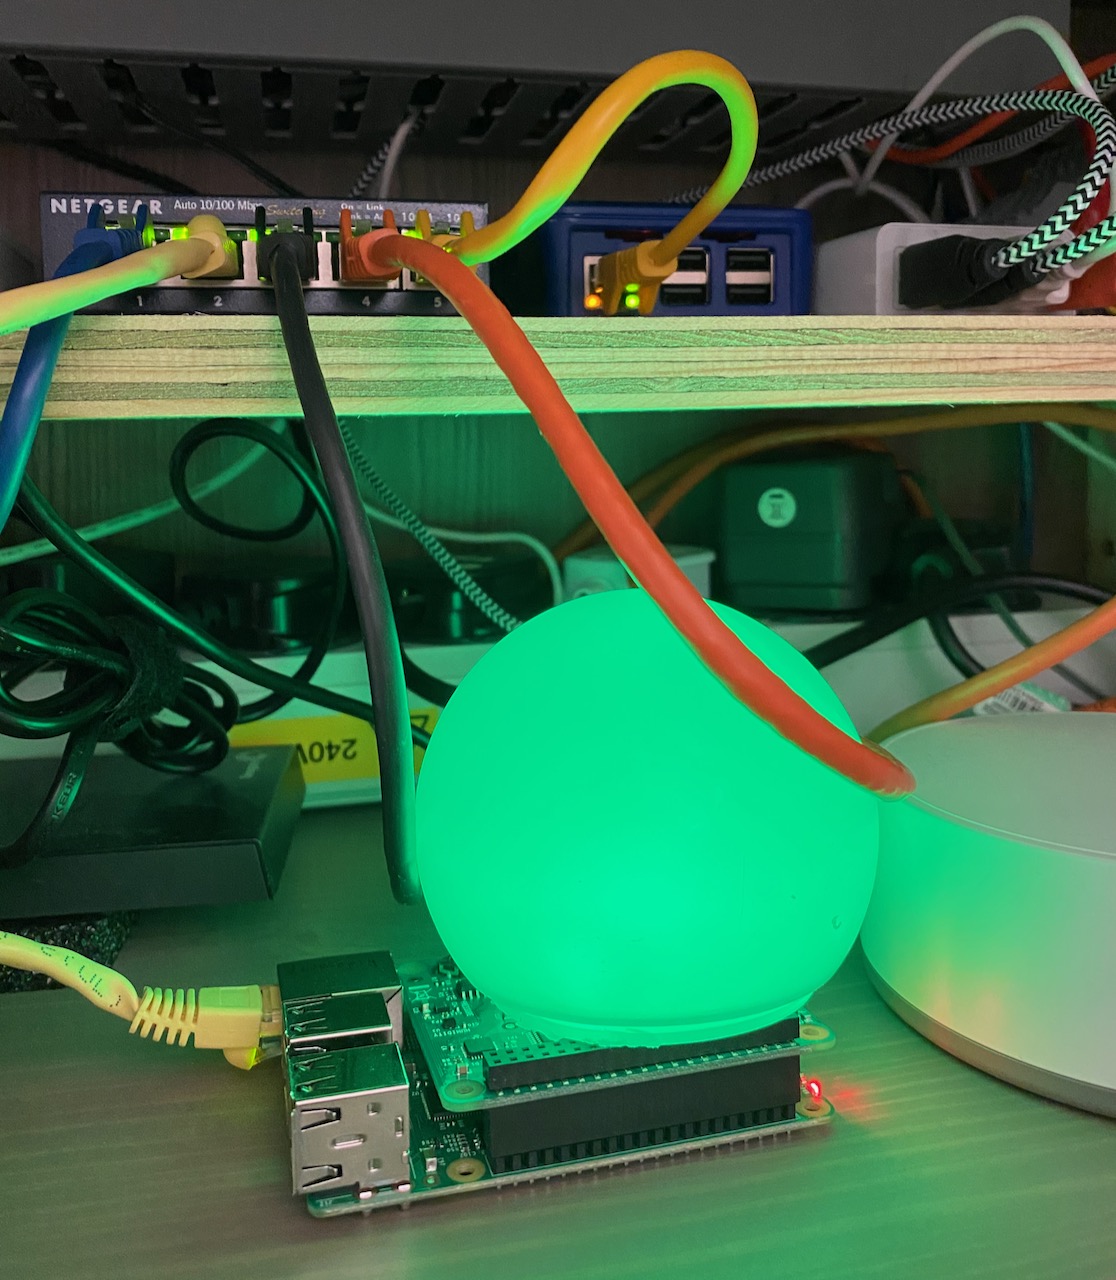
The rpiboot tool should boot up the CM4 over USB and flash the new EEPROM image and boot order settings. Once the command line spew stops and the power LED on the dev board starts to blink rapidly, the process is complete and you can disconnect power.
Step 2: Try to boot from NVMe, fail
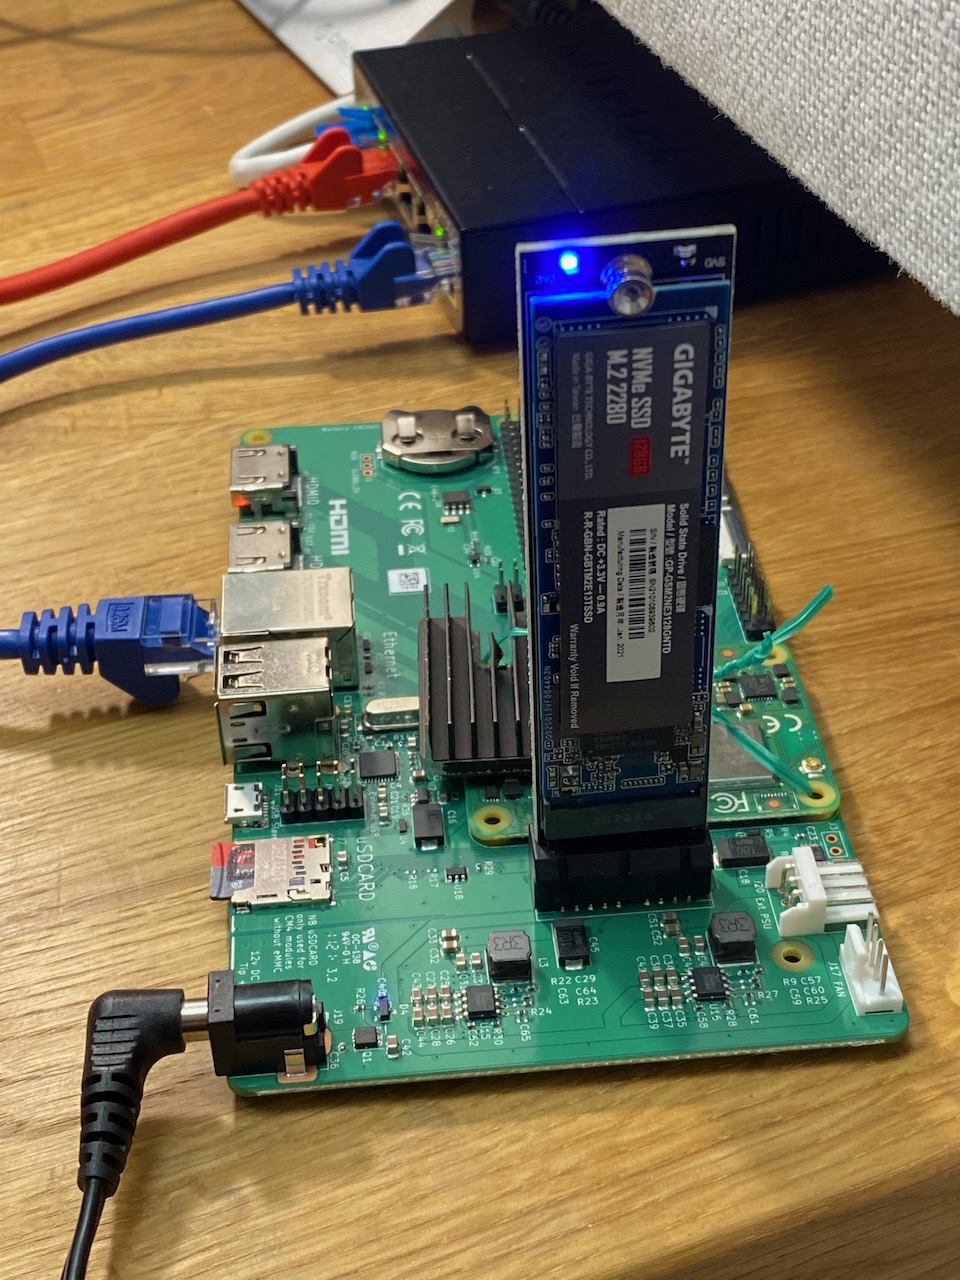
At this point I already had an ARM64 Ubuntu 20.04 LTS image downloaded from here and uncompressed to my Gigabyte GP-GSM2NE3128GNTD SSD. So I removed the SD card from my CM4 dev board and tried to boot from the NVMe.
I got a surprisingly informative error message from the Raspberry Pi bootloader (on a monitor connected to HDMI0)
start4.elf is not compatible. nvme boot requires newer softwareA bit of Googling got me to this forum thread:
So my first attempt at a fix was to update a 32-bit Raspbian SD card image with rpi-update and then copy the start4.elf and fixup4.dat files from that image to the NVMe boot partition. This got me to the next problem: The Ubuntu 20.04 image uses a version of U-Boot that doesn’t support NVMe, so it just sticks waiting for a boot device.
Next I tried downloading the Ubuntu Server 21.04 image and burning it to a SD card. I planned to go through the full process documented in the forum thread, starting with upgrading the Ubuntu image, so I inserted the SD card and powered up.
Step 3: Unexpected success
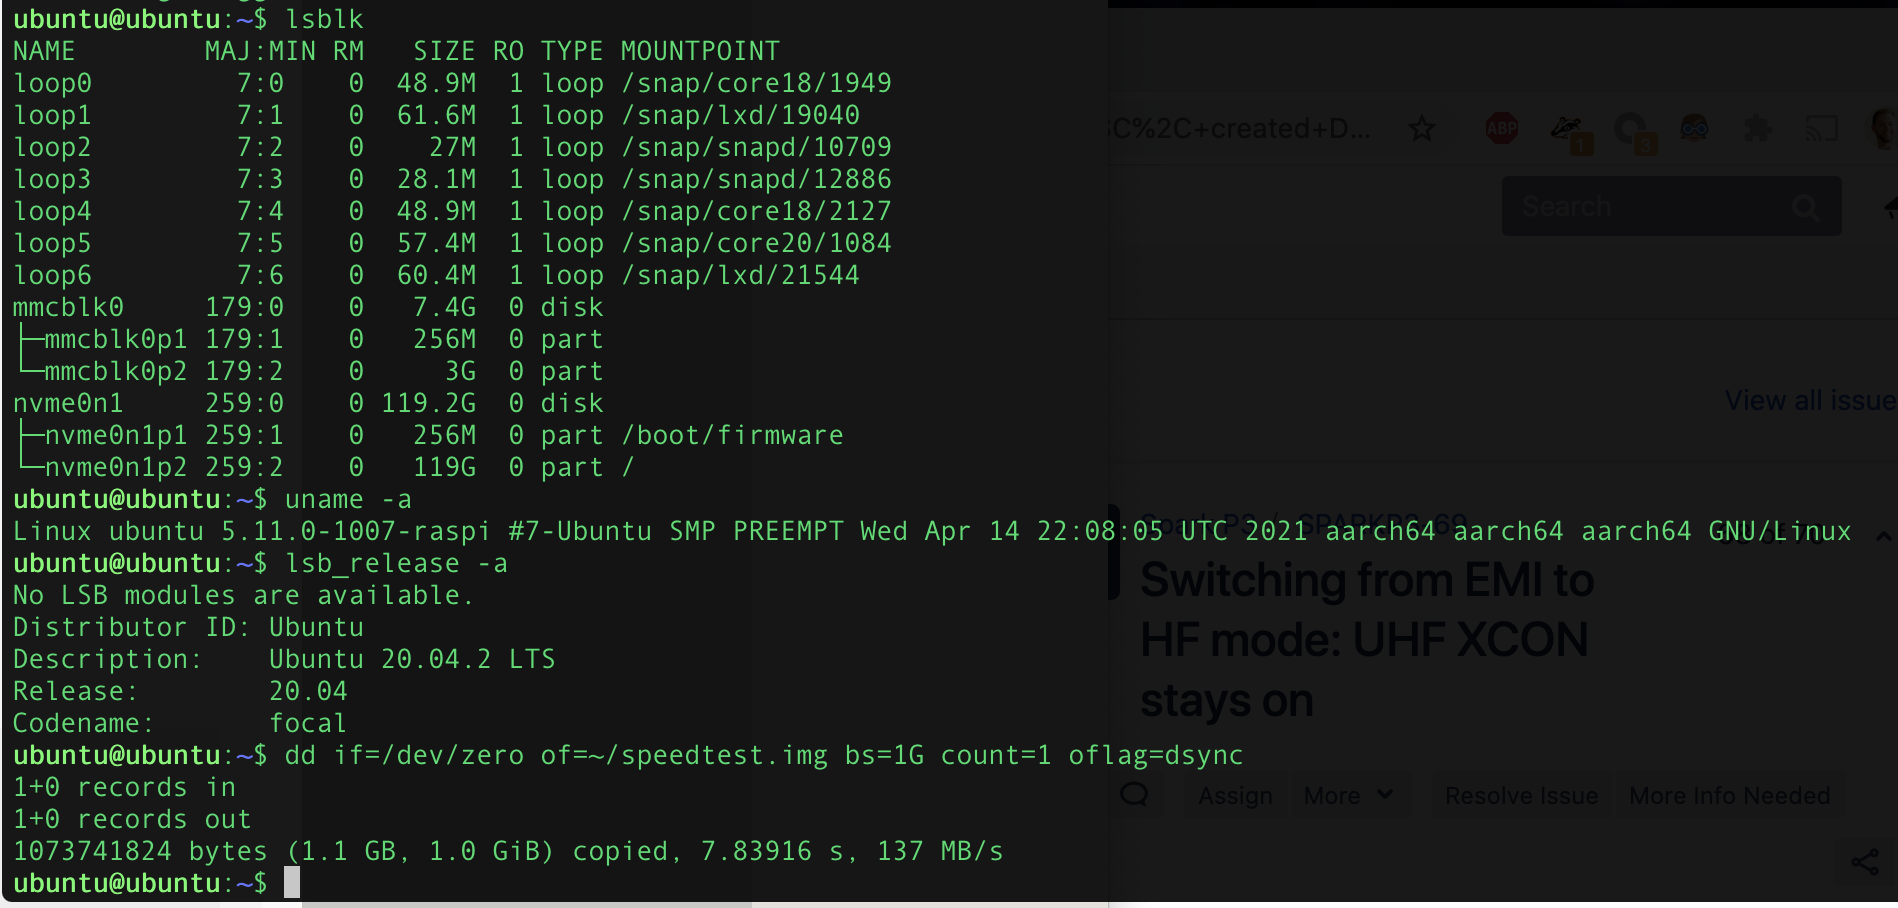
Imagine my surprise when it booted into Ubuntu 20.04 from the NVMe instead of 21.04 from the SD card as I was expecting. 😀
I guess what must have happened is that the boot partition on the 21.04 SD card had a version of UBoot that recognised the NVMe and treated it as a higher priority than the SD.
The next gambit would be to copy the boot partition from the SD card to the NVMe and see if it can boot directly from NVMe. But it works well enough as is, I don’t want to break it! This is left as an exercise for the reader 😉
Step 5: Try to make it boot directly from NVMe
Unfortunately on subsequent boots it flipflopped between NVMe and SD card as the root partition. So I thought since it’s Friday afternoon I should try to get it to boot directly from NVMe.
I started by deleting all files in the boot partition on the NVMe and replacing with the ones from the Ubuntu 21.04 SD card. The kernel is in /boot/vmlinuz, while the modules are stored on the root filesystem, so this would normally cause the modules to fail to load, except I noticed that I somehow managed to update the Ubuntu 20.04 installation on the NVMe so it was running the same kernel and modules as 21.04.
This still didn’t work, so I went back to that forum thread and replaced start4.elf and fixup4.dat with the ones from the updated Raspbian image.
Finally I got a direct boot from NVMe, with what I guess is Ubuntu 21.04 kernel and 20.04 userland. That works fine for me, I’d rather it ran a LTS version of Ubuntu.